
 Vipin PG
Error Code E20 shows up as “Something went wrong while attempting to sign you in. Please try again later,” and it stops you from logging into your Steam account. It’s a connection problem, not an account problem, so the fixes below focus on getting your PC and Steam’s servers talking to each other again. Work through them in order, start with the simple ones first.
How to Fix Steam Error Code E20
Step 1: Check If Steam’s Servers Are Down
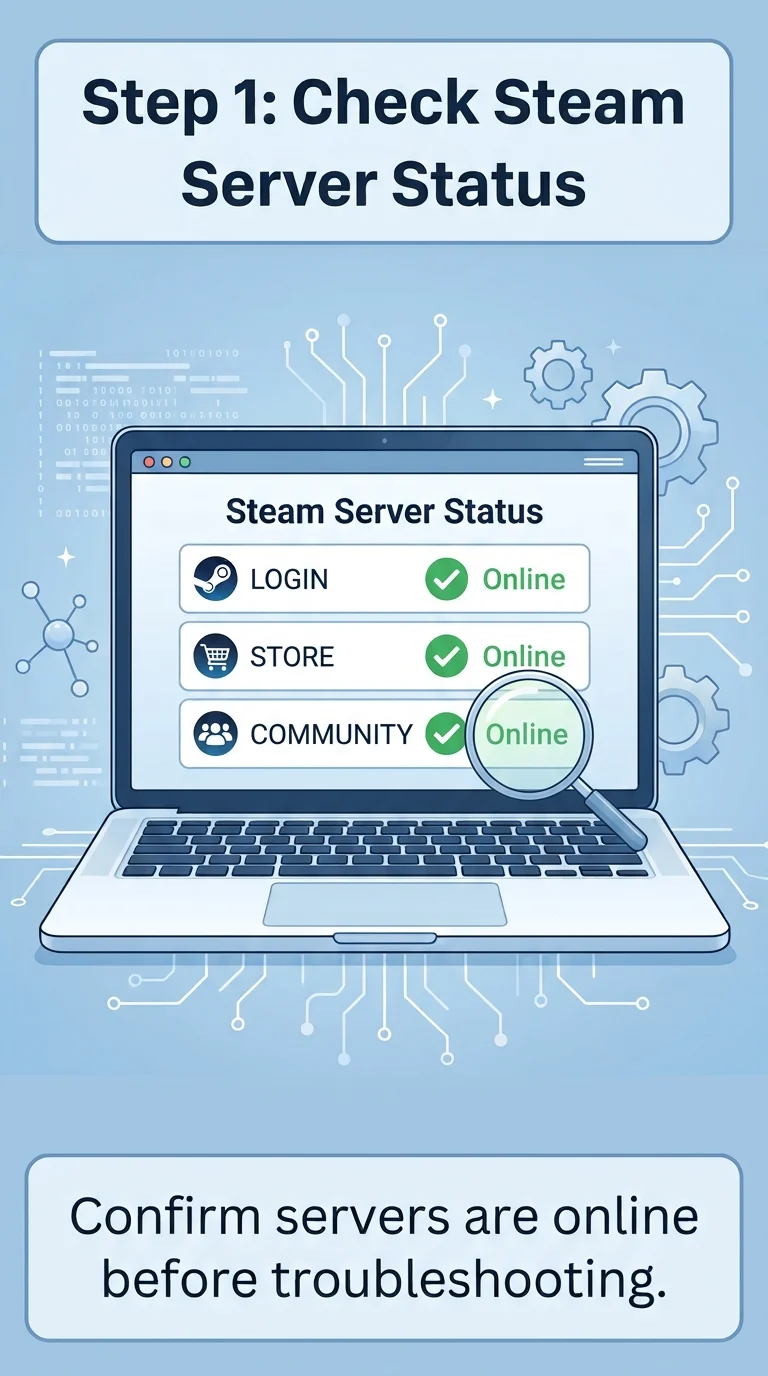
Before touching any settings, make sure the problem isn’t on Steam’s end. If Steam’s login servers are down for maintenance or an outage, no fix on your PC will help, you’ll just have to wait. Check a site like SteamStat.us or Steam’s official status page to confirm the servers are online before moving to the next step.
Step 2: Restart Your Router and Check Your Internet
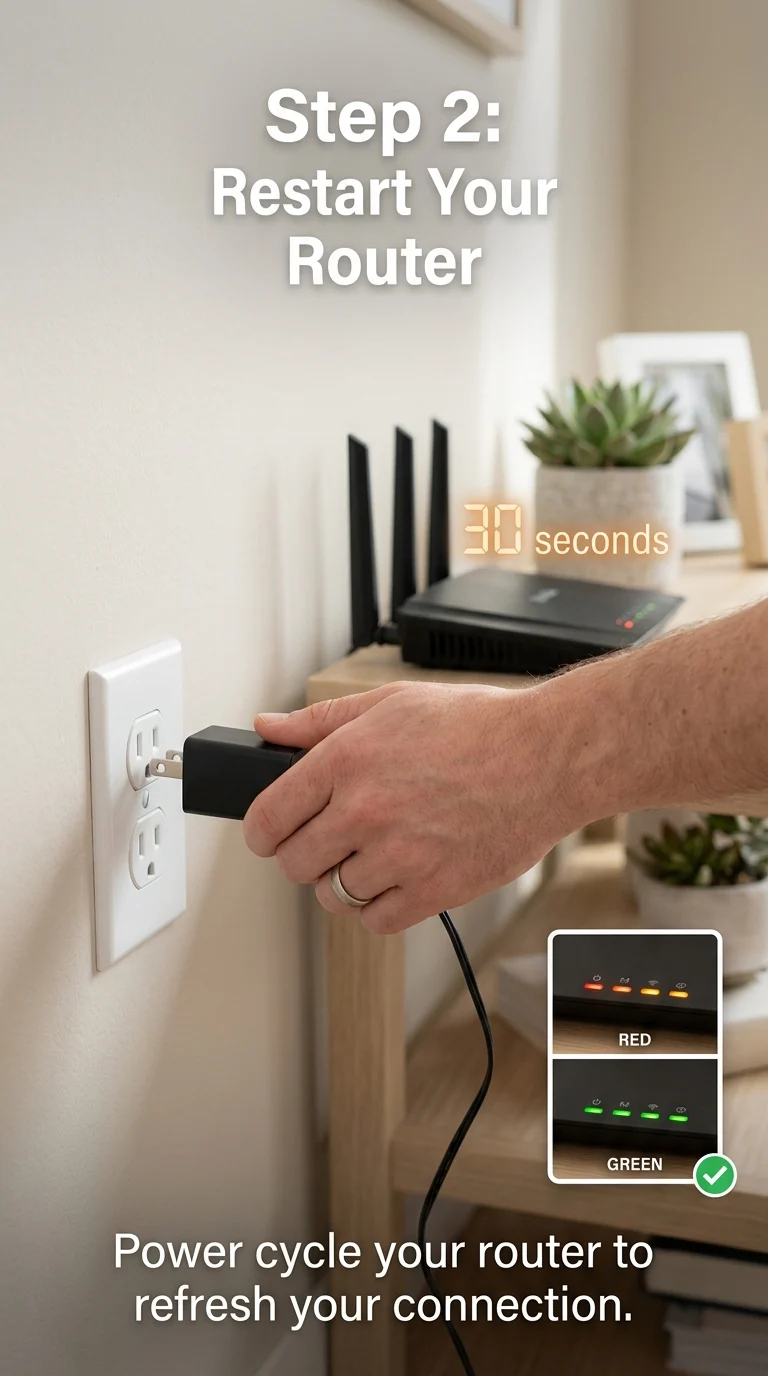
A shaky internet connection is the most common cause of Error Code E20. Unplug your router, wait about 30 seconds, then plug it back in. Once it reconnects, open a browser and load any website to confirm your internet is stable before relaunching Steam.
Step 3: Fully Restart the Steam Client
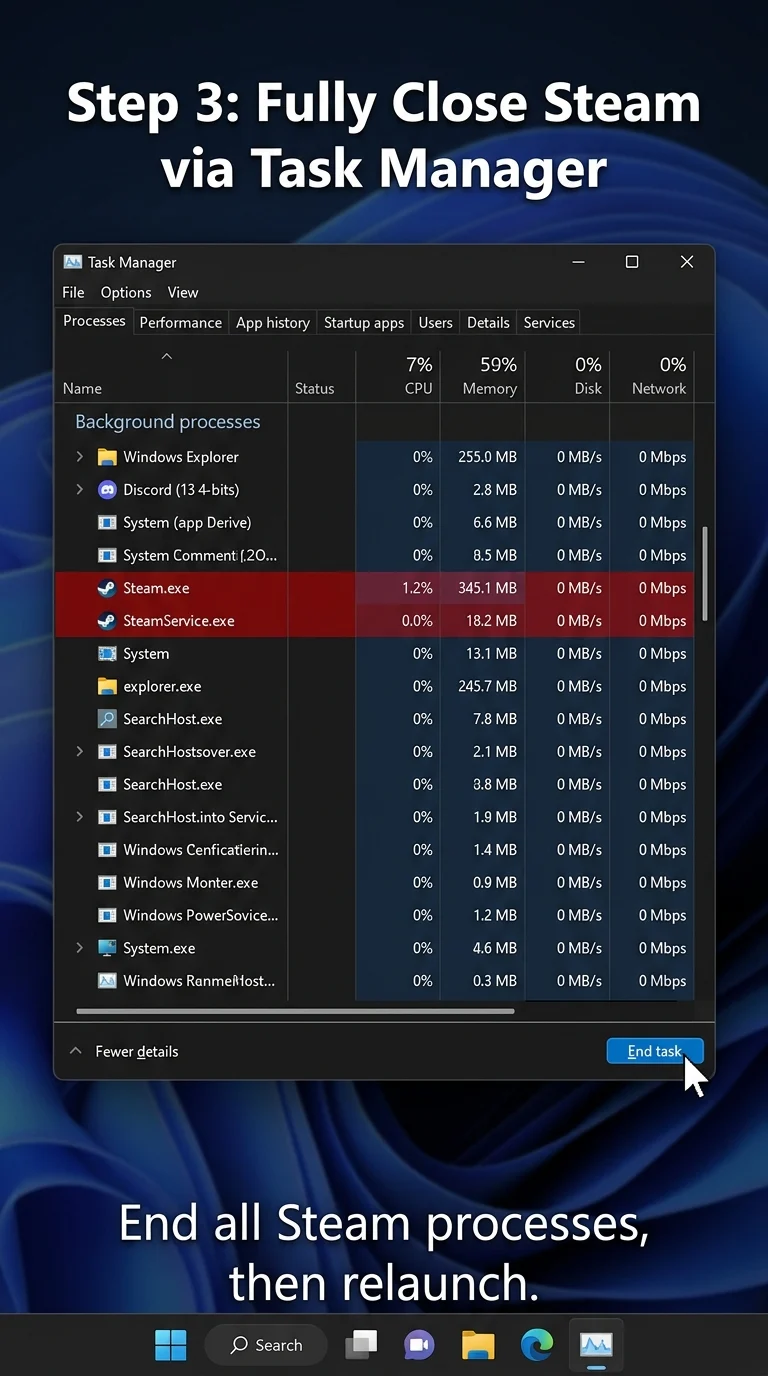
Closing the Steam window isn’t enough, background processes can still be stuck. Open Task Manager (Ctrl + Shift + Esc), find any processes named “Steam” or “SteamService,” and end them all. Then relaunch Steam normally and try logging in again.
Step 4: Restart Your Computer
If Steam still won’t log in, a full system restart can clear out background conflicts, stuck network sessions, or memory issues that a simple app restart can’t fix. Restart your PC completely, then open Steam fresh and try signing in.
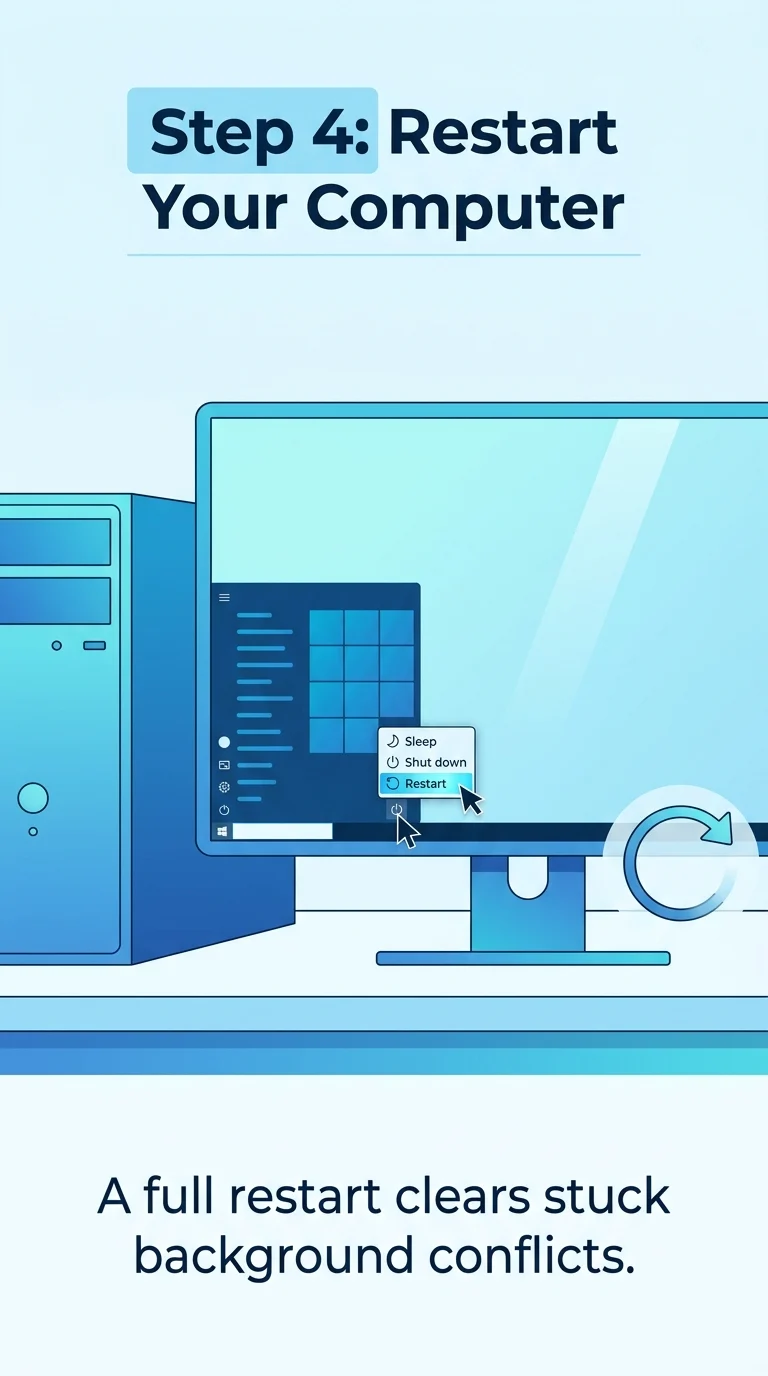
Step 5: Whitelist Steam in Your Firewall and Antivirus
Security software sometimes mistakes Steam’s connection attempts for a threat and blocks them, triggering Error Code E20. Open Windows Security, go to “Firewall & Network Protection,” and make sure Steam isn’t being blocked. If you use third-party antivirus software, add Steam as an exception there too.
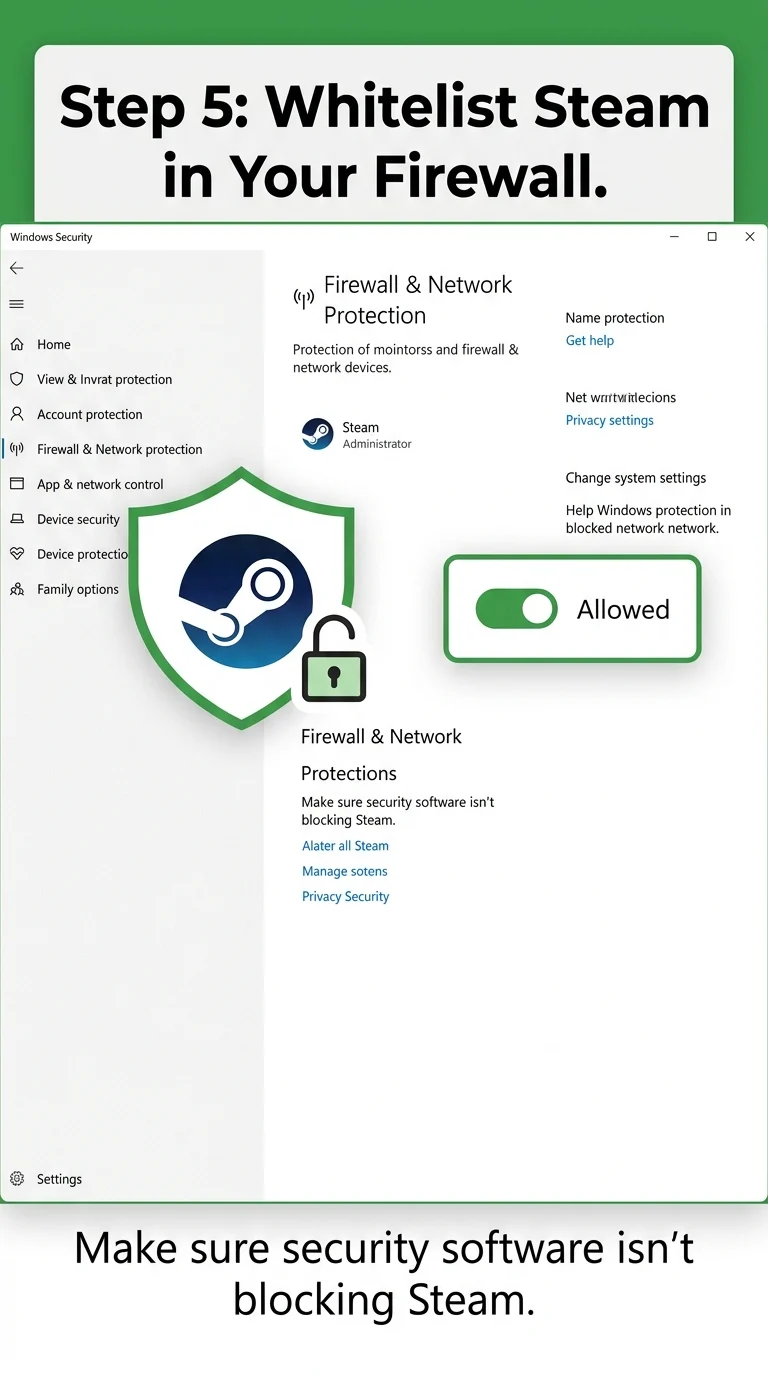
Step 6: Clear Steam’s Local Cache
A corrupted cache file can quietly break Steam’s ability to authenticate your login. Close Steam completely, press Win + R, type steam://flushconfig, and press Enter. This clears the cache without touching your installed games or saved data.
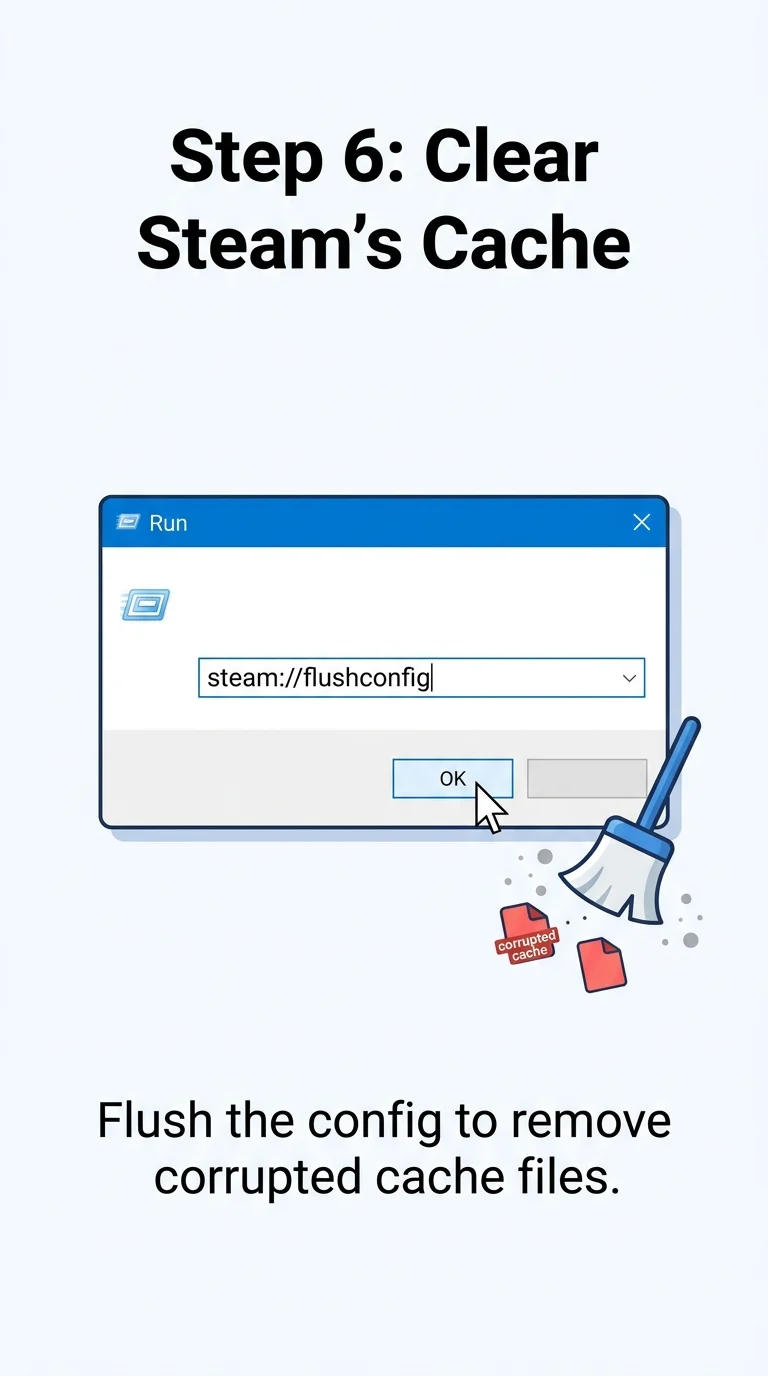
Step 7: Switch to Google Public DNS
If your ISP’s DNS server can’t resolve Steam’s login address properly, switching to a public DNS often fixes it instantly. Go to Windows Settings > Network & Internet > Change adapter options, right-click your active connection, open Properties, select IPv4, and set the DNS to 8.8.8.8 and 8.8.4.4.
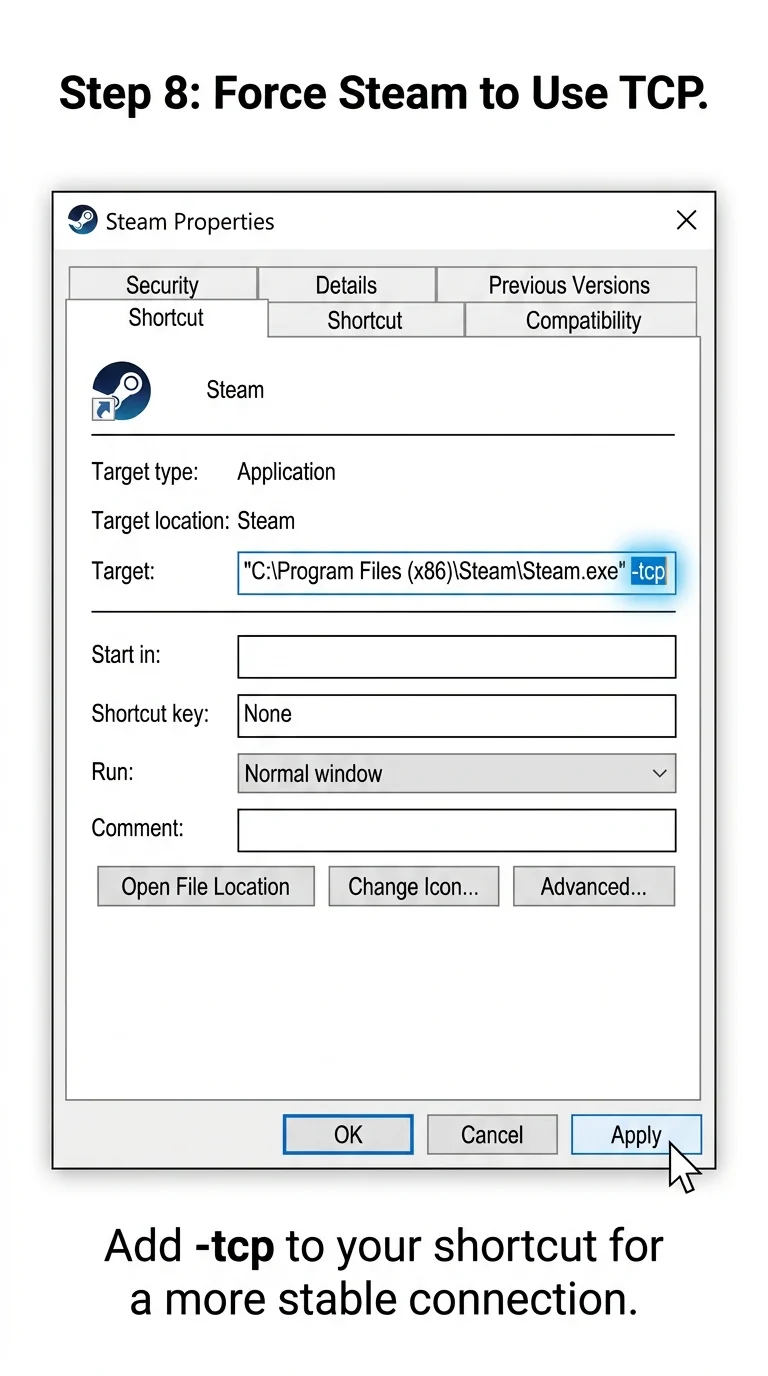
Step 8: Launch Steam With the -tcp Startup Flag
Steam normally connects using UDP, which can be unstable on some networks. Forcing it to use TCP instead often resolves stubborn E20 errors. Right-click your Steam shortcut, select Properties, and at the end of the “Target” field, add a space followed by -tcp. Click Apply, then launch Steam from that shortcut.
Conclusion
Steam Error Code E20 almost always comes down to a broken connection between your PC and Steam’s servers, not a problem with your account. Working through these steps in order, from a simple router restart to forcing a TCP connection, resolves the login error for the vast majority of players without needing to contact Steam Support.