 Vipin PG
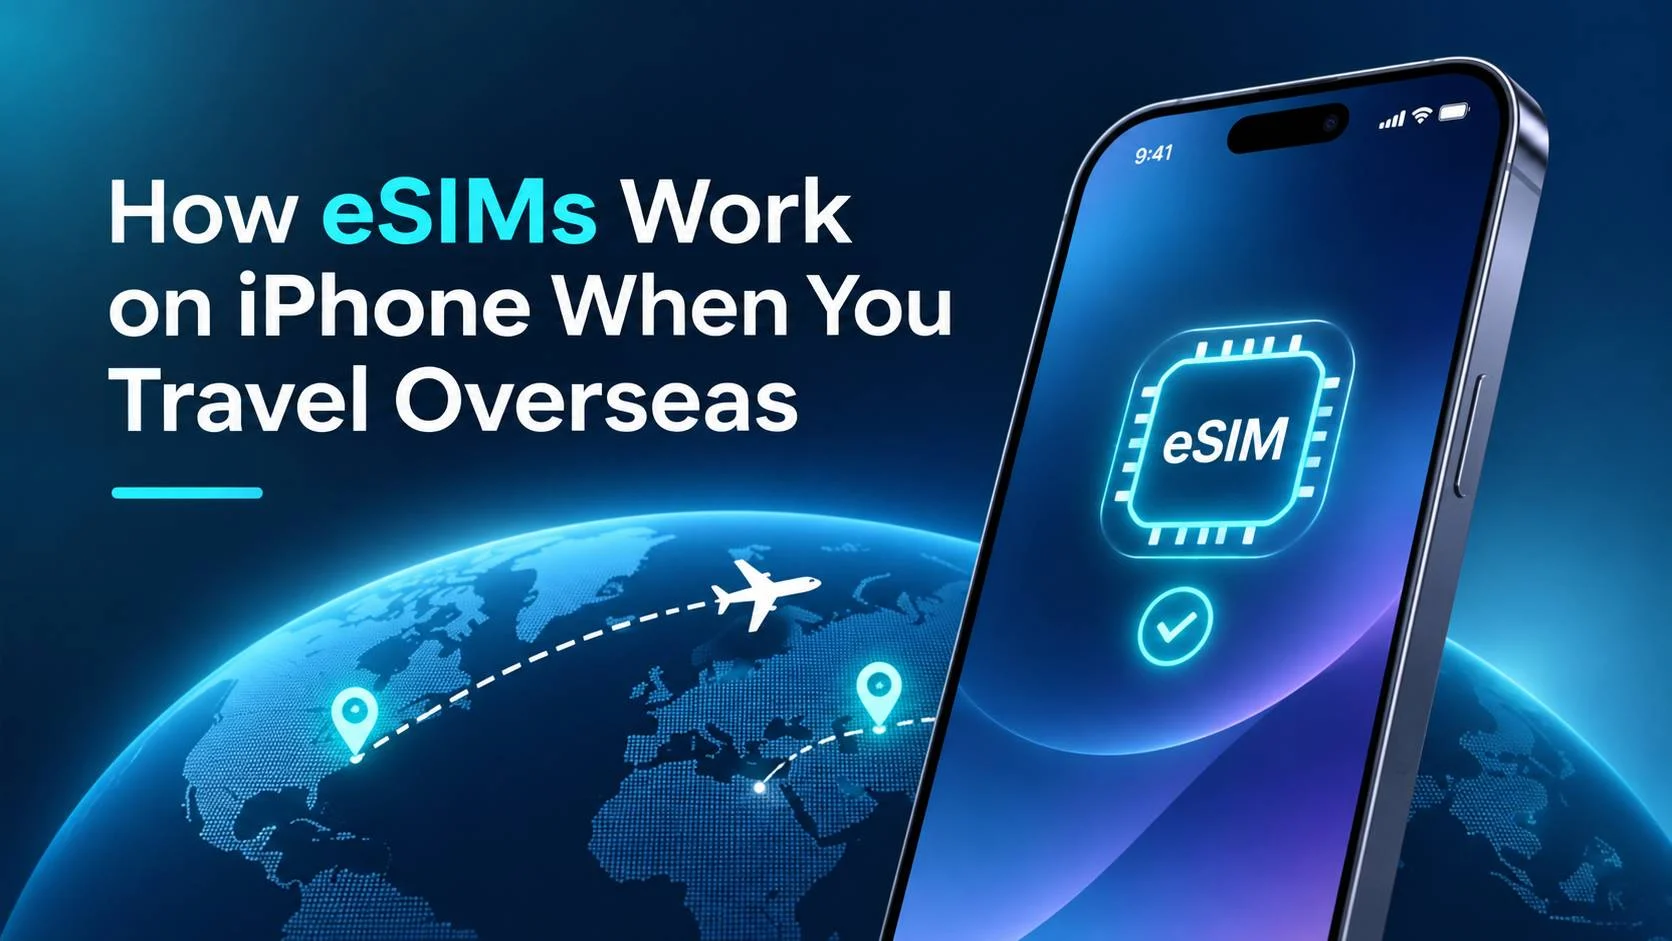
Landing in a new country with a phone that shows no service is a familiar travel moment. You need a map, a ride, or a message to the hotel, and the options are an airport SIM counter, slow terminal Wi-Fi, or roaming charges you have not checked. On recent iPhones there is another route: a travel eSIM, installed before you leave and switched on when you arrive.
Understanding what happens inside the phone makes that process less mysterious, and makes it easier to fix when something does not connect. If you have already bought a plan and want the practical steps, this walkthrough on how to set up an eSIM on your iPhone covers installation and activation. The rest of this article explains how eSIM behaves on an iPhone while you travel.
What an eSIM Is
A physical SIM is a removable card holding the details a phone uses to identify itself to a mobile network. An eSIM holds the same kind of details as a digital profile stored on a chip built into the phone. Instead of inserting a card, you add the profile, usually by scanning a QR code or using the mobile provider’s app.
Because the profile is digital, an iPhone can store more than one. Supported models can also keep two lines active at the same time, for example your home number on one eSIM and a travel data plan on another.
Which iPhones Support It
According to Apple’s support page on using eSIM while travelling internationally with your iPhone, you need an iPhone XS, iPhone XS Max, iPhone XR or later, plus a provider that supports eSIM. The iPhone also needs a Wi-Fi connection to set up the eSIM, although Apple notes that eSIM-only models can activate without Wi-Fi in some countries or regions. If your iPhone has a SIM tray, you can use a physical SIM and an eSIM together.
The phone must also be unlocked to use a plan from a different provider. To check, open Settings, tap General, then tap About. If the iPhone is unlocked, “No SIM Restrictions” appears next to Service Provider Lock.
What Happens When You Land
With iOS 26 and later, Apple says you might be asked whether a travel eSIM bought before departure will be used at home or while travelling. When you arrive and already have a travel eSIM, you may see a notification to Turn On Travel eSIM. Tapping it lets you choose between using the travel eSIM only, or the travel eSIM together with your current eSIM. If you keep both, the travel eSIM is used for data, though Apple warns you might still incur roaming fees from your home line. You will also be offered Low Data Mode before the travel eSIM activates.
You can also choose the data line yourself. Open Settings, tap Mobile Service, then Mobile Data, and select the line you want to use. Apple notes that if you use only the travel eSIM, FaceTime and iMessage continue to work on your home line.
Keeping Your Home Number Useful
Many travellers keep their home line switched on for one reason: SMS verification codes from banks and online services. Leaving it on lets those messages arrive while the travel eSIM carries the data. The trade-off is possible roaming charges on the home line, so check your home provider’s roaming terms before you fly.
Coming Home
Apple says that with iOS 26 and later, the iPhone can turn off the travel eSIM and turn the home SIM back on when you return, depending on your country or region. If that does not happen, open Settings, tap Mobile Service, make sure “Turn On this Line” is enabled for your primary line, and turn off any travel eSIM lines you no longer use.
Watch Background Data Use
Newer iPhones can also lean on cellular data in the background. This guide on stopping iOS 27 Connectivity Assist from using cellular data is worth a look before a trip, so your travel data allowance lasts longer.
The practical sequence is short. Confirm your model supports eSIM, check that it is unlocked, buy a plan that covers your destination, install it on Wi-Fi before you leave, and decide which line will carry data once you land.