 Vipin PG
If Alexa is responding in the wrong language, or you just set up a device in a different country and want it to speak your language, you don't need to reset anything. The language setting lives inside the Alexa app, tied to each individual device, and changing it takes under a minute. Here's exactly how to do it.
Steps to Change the Default Language on Amazon Alexa
Step 1: Open the Alexa App and Go to Settings
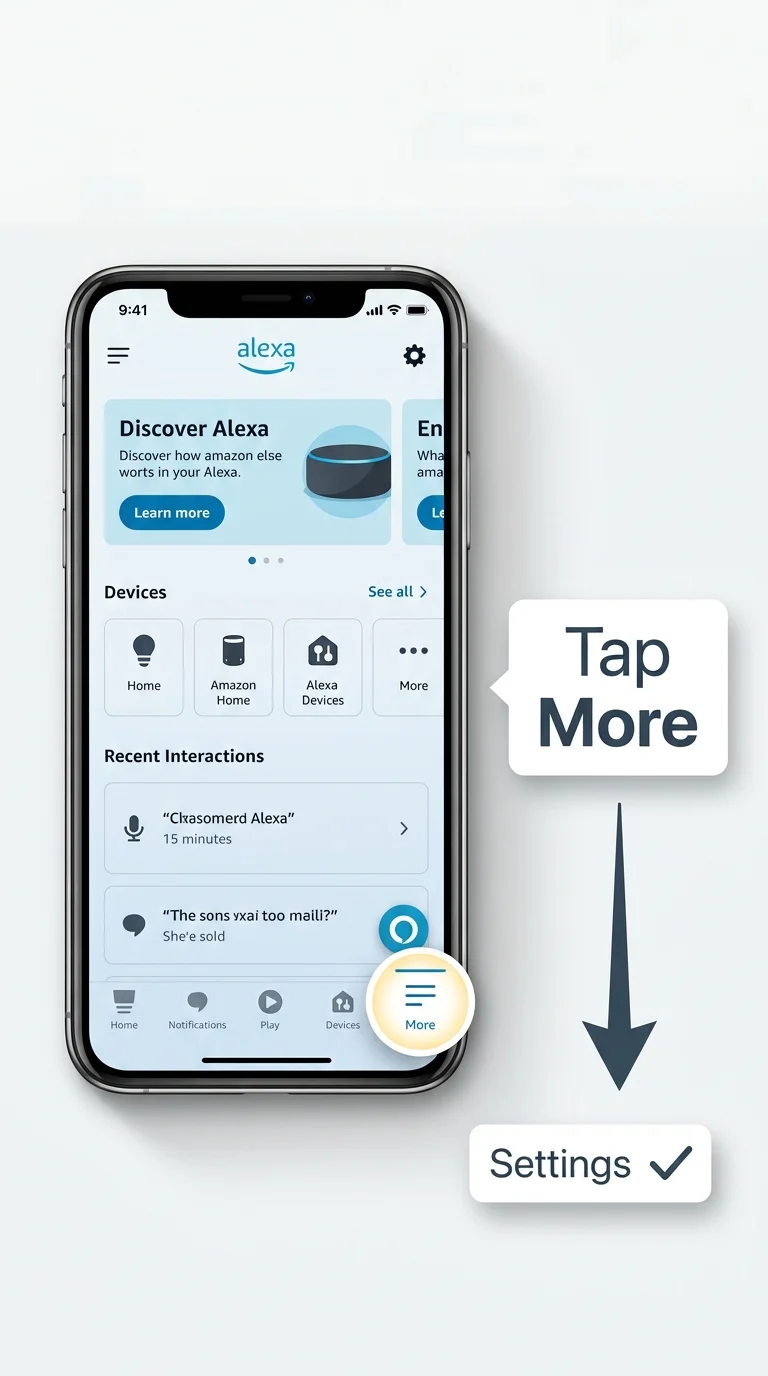
Launch the Alexa app on your phone. Tap More in the bottom navigation bar (it looks like three stacked lines), then select Settings from the menu that appears.
Step 2: Select Device Settings
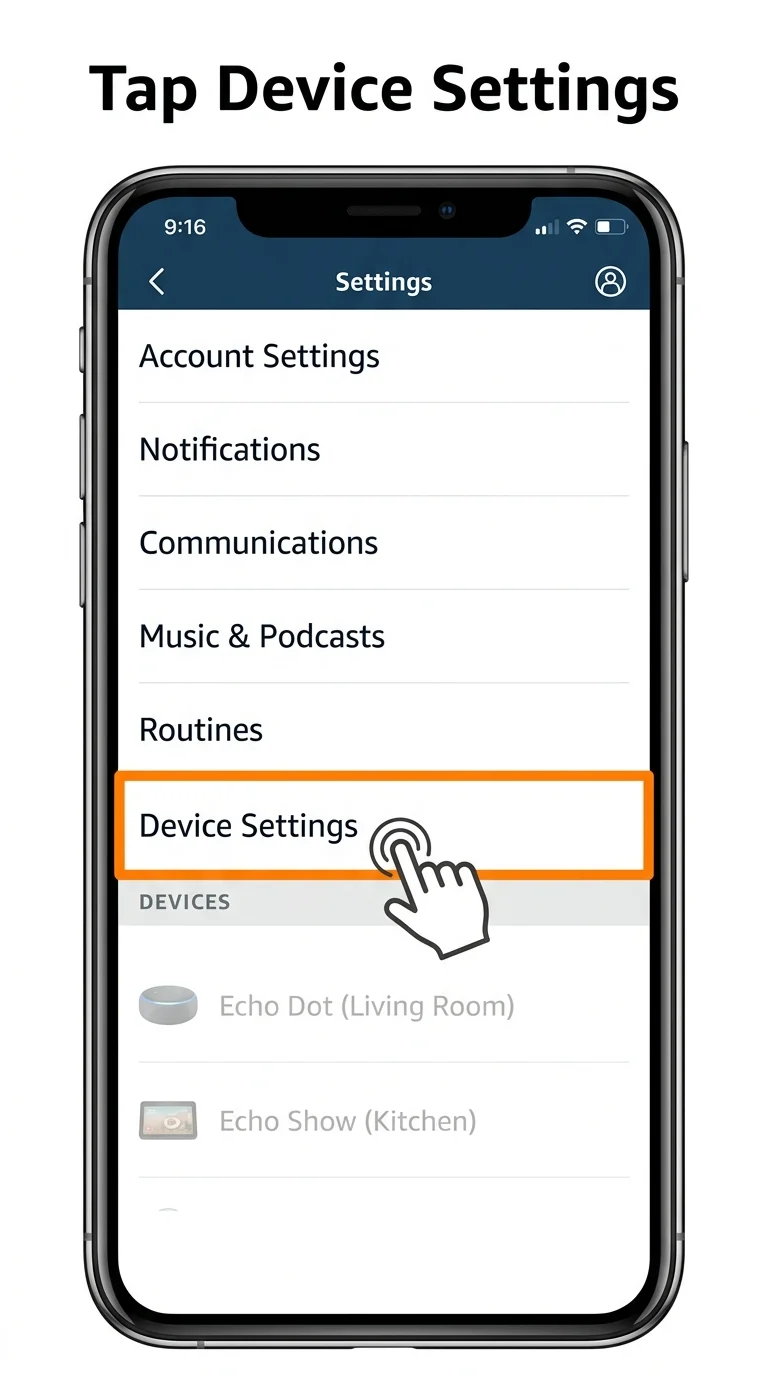
On the Settings screen, tap Device Settings. This shows a list of every Echo or Alexa-enabled device linked to your account.
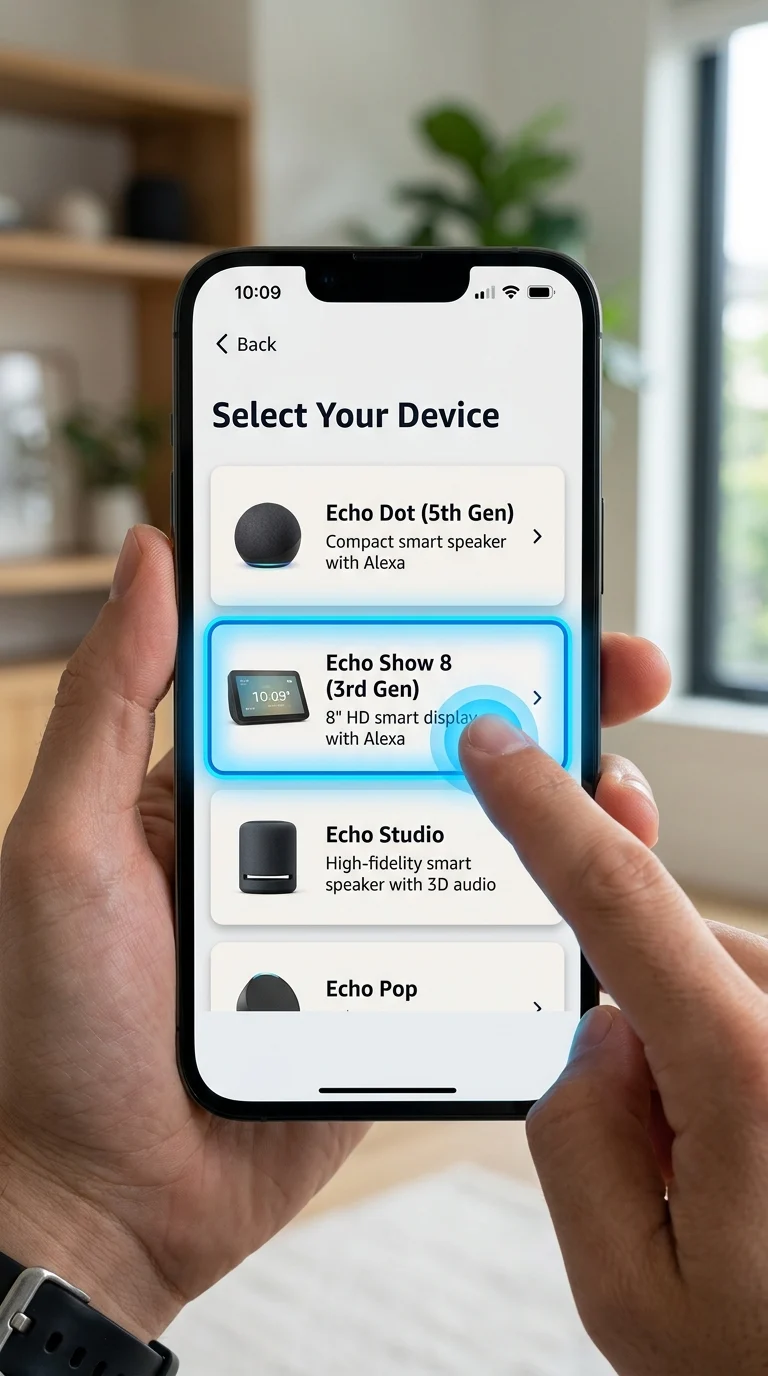
Step 3: Choose Your Echo Device
From the device list, tap the specific Echo device whose language you want to change. If you have multiple devices, make sure you select the right one, since the language setting applies per device, not to your whole account.
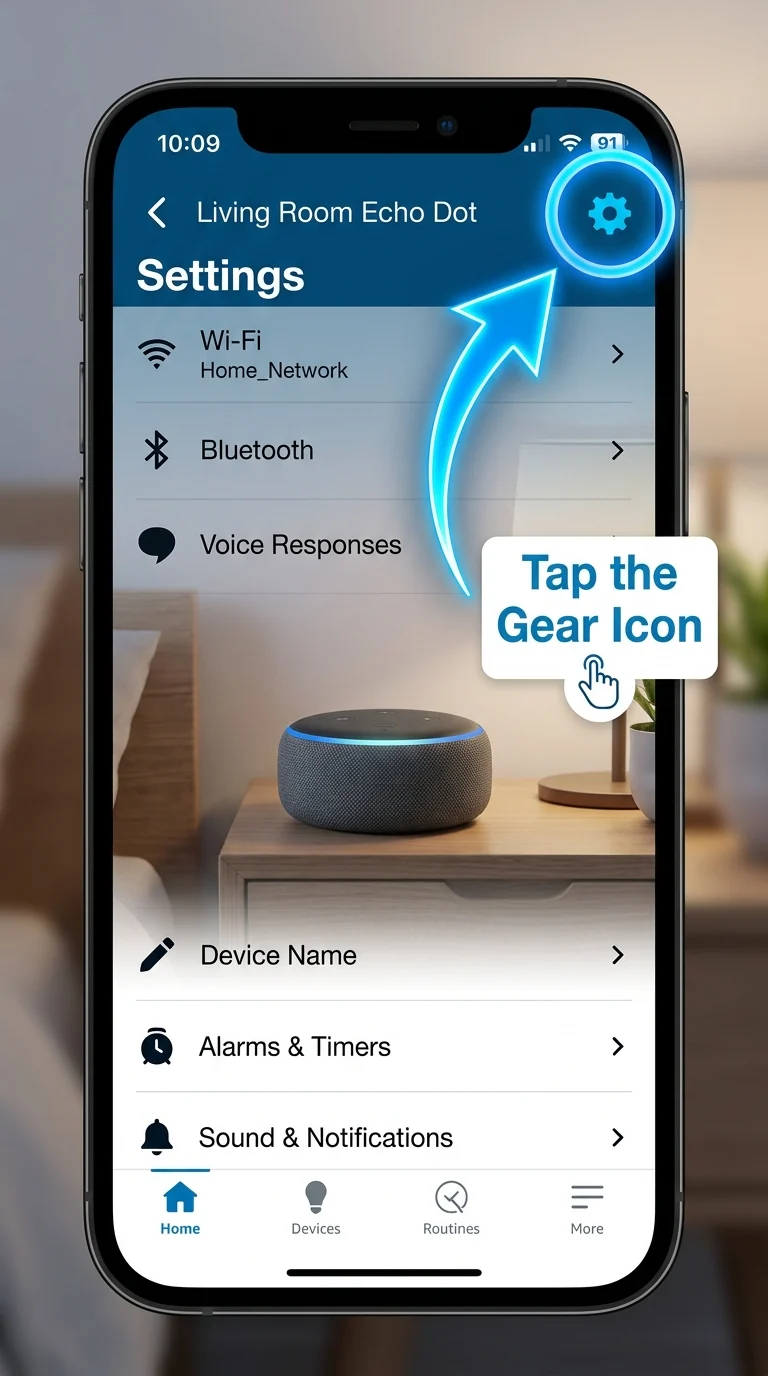
Step 4: Open Device Settings via the Gear Icon
Once inside the device's page, tap the small gear (settings) icon in the top right corner of the screen. This opens the detailed configuration options for that specific device.
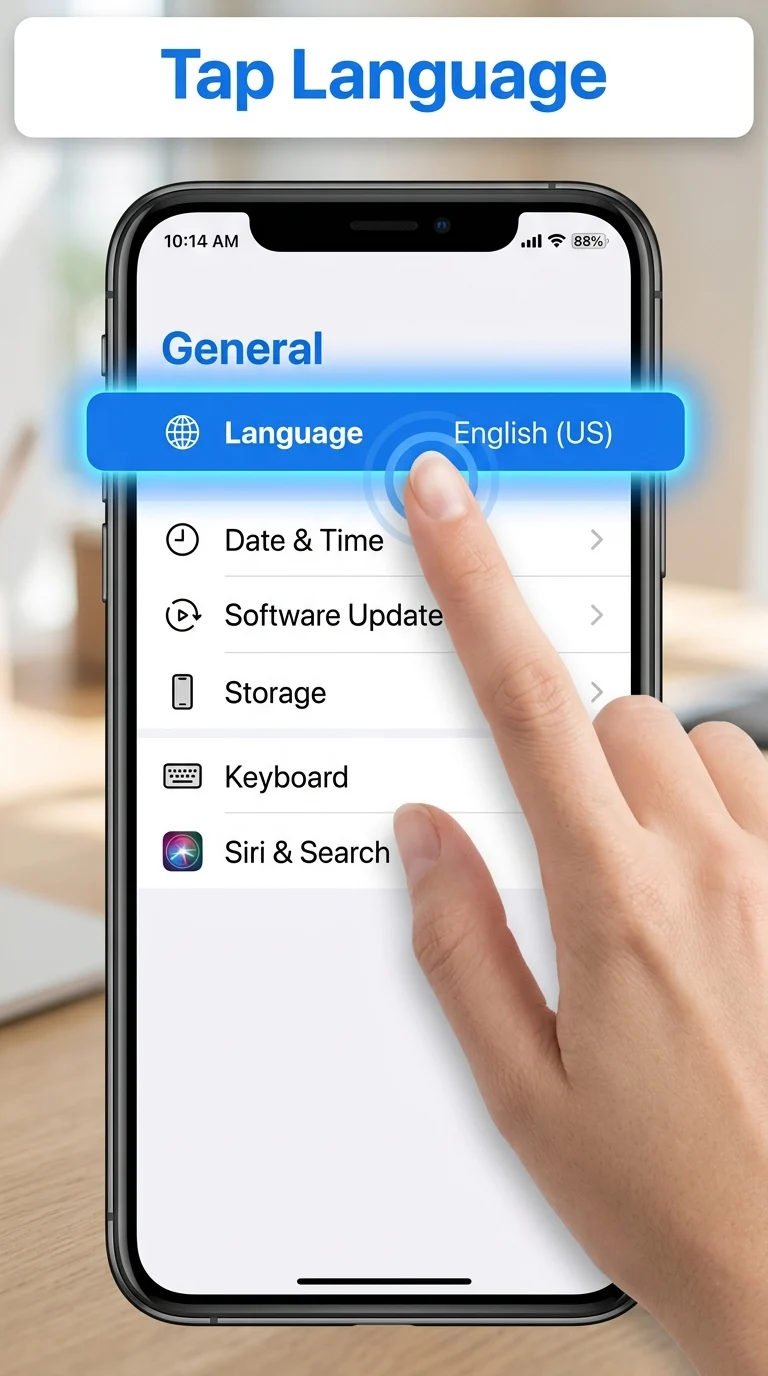
Step 5: Open the Language Option Under General
Scroll down to the General section and tap Language. This opens the full list of languages supported for that device.
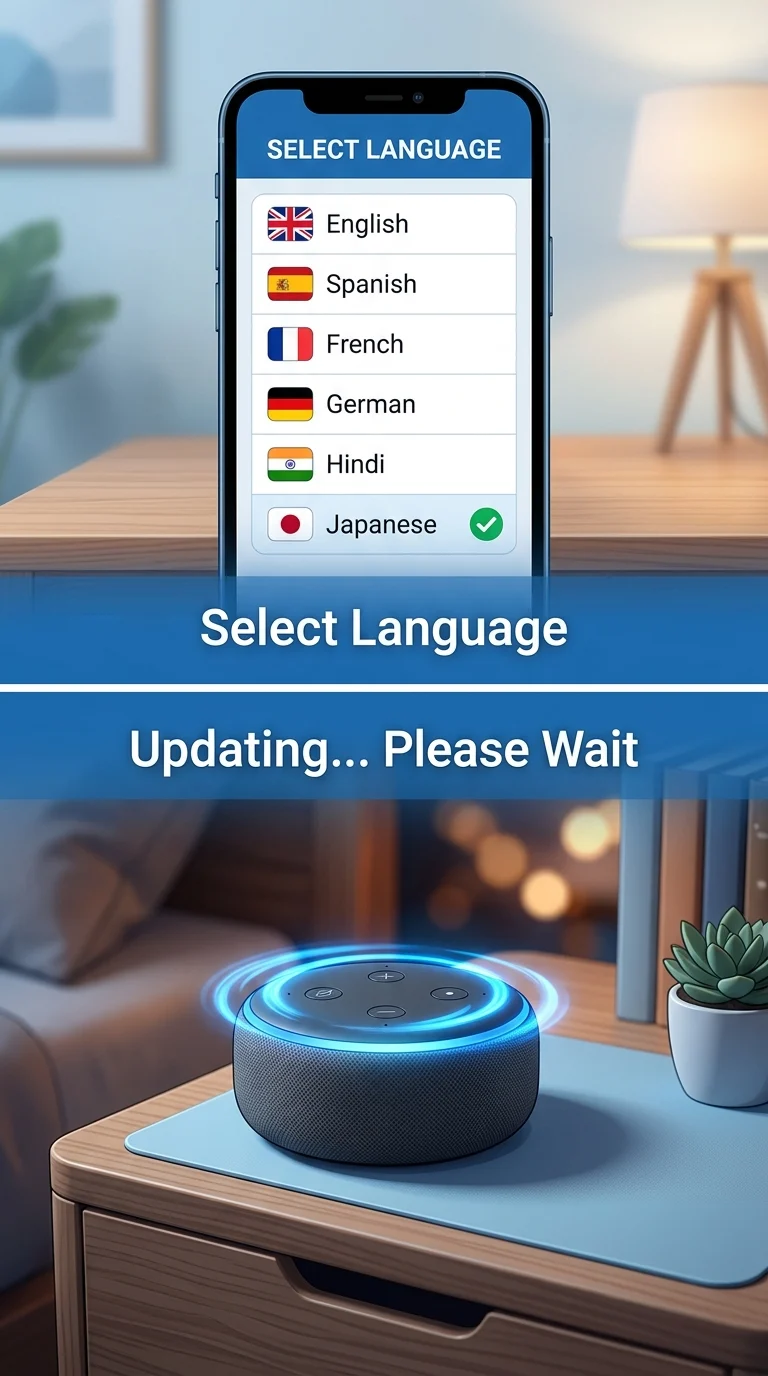
Step 6: Select Your Preferred Language
Choose the language you want Alexa to use from the list. Tap it to confirm. The device will show a spinning blue light while it updates, and it won't respond to voice commands for a few minutes. Once the light turns off, the change is complete.
Conclusion
Changing Alexa's default language only takes a few taps inside the Alexa app's device settings, and it applies individually to each Echo device you own. Once set, Alexa will understand and respond in your chosen language right away, with no need to reset or re-register the device.