 Vipin PG
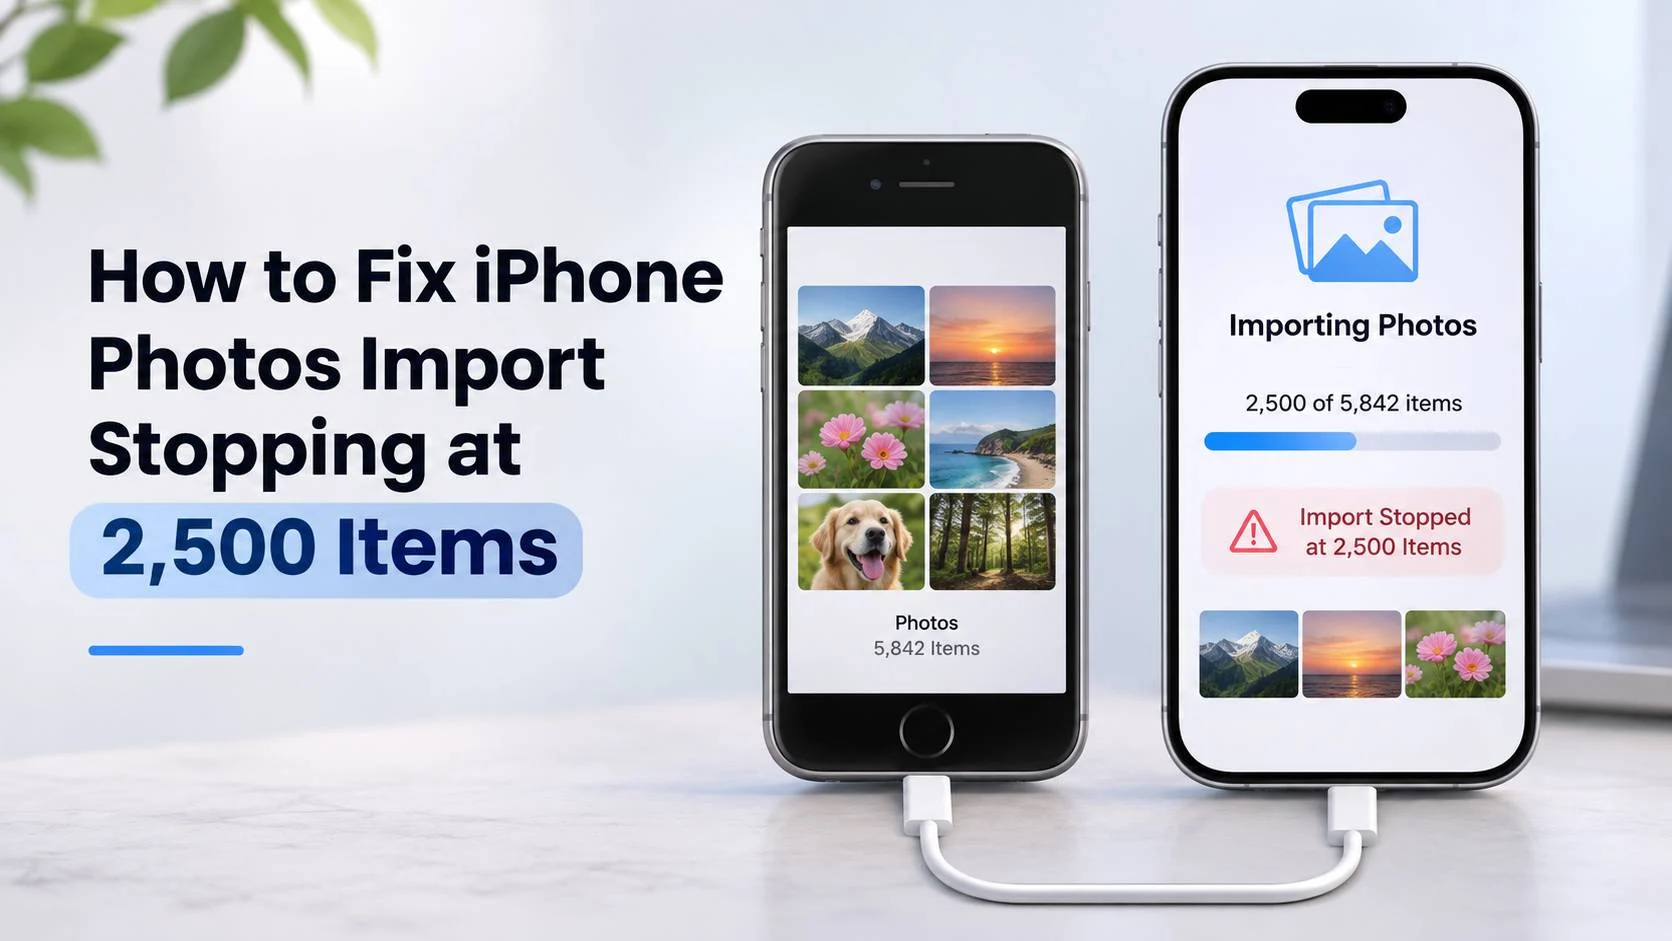
Moving thousands of photos from an old iPhone to a new one should be straightforward. Connect the phones, open Photos, choose Import, and let the transfer finish. But what happens when the import suddenly stops at 2,500 photos or videos?
This exact problem was reported by someone transferring a photo collection from an iPhone 14 Pro Max to an iPhone 17 Pro Max. The two phones were connected using a data cable, the older iPhone was trusted, and a new album named “iphone14” was created on the newer device. The import failed when it reached item 2,501.
The case was posted on Ask Different on November 8, 2026. The user also reported that another attempt encountered the same problem.
There is no documented 2,500-item limit for ordinary iPhone Photos albums or direct wired imports. Apple’s instructions allow users to import all available media or select individual photos and videos. Apple does not specify a 2,500-item ceiling for either option.
A failed import may be related to a particular photo or video, a problem during the transfer session, unavailable full-resolution originals, storage limitations, or an unstable connection. The exact cause of the reported failure has not been established.
If your iPhone Photos import stops after 2,500 items, start by importing the remaining photos in smaller groups. You can then investigate any file that repeatedly fails without resetting your new iPhone or paying for additional iCloud storage.
Is There a 2,500-Photo Limit on iPhone Albums?
No such limit is documented for regular albums in the Photos app.
Apple supports importing photos and videos directly from another iPhone, a camera, or an external storage device. Its official iPhone import instructions describe two options:
- Import All: Import all available items from the connected device.
- Import Selected: Choose individual photos and videos before starting the import.
Neither option has a published 2,500-item restriction.
There is also independent evidence that much larger collections can transfer successfully. In September 2025, a user documented transferring more than 16,000 photos and videos directly between two iPhones over USB. The transfer was completed in under an hour, although the user encountered occasional failures involving Live Photos.
This does not rule out a software problem affecting a particular iOS version or device combination. It does show that stopping at 2,500 items is not a universal limitation of the wired import feature.
What About the Limits on Shared Albums?
Shared Albums work differently from ordinary albums stored in your Photos library.
Apple lists a 5,000-item limit for Shared Albums created on iOS 26 or earlier. For Shared Albums created on iOS 27 or later, the available iCloud storage determines how much media can be added. Temporary Shared Albums have their own 5,000-item limit.
Those restrictions apply to Apple’s sharing features. They do not establish a limit for a regular album created during a wired import.
You can review the differences in Apple’s Shared Albums limits documentation.
Fix 1: Import the Remaining Photos in Smaller Batches
This is the first workaround worth trying, especially when the new iPhone is already set up and some photos have transferred successfully.
Instead of repeating the entire import with thousands of items selected, try 100 to 500 photos or videos at a time. These are suggested troubleshooting batch sizes, not official Apple limits.
- Open Photos on the new iPhone and examine the album where the previous import stopped.
- Check which photos and videos are already present. Avoid deleting anything from the old iPhone.
- Connect the old and new iPhones using a compatible data cable.
- Unlock the old iPhone and tap Trust or Allow if a permission request appears.
- Open Photos on the new iPhone and select the connected source device from the import interface.
- Tap Import and manually select a small group of photos that still need transferring.
- Choose Import Selected and allow the operation to complete.
- Check that the imported items appear in the new iPhone’s Photos library.
If the first batch completes successfully, continue with another group. You can increase the batch size when the connection and import process are working reliably.
For a collection containing many long videos or Live Photos, smaller selections may be easier to manage and verify.
Do You Need to Create a New Album for Every Batch?
Usually, there is no reason to create multiple albums solely because an import stopped.
Try importing another group into the existing album first. If the album already contains 2,500 items and accepts more, you have confirmed that it can hold more than the number where the previous operation failed.
If Photos imports the remaining items into the main library without putting them in the intended album, select those items and use the Add to Album option to organize them afterward.
Creating a second album is worth testing only when the original album repeatedly fails to accept additional items. Even then, success with another album would not prove that Apple enforces a numerical album limit.
Fix 2: Find a Photo or Video That Is Blocking the Import
A damaged or unreadable media file is another possible explanation for an import that repeatedly stops at approximately the same point.
There is a useful real-world example in the Apple Support Community.
In October 2023, an iPhone user attempted to import 2,500 photos and videos into a Mac. The process consistently stopped at item 915 without displaying an error. Smaller imports sometimes failed as well.
After investigating with Image Capture on the Mac, the user identified one photo that could not load its higher-quality version. Skipping that photo allowed the remaining collection to import successfully.
The full explanation is available in the Apple Support Community discussion about an import that stopped partway through.
That case involved importing into a Mac rather than another iPhone. However, it provides a practical reason to check individual media files before assuming that the entire import feature is broken.
How to Identify a Problematic Photo
- Return to the group of photos or videos that failed to import.
- Select a small portion of that group and attempt the import again.
- If the selection fails, divide it into smaller groups.
- Test the smaller groups separately, keeping track of which items transfer successfully.
- Continue until you identify an individual photo or video that repeatedly fails.
- Open that item on the old iPhone and check whether it loads or plays normally.
Watch for warning symbols, blank thumbnails, videos that refuse to play, or messages stating that a higher-quality version cannot be loaded.
If you find one suspicious item, leave it on the old iPhone and try transferring the surrounding photos separately. You can investigate the problem file later.
Do not delete a failed photo or Live Photo just to finish the transfer. Keep the original until you have a verified backup. In particular, converting a Live Photo into an ordinary image can discard its motion component.
If several different groups fail without any consistent problem file, move on to the connection and storage checks below.
Fix 3: Check the Cable, Storage, and iPhone Connection
Direct iPhone-to-iPhone imports depend on a working data connection. A cable that charges both devices is not necessarily reliable for transferring a large collection of media.
Use the Correct Cable
For the iPhone 14 Pro Max and iPhone 17 Pro Max combination, use a USB-C to Lightning cable that supports data transfer.
Apple identifies this cable type in its wired iPhone migration instructions.
For troubleshooting, connect the devices directly rather than through an unnecessary hub or adapter. If the import fails repeatedly, try another compatible cable.
Also check whether the old iPhone still appears in Photos after the failure. If it disappears from the import interface, that is useful evidence of a connection problem.
Check Free Storage on the New iPhone
Open Settings > General > iPhone Storage on the destination iPhone.
Make sure there is enough available space for the remaining collection. Thousands of ordinary photos may fit comfortably, while a smaller number of ProRAW images, high-resolution videos, or ProRes recordings can consume considerably more storage.
If available storage is low, remove unnecessary downloaded files or apps before retrying. Avoid deleting any original photos while the migration is incomplete.
Restart the Devices if the Import Interface Stops Responding
If Photos becomes unresponsive or no longer detects the connected iPhone, disconnect the cable and restart both devices normally.
Reconnect them, approve the trust request if prompted, and try importing a small selection.
Keep both phones adequately charged during the process. If either device becomes unusually hot, allow it to cool before trying again.
Check for available iOS updates under Settings > General > Software Update. Updating may be worthwhile if the problem persists, but there is no confirmed iOS update specifically identified as fixing the reported 2,501-item failure.
Fix 4: Check Whether the Original Photos Are Stored in iCloud
This section matters if the old iPhone uses iCloud Photos with Optimize iPhone Storage enabled.
With storage optimization, an iPhone can keep smaller device-sized copies of some photos while the original, full-resolution files remain in iCloud.
That arrangement can complicate certain wired import workflows. Apple specifically advises downloading full-resolution originals before importing photos from an iPhone into a Windows computer.
Apple has not established that storage optimization caused the iPhone-to-iPhone failure described here. Still, it is worth checking when files refuse to load or appear unavailable.
How to Download and Keep the Originals
- On the old iPhone, open Settings.
- Tap your Apple Account name at the top.
- Open iCloud > Photos.
- If iCloud Photos is enabled, look for the storage options.
- Select Download and Keep Originals.
- Connect the iPhone to Wi-Fi and power, then allow it to download the original files.
This requires enough free local storage to hold the originals. Depending on the size of the collection and the network connection, downloading may take considerable time.
Do not assume the process is complete just because some thumbnails appear in Photos. Check the library’s synchronization status and verify that the originals are available.
For Apple’s instructions, see transferring photos from an iPhone to a Mac or PC and archiving or downloading copies of iCloud photos.
If iCloud Photos was never enabled on the old iPhone, this particular explanation is unlikely to apply.
Fix 5: Transfer the Remaining Photos Using a Mac
If smaller wired imports continue failing, a Mac provides another way to transfer the collection without purchasing additional iCloud storage.
There are two useful applications: Photos and Image Capture.
Option A: Import Into the Mac Photos App
- Connect the old iPhone to your Mac using a compatible USB cable.
- Unlock the iPhone and approve the connection if prompted.
- Open the Photos app on the Mac.
- Select the connected iPhone from the sidebar.
- Choose an existing destination album or create a new one.
- Select the missing photos and videos, then click Import Selected.
- Wait for the import to finish and verify the transferred items.
Apple documents this procedure in its Mac and PC photo import guide.
Once the files are safely on the Mac, you can transfer selected items to the new iPhone using AirDrop. Finder photo syncing is another option, but it works differently from importing photos directly into the iPhone library.
Finder manages a synchronized collection based on the selected folders or albums on the computer. Later changes to those synchronization selections can affect which photos remain on the iPhone. For a collection that you want to manage independently on the new phone, AirDrop may be simpler.
Option B: Use Image Capture to Find Files That Fail
Image Capture is particularly useful when Photos repeatedly freezes on an unidentified photo or video.
- Connect the old iPhone to the Mac and unlock it.
- Open Image Capture. You can find it through Spotlight Search.
- Select the iPhone under Devices.
- Choose a destination folder on the Mac.
- Import a small group of files, or attempt to import the remaining items.
- If the process stops, examine which file failed and test it separately.
Image Capture can save imported files directly into a folder, making it easier to inspect the results outside the Photos library.
This is also how the user in the previously mentioned Apple Community case identified the photo that was blocking the import.
If the original collection is large, consider making a separate backup on an external drive before transferring files onward to the new iPhone.
Fix 6: Use AirDrop to Move the Remaining Photos
AirDrop is a practical alternative when only a few hundred photos remain, or when direct cable importing consistently fails for a particular group.
- Enable Wi-Fi and Bluetooth on both iPhones.
- Make sure AirDrop receiving is enabled on the new iPhone.
- Open Photos on the old iPhone.
- Select a manageable group of photos and videos.
- Tap Share and select AirDrop.
- Choose the new iPhone and complete any required confirmation.
- Verify the received items in Photos before sending the next group.
Apple does not publish a universal 1,000-photo AirDrop limit for this procedure. For large collections, smaller selections are simply easier to monitor and retry.
When transferring original media with associated metadata, inspect the sharing options. Depending on the item and software version, Photos may provide an All Photos Data option that preserves additional original information.
AirDrop avoids the need for a paid iCloud storage plan, although transferring thousands of large videos one group at a time may be inconvenient.
Fix 7: Export Photos to External Storage
Another option is to make a local copy of the media using an external storage device.
Apple supports exporting unmodified photo and video originals from the Photos app to compatible external storage.
- Connect a compatible storage device to the old iPhone using the appropriate Lightning adapter.
- Open Photos and select the files you want to copy.
- Tap Share.
- Choose Export Unmodified Original.
- Select the external storage location and save the files.
- Check the saved files before disconnecting the device.
Afterward, connect the storage device to the new iPhone using its USB-C port and import compatible items into Photos.
Some drives require external power or an adapter. Check that the drive is recognized in Files and that its filesystem is supported by iOS before attempting a large export.
Apple’s iPhone import and export guide explains the supported external storage workflow.
Keep the original files on the old iPhone until you have checked the exported copy and the final destination library.
Should You Use Quick Start Instead?
Quick Start is worth considering if you want to move the entire contents of the old iPhone to a new one.
It transfers device data as part of the setup process. That makes it different from opening Photos on an already configured iPhone and importing selected media from a connected device.
For wired migration from an iPhone 14 Pro Max to an iPhone 17 Pro Max, Apple specifies a USB-C to Lightning cable.
The basic process is:
- Begin the setup process on the new iPhone.
- Place the old iPhone nearby and follow the Quick Start prompts.
- Connect the devices using the appropriate cable when using wired migration.
- Choose the device-to-device transfer option.
- Leave the devices connected and wait until the migration completes.
Apple explains the required connections and steps in its wired migration documentation.
Be careful if your new iPhone is already configured. Starting a fresh migration may require erasing the destination device and returning to the setup screen. That would remove data currently stored on the new iPhone.
Back up the destination device and account for any data created since the original setup before considering this option.
For someone who only needs to transfer the remaining photos, continuing with smaller imports or using a computer is generally less disruptive.
What if Your Photos Are Still Syncing Through iCloud?
A wired Photos import and iCloud Photos synchronization are separate operations. The distinction matters because they can appear to have similar symptoms while requiring different fixes.
If both iPhones use iCloud Photos with the same Apple Account, the library can synchronize through iCloud without a manual import. This requires sufficient iCloud storage for the collection.
Apple documents several conditions that can temporarily pause synchronization, including:
- Low Power Mode or Low Data Mode.
- A low battery or a device that needs to cool down.
- Poor network connectivity.
- Insufficient iCloud storage.
- Media that cannot be uploaded.
On recent iOS versions, open Photos, go to Collections, and tap the profile button near the top of the screen to inspect the library’s synchronization status.
If a Sync Now option appears, you may be able to resume the process manually. Otherwise, follow the message shown in Photos.
Apple recommends keeping the device connected to power and Wi-Fi while large libraries synchronize. Depending on the collection, syncing may continue overnight.
Avoid repeatedly turning iCloud Photos off and on to force a restart. Apple warns that disabling the feature can interrupt or restart the synchronization process.
The complete list of status messages is available in Apple’s guide to fixing paused iCloud Photos synchronization.
These instructions apply when iCloud Photos is involved. They should not be confused with troubleshooting a wired import that fails while the two iPhones are directly connected.
How to Check for Missing or Duplicate Photos After Importing
Once the remaining files have transferred, check that the new iPhone actually contains the expected collection.
A completed transfer message is useful, but it does not verify every photo, video, or Live Photo.
Compare the Number of Photos and Videos
Open Photos on the old iPhone and note the number of photos and videos in the collection you intended to move.
Then examine the destination library on the new iPhone.
If the destination already contained photos before the transfer, its total count will naturally differ from the old phone. The number of items in a particular album may also differ from the overall library count.
For a more reliable comparison, check the intended source selection against the items that arrived, accounting for duplicates and files that may have been skipped.
Check Different Parts of the Library
Inspect photos from different dates, particularly older and newer items.
Open several long videos and Live Photos to confirm that they play correctly. Check important images in full resolution rather than relying on thumbnails.
If the transfer stopped during a particular group, pay special attention to those files.
Do not assume that item 2,501 corresponds to the 2,501st photo in chronological order. Import order can differ from the order displayed in the library.
Find Duplicates in Photos
On recent iOS versions, open Photos > Collections > Utilities > Duplicates.
If Photos identifies duplicate items, review them carefully before merging anything.
Duplicate detection can take time, particularly with a large collection. Apple explains that the device performs background analysis and may need to remain locked and connected to power.
The absence of a Duplicates collection does not prove that no duplicates exist or that every original transferred successfully.
For more details, see Apple’s instructions for finding and merging duplicate photos.
Check Hidden and Recently Deleted Items
If some photos appear to be missing, check the Hidden and Recently Deleted collections on the source device.
Also examine the library selection if you use iCloud Shared Photo Library. Items in a Shared Library may not appear when Photos is displaying only the Personal Library.
Apple explains this distinction in its iCloud Photos troubleshooting documentation.
Do not empty Recently Deleted or remove the originals from the old device while verifying the transfer.
Can Windows Help Transfer a Large Photo Collection?
Yes. A Windows PC can be used as an intermediary when direct iPhone importing fails.
Connect the old iPhone to Windows using a USB cable, install Apple’s device support software where required, and use the Windows Photos app to import the available media.
Apple provides the recommended Windows setup in its photo transfer instructions.
Some Windows users have reported errors when selecting more than 1,000 photos in a particular import workflow. A Microsoft Tech Community discussion describes such a message.
That report does not establish a universal 1,000-file limit across all Windows applications or transfer methods.
If Windows refuses a large selection, try smaller groups or use the Microsoft Photos import interface instead of copying a large selection manually from the iPhone’s DCIM folders.
Once the collection is backed up on Windows, it can be transferred to the new iPhone through a supported synchronization or import method.
Which Method Should You Try First?
The best next step depends on how the original transfer failed and how much of the library is still missing.
| Situation | Recommended action |
|---|---|
| Import stops after approximately 2,500 items | Retry with 100 to 500 selected items. |
| The same photo or video repeatedly fails | Inspect that file and try importing the remaining items separately. |
| The connected iPhone disappears from Photos | Reconnect the devices and test another compatible data cable. |
| Some originals cannot be loaded | Check iCloud Photos optimization and the availability of full-resolution files. |
| Direct importing fails even with small selections | Try a Mac with Photos or Image Capture. |
| Only a small number of photos remain | Transfer them through AirDrop. |
| You want to move the entire old iPhone | Consider Quick Start, accounting for the destination’s existing data. |
| Photos are already stored in iCloud | Check the Photos sync status and available iCloud storage. |
Frequently Asked Questions
Can an iPhone Photos album contain more than 2,500 photos?
Yes. Apple does not document a 2,500-item restriction for ordinary Photos albums. Shared Albums have separate rules that depend on when they were created and the available iCloud storage.
Why does my iPhone import stop at exactly 2,501 items?
The exact cause is unknown without additional information from the failed import. A problematic media file, a repeatable import-session failure, or a device-related issue could explain the behavior. Try importing a different small selection to determine whether the problem follows particular files or the size of the transfer.
Can I resume an iPhone photo import without starting over?
You can attempt another import using the remaining items. Apple supports importing selected photos and videos from a connected device. However, the behavior of partially completed imports and automatic duplicate skipping can vary, so check what already transferred before retrying.
Will importing photos twice create duplicates?
It is possible. Some import workflows recognize previously imported files, but duplicate detection should not be treated as guaranteed for every transfer or file variation. Check the destination library and its Duplicates collection before removing copies.
Do I need iCloud+ to transfer thousands of photos?
No. Direct cable imports, Mac or PC imports, AirDrop, and compatible external storage can work without purchasing iCloud storage. iCloud Photos requires enough cloud storage for the collection if you choose that synchronization method.
Can I transfer photos from an iPhone 14 Pro Max to an iPhone 17 Pro Max using a cable?
Yes. Apple supports importing photos directly from another iPhone. A compatible USB-C to Lightning data connection is appropriate for these models.
Does changing Camera Formats to Most Compatible fix an existing import problem?
Usually not. The Most Compatible setting primarily changes the format used for future captures. It does not automatically convert every existing HEIC or HEVC file in the library. A problem involving an existing photo should be investigated separately.
Can I delete the photos from my old iPhone after transferring them?
Only after verifying that the destination has the necessary originals and that important videos and Live Photos work. If both devices use iCloud Photos with the same library, deleting an item from one device can also delete it from the other devices connected to that library.
What to Do Before Deleting Photos From the Old iPhone
If your original wired import stopped at 2,500 items, begin with another small Import Selected batch. If it fails on a consistent group, look for a photo or video that cannot be read. The Apple Community case involving a single damaged photo shows how much difference that investigation can make.
Once the import succeeds, compare the transferred collection with the old phone. Check important videos, Live Photos, dates, and any files that previously failed.
Keep the original collection available until the checks are complete. If the new iPhone contains irreplaceable photos from both devices, make a separate backup before cleaning up either library.
For a failure that continues after these checks, contact Apple Support with the iOS versions of both phones, the approximate item count, any error messages, and the results of smaller-batch tests. Those details can help distinguish a file-specific problem from an import issue affecting the devices.