 Vipin PG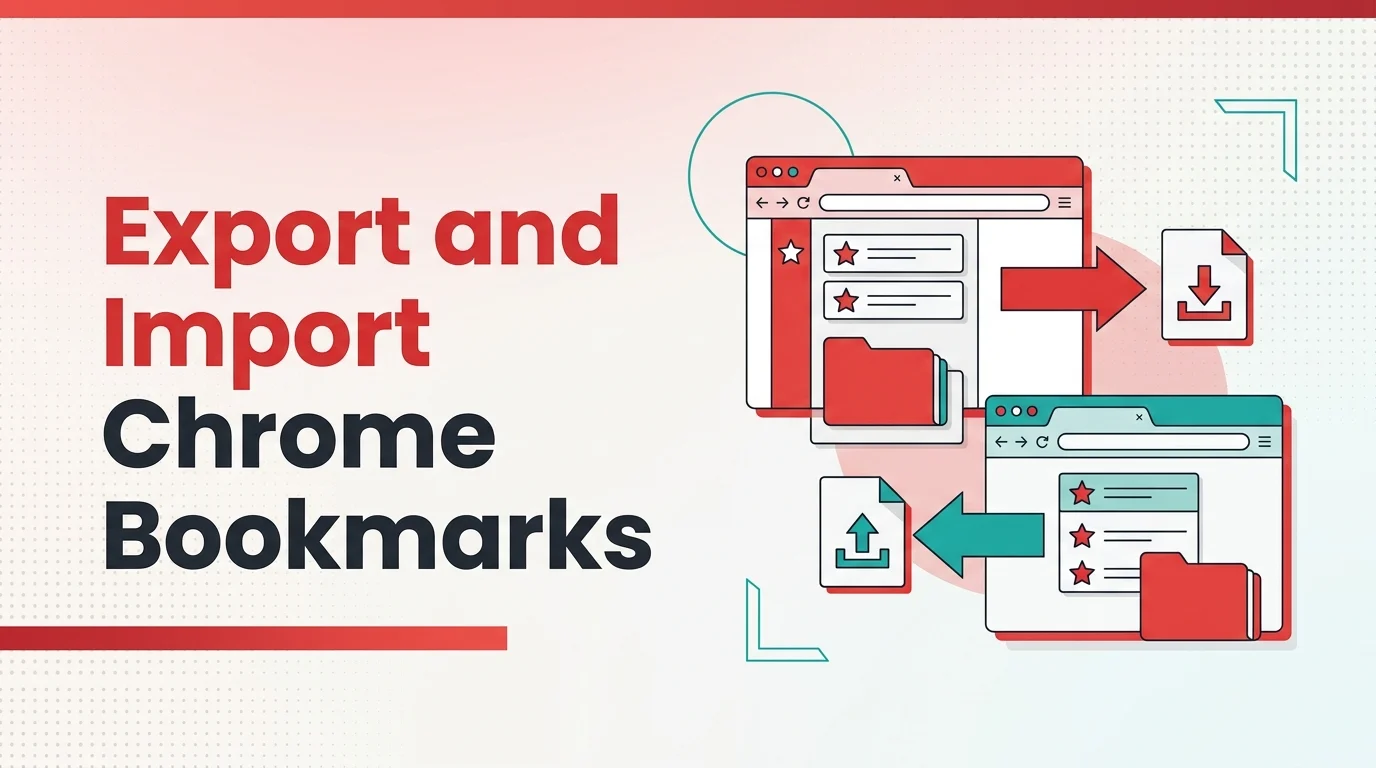
Google Chrome is still the browser most people reach for first, and that holds true all over the world. It’s fast, familiar, and baked into the Google account most of us are already signed into every single day. But there’s a flip side to all that convenience. Chrome can get heavy — especially on older laptops or machines with limited RAM — and that’s usually the moment people start seriously thinking about jumping ship.
If that sounds familiar, you’re definitely not alone. Chrome has a reputation for eating up system resources, and once it starts dragging everything else down with it, looking for an alternative to Google Chrome stops being curiosity and starts being a real necessity.
Here’s the good news though — you don’t have to rebuild your entire browsing setup from zero. Your saved bookmarks can be exported from Chrome as a standard HTML file, then pulled into another browser or brought back into Chrome whenever you need. That’s still the cleanest method available, and Google continues to support it directly through the Bookmark Manager.
In this updated guide, I’ll walk you through the current steps, flag where Chrome’s menu labels have shifted in newer versions, and show you the fastest way to move your bookmarks without losing any of your folders or structure along the way.
What Changed in Chrome’s Bookmark Menu
If you’ve been following older tutorials and things look a bit off, this is usually why. In newer Chrome builds, Google now labels the menu section as “Bookmarks and lists” instead of just “Bookmarks.” The export option is still right there — it’s just worded differently now. And honestly, that one small UI tweak is enough to make a two-year-old guide feel completely outdated.
Google’s official help page on importing and exporting bookmarks still confirms that Chrome exports bookmarks as an HTML file — which is exactly what you want whether you’re moving to a different browser or just keeping a manual backup.
Steps to Export Chrome Bookmarks
Step 1: Open Google Chrome on your computer.
Step 2: Click the three-dot menu in the top-right corner of the browser window.
Step 3: Go to Bookmarks and lists, then click Bookmark Manager.
Step 4: Once Bookmark Manager opens, look for the menu inside that page. Depending on which Chrome version you’re running, this might show up as a three-dot button or an Organize menu near the top.
Step 5: Click that menu and select Export bookmarks.
Step 6: Chrome will ask where you want to save the file. Pick a folder, give it a clear name you’ll actually remember, and save it.
Step 7: Chrome exports everything as an HTML file — bookmark folders, saved links, all of it.
That HTML file is what matters. Keep it somewhere safe. If you’re switching browsers, that file is typically all you need to get started on the other side.

One thing I always suggest at this point: don’t just leave the exported file sitting on a cluttered desktop and forget it ever existed. Save it somewhere you’ll find it again, or better yet, drop a copy into cloud storage or on an external drive. It’s a tiny file, but recovering lost bookmarks without it is genuinely painful.
A Faster Way to Open Bookmark Manager
You can skip the menu navigation entirely. Just type chrome://bookmarks/ directly into the address bar and hit Enter. That drops you straight onto the page where the export option lives.
If you’re more of a keyboard person, Chrome also has dedicated shortcuts for this. Google lists Ctrl + Shift + O on Windows and Linux, and Command + Option + B on Mac, in its official Chrome shortcut reference. If you use bookmarks regularly, that’s by far the quickest route.
From there, the rest is simple — open the page, click the manager menu, and export.

Why Exporting Bookmarks Still Matters
A lot of people assume that signing into Chrome is good enough — and sometimes it is. When Chrome sync is turned on, your bookmarks get stored with your Google account and show up across other signed-in devices. Google explains that bookmark data can be saved across devices through account sync and managed through your account settings in its guide to Chrome data across devices.
That said, I wouldn’t lean on sync alone when you’re changing browsers or wiping a system. A manual HTML export gives you a local backup that’s completely independent of sync status, account issues, or profile corruption. It’s just the safer move. Simple beats clever in situations like this.
How to Import Bookmarks to Chrome
Importing bookmarks back into Chrome is just as easy, and the current method is actually a bit more flexible than older tutorials tend to show.
Method 1: Import from the main Chrome menu
Step 1: Open Chrome.
Step 2: Click the three-dot menu in the top-right corner.
Step 3: Go to Bookmarks and lists.
Step 4: Click Import bookmarks and settings.
Step 5: When Chrome asks for a file, select your saved bookmarks HTML file and click Open.
Method 2: Import from Bookmark Manager
Step 1: Open Bookmark Manager from the menu or by entering chrome://bookmarks/.
Step 2: Click the manager menu.
Step 3: Choose Import Bookmarks from HTML file.
Step 4: Select the saved HTML file and confirm.
After import, Chrome may place the items directly on the bookmarks bar if you had no existing bookmarks. If you already had bookmarks saved in Chrome, the imported items typically land in the Other bookmarks section. That behavior is documented in Google’s current bookmark help, so don’t be surprised if that’s where they show up.

The bookmarks will be imported to Google Chrome, and you can start using them right away.
Moving Bookmarks to Another Browser
If your actual goal is to move away from Chrome entirely, exporting the HTML file is only half the job. You still need to bring that file into the new browser.
For Microsoft Edge, Microsoft’s support documentation explains that you can go to Settings, open Import browser data, and load a bookmarks HTML import file directly. That makes the Chrome-to-Edge transition about as painless as these things get.
Firefox handles it well too. Mozilla’s current migration guide explains that Firefox can pull in bookmarks and other browsing data from Chrome directly, though password import rules can vary depending on your platform and version. Their official Chrome to Firefox guide is worth a read if that’s where you’re headed.
Common Problems While Exporting or Importing
Export option not showing: This almost always happens because you’re in the wrong menu. The export button lives inside Bookmark Manager — not in Chrome’s general settings page.
Imported bookmarks showing up in an unexpected folder: Totally normal. Chrome tends to place imported items under Other bookmarks when the browser already has saved bookmarks in it.
Bookmarks missing after switching browsers: Most of the time, either the wrong file was selected during import, or the assumption was that sync had already handled everything. Check the HTML file first, then check the target browser’s imported folder.
Folders lost or flattened: If you used Chrome’s built-in export, the HTML file should preserve your folder structure intact. Problems with this usually crop up when third-party tools are used instead of Chrome’s own export system.
The Best Practical Approach
If you want my honest take — do both. Turn on sync if you actively use Chrome across multiple devices, but also export a manual HTML backup before making any big changes. Before reinstalling Chrome, resetting a PC, switching to Edge, or spending a week testing Firefox, make that backup first. It takes under a minute.
That’s the step most people skip, right up until the day they actually need it.
Final Thoughts
Exporting Chrome bookmarks is still pretty painless, even though the interface wording has shifted a little in newer versions. Open Bookmark Manager, hit the export option, save the HTML file somewhere you’ll find it. To bring bookmarks back into Chrome later, use either Import bookmarks and settings from the main menu, or the import option inside Bookmark Manager itself.
Once you know where Chrome tucks that option away, the whole thing takes two minutes tops. And if you’re switching browsers because Chrome has gotten too heavy on your machine, backing up your bookmarks before you go is one step you really shouldn’t skip.