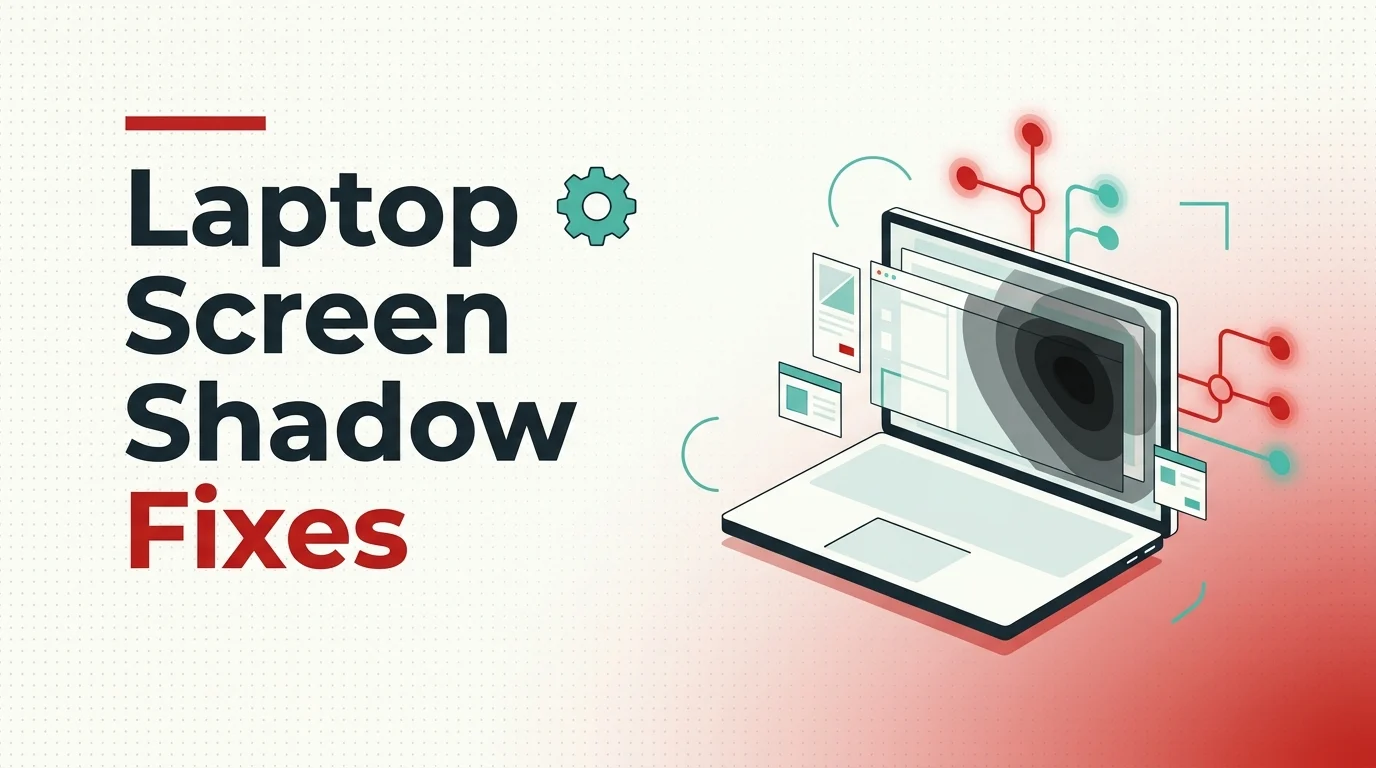
A few weeks ago, I noticed a dark patch near the bottom corner of my laptop screen. At first I thought it was just a smudge on the glass. Wiped it. Nothing changed. That’s when I realised the shadow was coming from inside the screen — and that sent me down a rabbit hole trying to figure out exactly what was happening and what I could do about it.
After digging through a lot of technical material on how laptop displays actually work, I’ve put together everything I found in one place. If your laptop screen is showing a shadow — whether it’s a dark patch, a trailing blur behind moving things, a cloudy corner, or a flickering dark zone — this article will help you understand why it’s happening and what to do about it.
First, Let’s Understand What’s Inside Your Screen
Before you can fix a problem, it helps to know what you’re dealing with. A laptop screen isn’t just a piece of glass — it’s actually a stack of several layers working together.
At the very back, there’s a row of tiny LEDs that produce the light. That light passes through a light guide plate which spreads it evenly across the whole screen. Then it goes through diffuser films that scatter the light to eliminate bright spots directly above the LEDs. After that, the light passes through a rear polarizing filter, then through the liquid crystal layer — the actual image-forming part — then through colour filters (red, green, blue), and finally through a front polarizing filter before it reaches your eyes.
A shadow can appear whenever any part of this chain gets interrupted, distorted, or damaged. That’s why there’s no single answer to “why is there a shadow on my screen” — it depends entirely on where in that stack the problem is.
The Most Common Causes of Laptop Screen Shadows
1. Ghosting — The Shadow That Moves With the Image
If the shadow only appears when something is moving on your screen — like when you scroll a page quickly or play a game — you’re most likely dealing with ghosting. This isn’t a defect or damage. It’s a limitation of how liquid crystals physically work.
The liquid crystals in your screen need a small amount of time to switch from one state to another. This is called response time, measured in milliseconds. If your screen refreshes faster than the crystals can switch, the old frame’s colour lingers briefly while the new frame is already being drawn. The result is a dark, smeared shadow trailing behind whatever is moving.
Some screen types are worse than others for this. VA panels (Vertical Alignment) are the most prone to ghosting — especially when moving from dark to light colours. IPS panels are generally faster and better. TN panels are fastest but have poor viewing angles. So if you have a budget or mid-range laptop from the last few years, there’s a reasonable chance it uses a VA panel, and ghosting might just be a known characteristic of that screen.
2. Backlight Bleeding — Cloudy Patches, Usually Near the Edges
This is one of the most commonly reported screen issues and is almost always a hardware limitation rather than a defect you can fix easily. Backlight bleeding happens when the light from the LEDs leaks out unevenly from the edges or corners of the display, instead of being fully controlled and directed through the optical layers.
The result is a cloudy, bright, or dark patch — typically in the corners or along one edge of the screen. It’s most visible when the screen is showing a very dark image. If you put a pure black screen in a dark room and see glowing patches or light clouds, that’s backlight bleeding.
A certain amount of this is completely normal — no LCD laptop has a perfectly uniform backlight. But if it’s severe enough to be distracting during normal use, that’s a problem.
3. A Dead or Failing Backlight LED
Your screen’s backlight isn’t one big light — it’s a row or grid of individual LEDs. When one or more of those LEDs fails, you get a defined dark zone in a fixed location. The shadow doesn’t move, doesn’t change with the image, and stays in the same spot no matter what’s displayed.
This is strictly a hardware failure and becomes more common in older laptops or units that have been heavily used. There’s no software fix for this.
4. A Corrupted or Outdated Graphics Driver
This one surprised me when I first came across it — a software problem can actually cause what looks like a screen shadow. Your GPU (graphics card) sends signals to the display controller many times per second. If the driver software is corrupted, outdated, or has a bug, those signals can be wrong — causing pixels to not respond correctly, resulting in persistent dark areas, flickering patches, or smearing.
The key giveaway here: if the shadow appears only after Windows or macOS has loaded (but not in the BIOS screen), software is likely involved.
5. A Damaged Display Cable
Your screen is connected to your laptop’s motherboard by a thin ribbon cable — usually an eDP cable (embedded DisplayPort). Every time you open and close your laptop lid, this cable flexes slightly at the hinge point. Over thousands of lid openings, micro-fractures can develop in the cable, disrupting the data signal going to the screen.
The result is typically a flickering or shifting dark shadow — one that might get worse at certain angles, or come and go depending on how far you have the lid open. On newer MacBooks, Apple used an even shorter cable design that made this failure particularly common — they called it “Flexgate.”
If your shadow flickers, shifts depending on the lid angle, or started after the laptop had a long period of heavy daily use, a damaged display cable is worth suspecting.
6. Physical Pressure Damage (Mura Effect)
If something pressed hard against your laptop screen — even briefly — it can permanently deform the liquid crystal layer. The liquid crystals are contained between two glass substrates with tiny spacer beads keeping them at a precise, uniform gap. If that gap is disturbed by pressure, the light passing through behaves differently in that area, creating a permanent dark or discoloured patch.
This is called the Mura effect in the display industry. You can sometimes identify it because the dark area has a faint irregular shape — not a clean rectangle or circle, but more of an organic blotch where the pressure happened.
7. Water or Liquid Damage
If liquid got onto your screen or inside your laptop, it can find its way between the display layers. Water trapped between the optical films creates a shifting, cloudy shadow that often looks like an oily smear or water stain. The shape may change slightly over time as the liquid moves around.
If this is what happened, the fix approach is very different from other causes — and acting quickly matters a lot.
8. Burn-in / Image Persistence
If you’ve left the same image on your screen for very long periods — like a static taskbar, a logo, or a UI element — the liquid crystals in those areas can get “stuck” in that state. The result is a faint ghost image that lingers even when the screen content changes. This is more common on OLED screens but can happen on LCD panels too, usually as a softer, temporary version called image persistence.
How to Diagnose Which Problem You Actually Have
Before spending money or opening up your laptop, run these four tests in order. They’ll narrow down the cause quickly.
Test 1 — Connect an External Monitor
Plug your laptop into a TV or external monitor via HDMI or USB-C. Use it normally and check: does the shadow appear on the external screen too?
- Shadow appears on external screen → The problem is in your GPU or graphics driver, not the panel itself.
- External screen is fine → The problem is inside the laptop’s screen, cable, or display controller.
Test 2 — Check the BIOS Screen
Restart your laptop and enter the BIOS/UEFI settings (usually by pressing Del, F2, or F10 on startup — check your laptop brand’s key). Look carefully at the BIOS screen. Does the shadow appear here?
- Shadow visible in BIOS → 100% hardware problem. No driver or OS software is involved at this stage.
- Shadow only appears in Windows/macOS → Software (driver or OS configuration) is the likely cause.
Test 3 — Full Black Screen in a Dark Room
In a darkened room, open your browser and search for “pure black screen” — there are websites that display a completely black full-screen page. Look at your display carefully.
- Cloudy or glowing patches → Backlight bleeding.
- A defined dark spot → Dead LED or Mura pressure damage.
- Nothing unusual → The shadow may be motion-dependent (ghosting).
Test 4 — The Motion Test
Open a webpage with dark text on a white background and scroll very fast. Watch carefully.
- Shadow appears only while scrolling and disappears when still → This is ghosting — a pixel response speed issue.
- Shadow is present whether the screen is moving or still → Hardware damage is the more likely cause.
How to Fix It — From Easiest to Most Complex
Fix 1 — Update or Roll Back Your Graphics Driver (Free, Easy)
If your tests pointed toward a software cause, this is the first thing to try. On Windows, open Device Manager, expand Display Adapters, right-click your GPU, and choose Update Driver. Alternatively, download the latest driver directly from Intel, NVIDIA, or AMD’s website for a clean install.
If the shadow started after a recent Windows update or driver update, try rolling back instead. In Device Manager, right-click your GPU and look for the “Roll Back Driver” option. This is often overlooked but works surprisingly well.
Fix 2 — Adjust the Refresh Rate and Overdrive Setting (Free, Easy)
For ghosting issues, make sure your screen is running at its native refresh rate. On Windows, go to Settings → System → Display → Advanced Display, and confirm the refresh rate matches your screen’s spec (60Hz, 120Hz, etc.).
Some laptops also let you adjust “Overdrive” or “Response Time” settings through a manufacturer utility (common on gaming laptops). If you’re seeing bright halos around moving objects instead of dark shadows, your overdrive is set too high — reduce it by one level. That halo effect is called inverse ghosting and is a sign of too much overdrive compensation.
Fix 3 — Run a Pixel Fixer Tool (Free, Easy — For Burn-in Only)
If your shadow looks like a faint residual image of something that was on your screen for a long time, there are free tools like JScreenFix and PixelHealer that rapidly flash colours at the affected pixels to break the liquid crystal out of its stuck state. Let it run for 30 to 60 minutes over the affected area. It won’t help with physical damage, but for image persistence it can work well.
Fix 4 — Gentle Pressure Massage (Last Resort, Risky — For Pressure Damage)
I’ll be honest — I approached this one with a lot of caution when I read about it. If the shadow is caused by mild physical pressure that compressed the spacer beads in the LCD matrix, gently massaging the affected area with a soft cloth can sometimes encourage the liquid crystal fluid to redistribute.
Power off the laptop completely. Wrap your fingertip in a clean microfiber cloth. Apply very light circular pressure over the shadowed area for about 30 seconds. The key word here is very light. If you press too hard, you’ll permanently shatter more cells and make the shadow much larger. This is strictly a last-resort move for out-of-warranty devices where you have nothing to lose.
Fix 5 — Passive Drying for Water Damage (Careful and Slow)
If liquid is the cause, power off immediately and disconnect the battery if you can. Place the laptop open in a warm, dry room with gentle air circulation. Leave it for several days. Do not use a hair dryer or any direct heat source — the polarizing films inside the display will melt and the damage will become permanent.
If the shadow changes from a shifting, fluid shape into a permanent white cloudy patch, the water has evaporated but left behind mineral deposits. At that point, the panel likely needs replacement.
Fix 6 — Replace the Display Cable (Moderate — Service Centre or DIY)
If your shadow flickers, shifts at different hinge angles, or came on gradually with heavy daily use, the eDP ribbon cable is a strong suspect. On standard PC laptops, this is one of the cheaper repairs — often in the range of a few hundred rupees for the part, plus labour if you go to a service centre. Some laptops make this relatively accessible to replace yourself if you’re comfortable opening devices.
On MacBooks or thin ultrabooks with bonded displays, this gets more expensive — often the entire display assembly needs replacement.
One safety note: always discharge your laptop’s capacitors before opening it. After unplugging from the wall, hold the power button for 10 seconds. The capacitors inside store charge even after disconnection, and contact with an exposed board can be dangerous.
Fix 7 — Replace the Panel (Professional Repair or Warranty Claim)
Dead backlight LEDs, severe Mura damage, and water-stained panels that didn’t recover all have one solution: a new panel. This is the definitive fix and not as expensive as most people assume — replacement panels are available for most laptop models, and a good service centre can usually do this.
If your laptop is still under warranty and the shadow appeared without any physical accident, push for a warranty repair or replacement. A screen shadow from a manufacturing defect or normal use is a valid warranty claim. Don’t let it slide.
Quick Reference — Shadow Type and What It Likely Means
| What you see | Most likely cause | Fix path |
|---|---|---|
| Shadow only behind moving content | Ghosting (slow pixel response) | Adjust refresh rate / overdrive settings |
| Cloudy glow in corners on dark screen | Backlight bleeding | Minor: bezel adjustment. Severe: panel replacement |
| Fixed dark zone, same spot always | Dead backlight LED or Mura damage | Panel replacement |
| Shadow appears in BIOS too | Hardware — panel or cable | Cable replacement or panel replacement |
| Shadow only after OS loads | GPU driver issue | Driver update or rollback |
| Shadow flickers or shifts with lid angle | Damaged display cable | eDP cable replacement |
| Fluid, shifting stain shape | Water / liquid between display layers | Passive drying; panel replacement if it sets |
| Faint ghost of a past image | Burn-in / image persistence | Pixel fixer tool (JScreenFix, PixelHealer) |
My Final Thoughts
Going through all of this research changed how I think about laptop screen issues. A “shadow” sounds like one problem, but it’s really a whole family of different problems that look similar from the outside. The good news is that with a few quick tests, you can usually narrow it down to the real cause in under 15 minutes — without needing any tools or technical knowledge.
Start with the external monitor test and the BIOS check. Those two alone will tell you whether you’re dealing with a software issue you can fix yourself or a hardware issue that needs a service centre. From there, the path becomes a lot clearer.
If your laptop is still under warranty and the shadow isn’t from obvious physical damage — push for a warranty claim. You’re entitled to a working screen. If it’s out of warranty, a display cable or panel replacement is usually not as expensive as you’d fear, and most local service centres can handle it.
Hope this helped. If you figured out what was causing yours, or if you tried something that worked (or didn’t), feel free to share it in the comments below — it might help someone else in the same situation.