 Vipin PG
Vanguard Error VAN 57 happens when Riot Vanguard, League of Legends anti-cheat system, fails to start or connect properly before the game launches. It’s most often caused by the VGC background service not running, an outdated Vanguard install, or a BIOS setting like TPM 2.0 or Secure Boot being disabled. The fix usually involves restarting the Vanguard service, updating your system, or reinstalling Vanguard entirely.
Step 1: Restart League of Legends, Riot Client, and Your PC
Vanguard can fail to initialize if it was interrupted during a previous session or if the Riot Client didn’t hand off to it correctly. Close League of Legends fully, exit the Riot Client from your system tray (not just the window), and restart your computer before trying again. 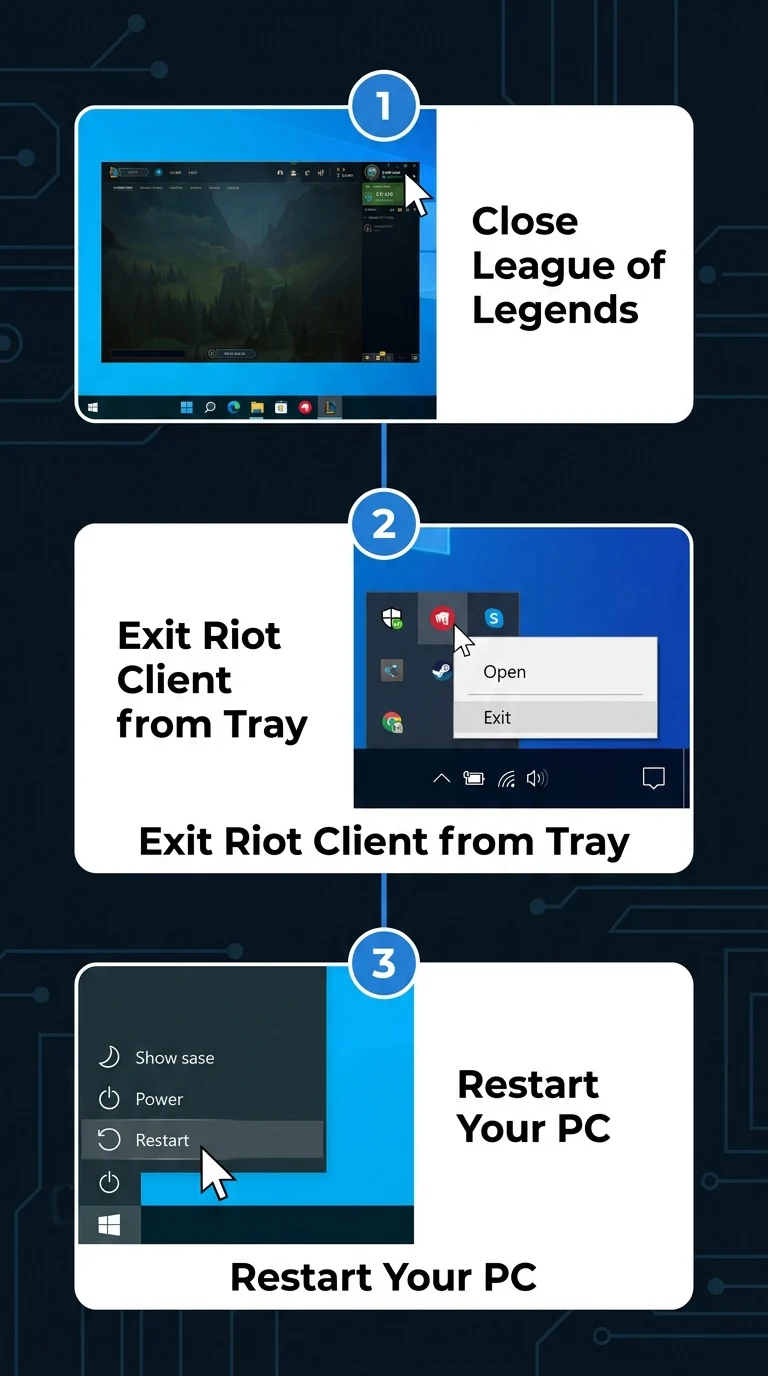
Step 2: Run Riot Client and League of Legends as Administrator
Vanguard needs elevated permissions to install its kernel-level driver and start its service correctly. Running the Riot Client without admin rights can prevent Vanguard from initializing, which triggers VAN 57. 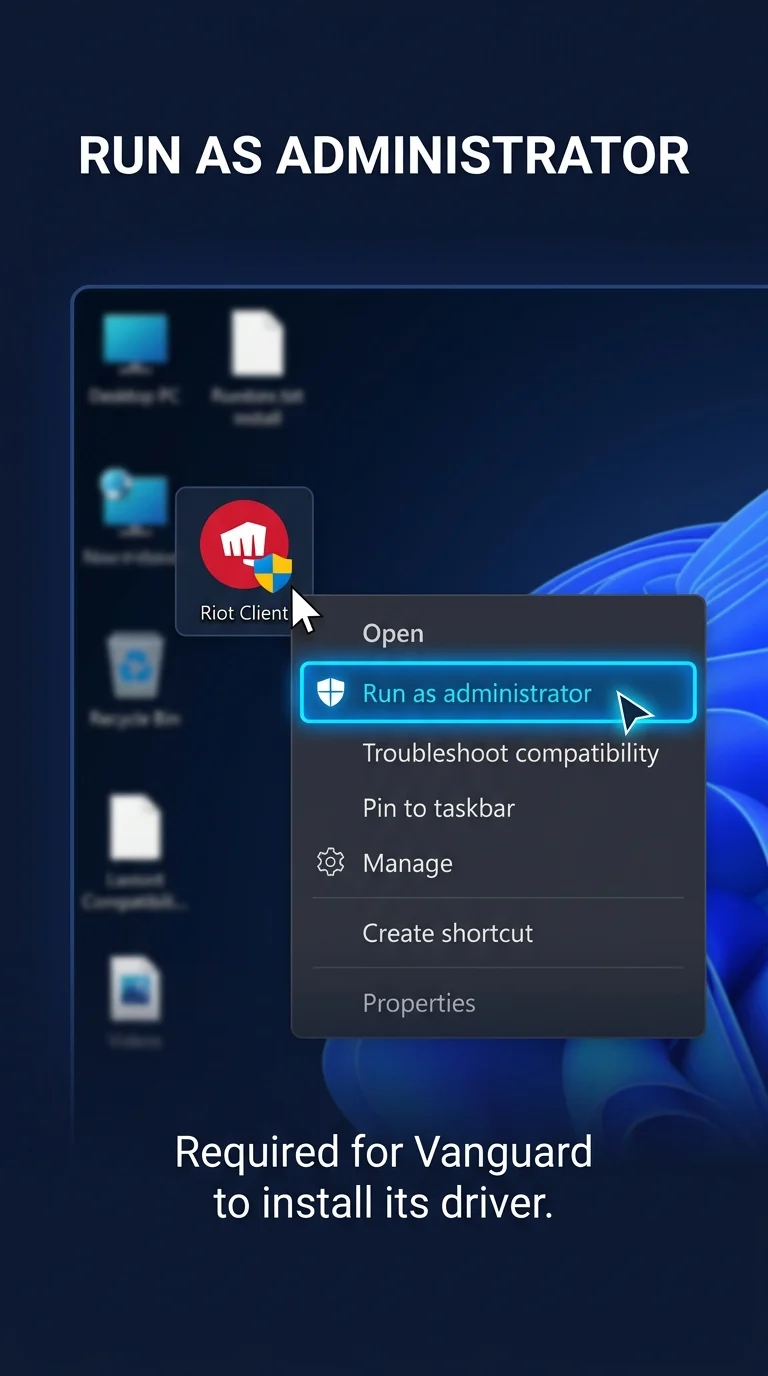
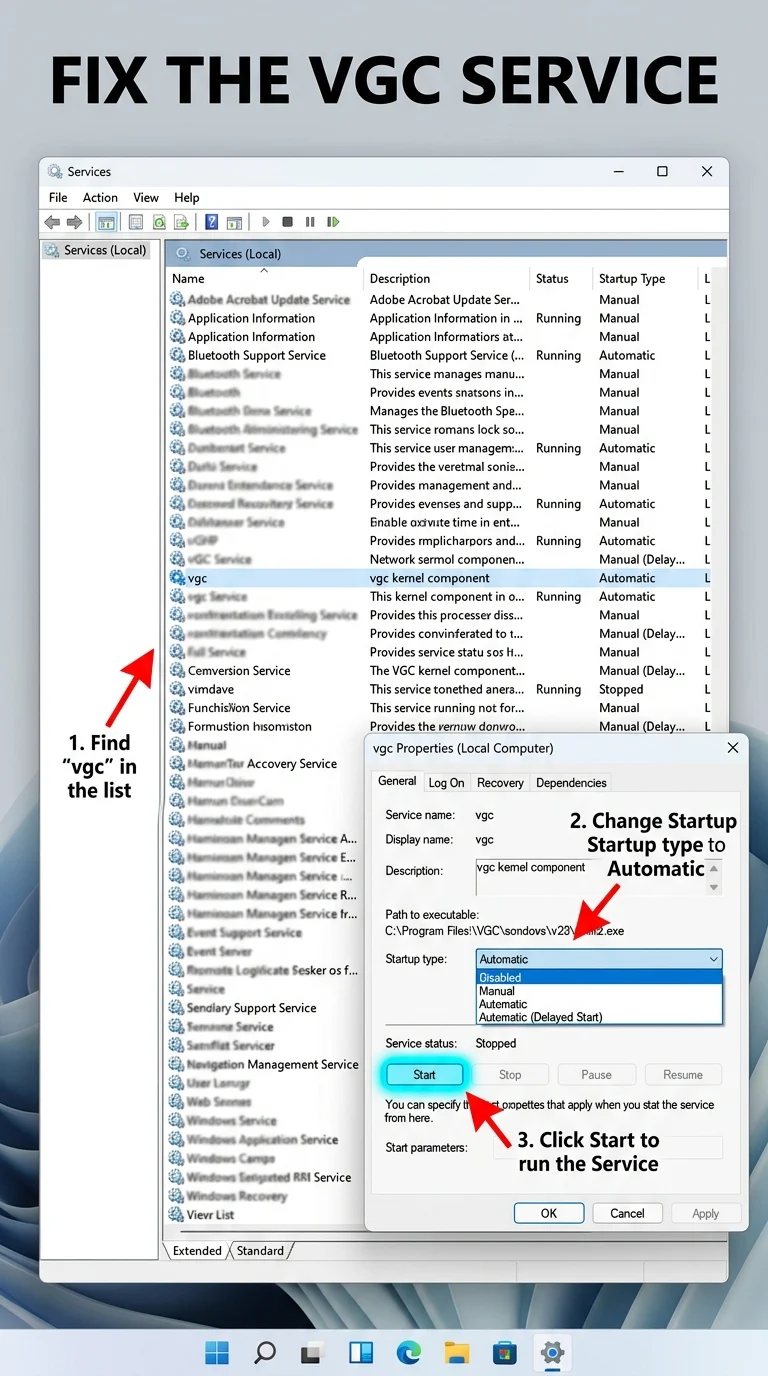
Step 3: Set the VGC Service to Automatic and Start It Manually
VGC is the background Windows service that runs Riot Vanguard. If it’s disabled, stopped, or set to Manual, Vanguard can’t connect and League will throw VAN 57. Open the Windows Services manager and fix it directly.
- Press Windows + R, type services.msc, and press Enter.
- Scroll down and find vgc in the list.
- Right-click it and select Properties.
- Set Startup type to Automatic.
- Click Start under Service status, then Apply and OK.
- Restart your PC and launch League of Legends again.
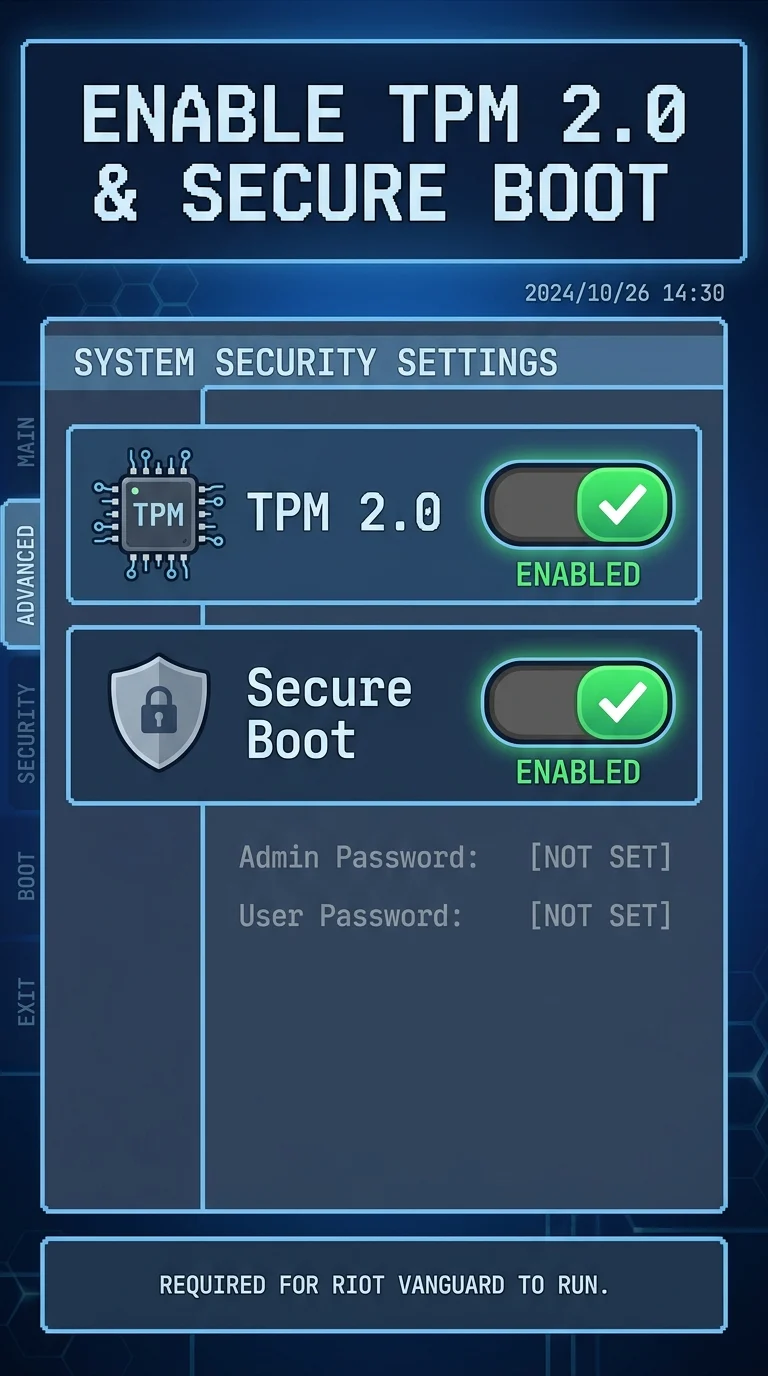
Step 4: Enable TPM 2.0 and Secure Boot in Your BIOS
Vanguard’s newer versions require Virtualization-based Security, which depends on TPM 2.0 and UEFI Secure Boot being enabled. If either is off, Vanguard can fail to start and cause VAN 57 or a related security error.
- Restart your PC and enter BIOS/UEFI settings (usually by pressing F2, F10, Del, or Esc during boot).
- Look for TPM or Security Chip and set it to Enabled.
- Find Secure Boot under Boot or Security settings and enable it.
- Save changes and exit BIOS, then boot into Windows normally.
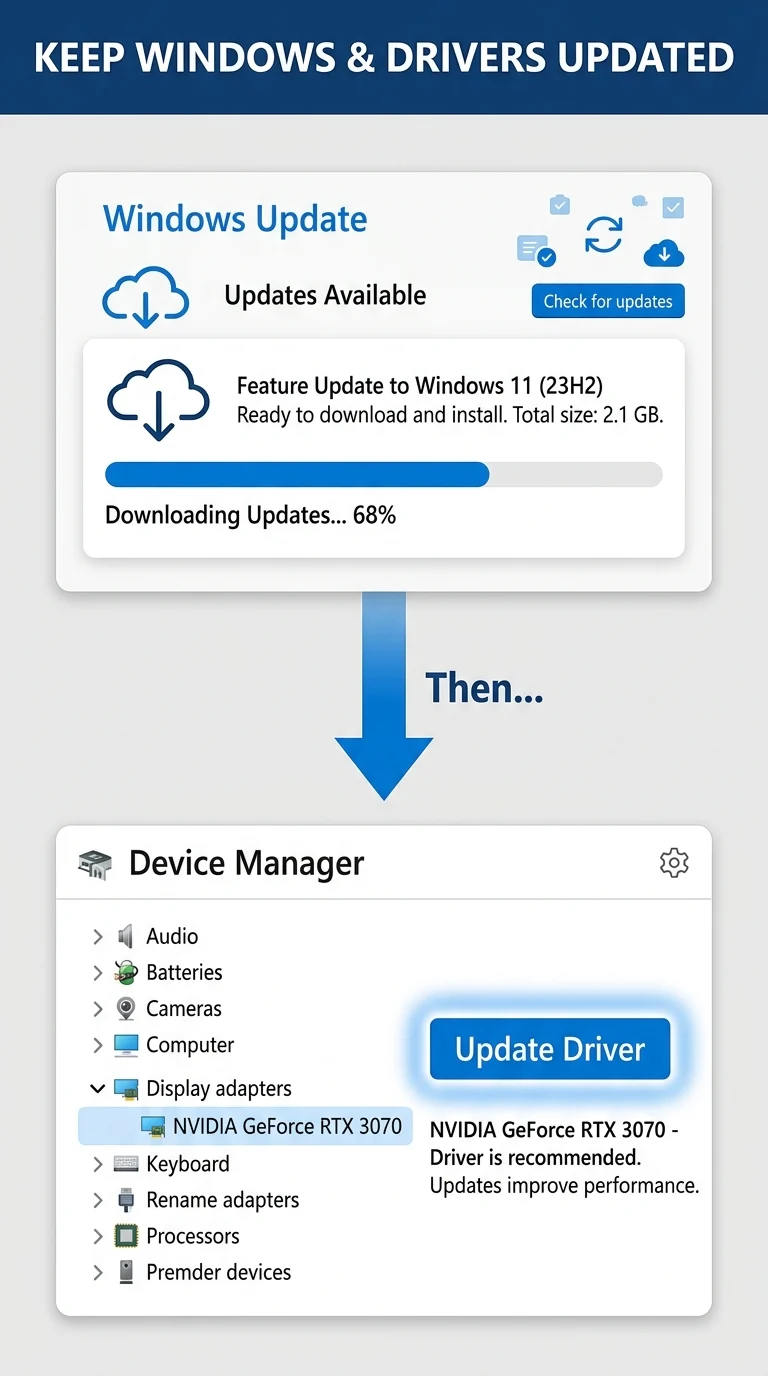
Step 5: Update Windows and Your Graphics Drivers
Vanguard checks your system’s security posture before it loads, and outdated Windows builds or graphics drivers can cause it to fail that check. Keeping both current resolves a large share of VAN 57 reports.
- Open Settings > Windows Update and install any pending updates.
- Open Device Manager, expand Display adapters, right-click your GPU, and select Update driver.
- Restart your PC once both updates finish.
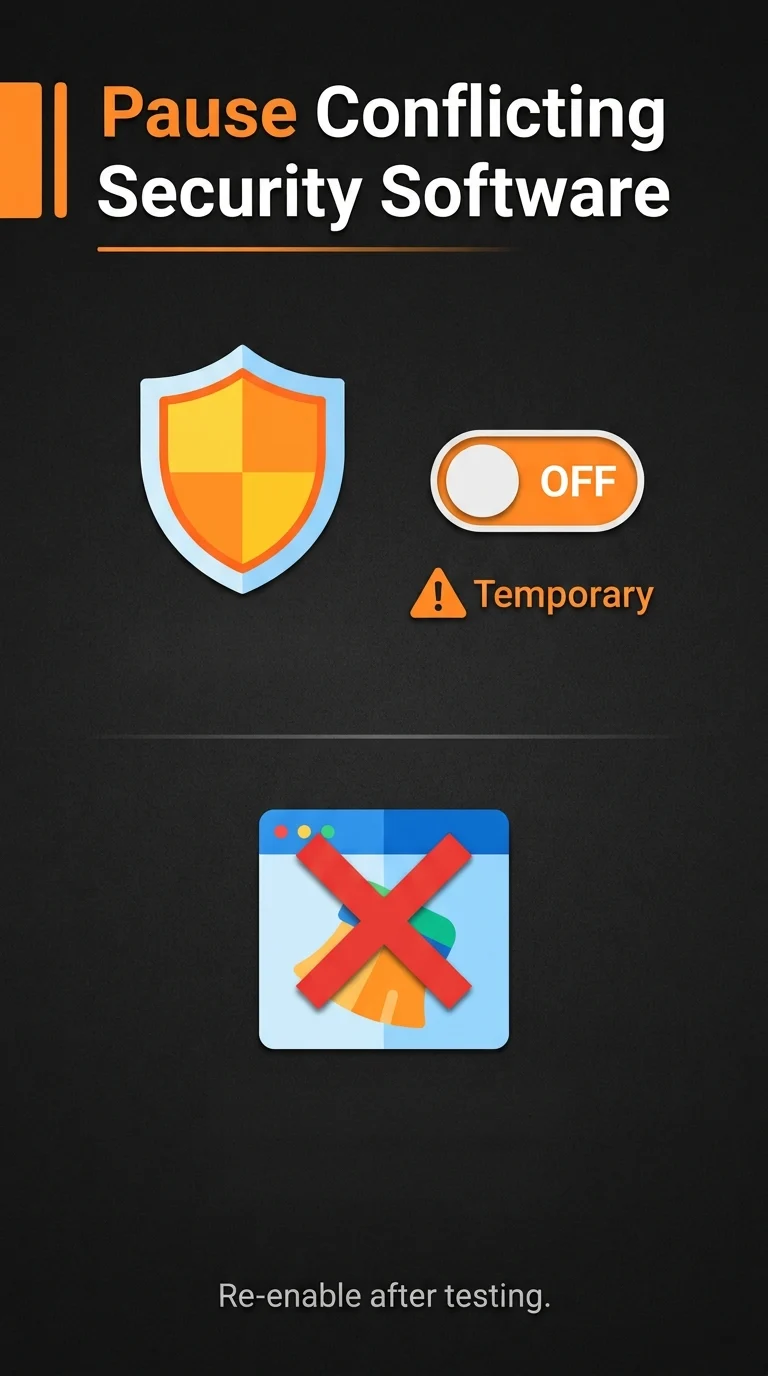
Step 6: Temporarily Disable Conflicting Antivirus or Optimization Software
Third-party antivirus tools and PC “optimizer” software sometimes block Vanguard’s kernel driver from loading, since Vanguard operates at a similar system level. Disabling these temporarily can confirm if they’re the cause.
- Open your antivirus software and temporarily disable real-time protection.
- Close any PC cleaner or optimization tools running in the background.
- Relaunch the Riot Client and check if League of Legends starts normally.
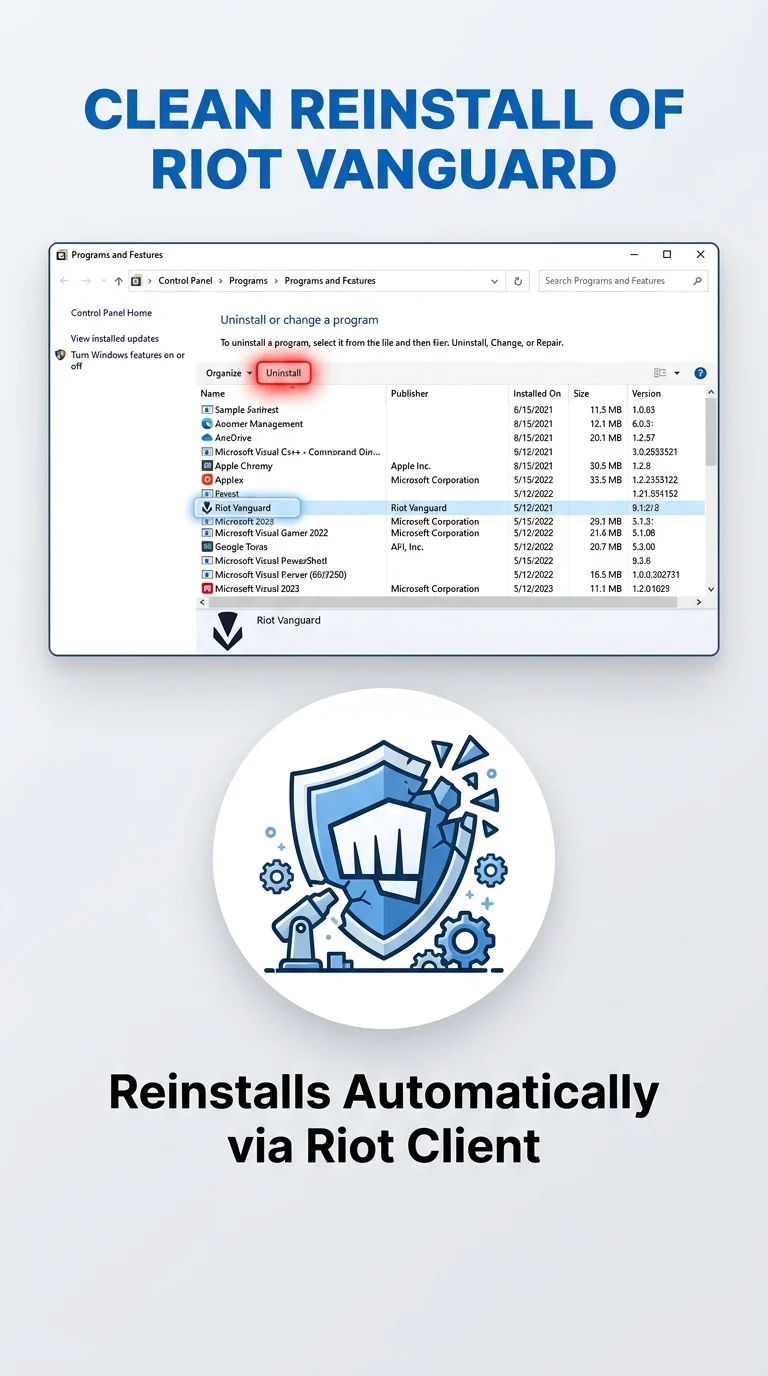
Step 7: Uninstall and Reinstall Riot Vanguard
This is Riot’s own recommended fix for persistent VAN errors. Removing Vanguard completely and letting the Riot Client reinstall it fresh clears out corrupted files or registry issues that simple restarts can’t fix.
- Press Windows + R, type appwiz.cpl, and press Enter.
- Find Riot Vanguard in the list, right-click, and select Uninstall.
- Restart your PC.
- Open the Riot Client and launch League of Legends , Vanguard will reinstall automatically.
Still Seeing VAN 57?
If the error persists after all the steps above, the issue is likely account-specific or tied to a hardware conflict Riot needs to review directly. Submit a support ticket through the official League of Legends support page so Riot can check your account and system logs.
Conclusion
Vanguard Error VAN 57 almost always comes down to the VGC service, an outdated system, or a BIOS setting Vanguard depends on. Working through the service, BIOS, and reinstall steps above resolves it for the vast majority of players without needing to contact support.