Taking a screenshot on a Mac is easy. But most people don’t know that you don’t have to capture the whole screen and then crop it afterward — Mac actually lets you select and capture only the area you need, right from the start. There are also a couple of other ways to do this depending on whether you’re starting fresh or working with an existing image.
Here’s every method that works, from quickest to most hands-on.
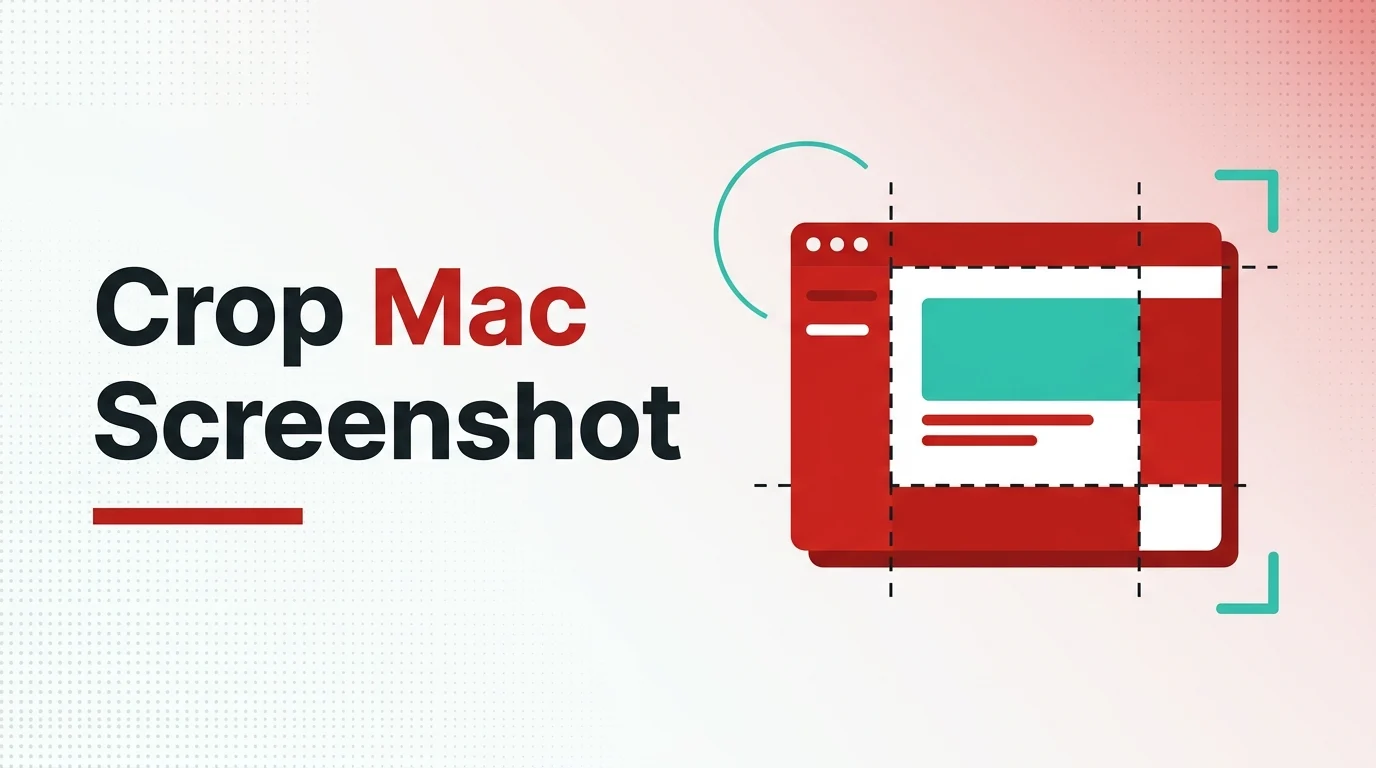
Cropping and Saving a Screenshot on Mac — The Fastest Ways That Actually Work
Step 1: Use Command + Shift + 4 to Capture a Specific Area
This is the fastest and most direct way. No apps to open — just a keyboard shortcut.
- Press Command (⌘) + Shift + 4 on your keyboard at the same time.
- Your cursor changes into a crosshair (+).
- Click and drag to draw a box around the area you want to screenshot.
- Release the mouse button. The screenshot is taken instantly.
- The cropped screenshot saves automatically to your Desktop as a
.pngfile, named with the date and time (e.g., Screenshot 2025-06-17 at 10.30.00.png).
💡 Tip: While dragging, hold Space to move the selection box around without resizing it. This is handy when you’ve selected the right size but need to reposition it.

Step 2: Use the Screenshot App for More Control (Command + Shift + 5)
If you want options like a timer delay, a specific save location, or the ability to record your screen too — use the Screenshot app toolbar.
- Press Command (⌘) + Shift + 5. A small toolbar appears at the bottom of your screen.
- Click the third icon: “Capture Selected Portion” (it looks like a dotted rectangle).
- Drag the selection handles to define the area you want to capture.
- Click “Capture” on the toolbar.
- Before capturing, click “Options” to choose where to save the file — Desktop, Documents, Clipboard, or a custom folder.
💡 Tip: The “Options” menu also lets you set a 5 or 10-second timer — useful if you need to capture a dropdown menu or tooltip that disappears when you click elsewhere.

Step 3: Crop an Existing Screenshot Using Preview
Already have a screenshot saved and just want to crop it? Preview — the default Mac image viewer — has a built-in crop tool. You don’t need Photoshop or any third-party app.
- Open the screenshot image in Preview (double-click the file, or right-click → Open With → Preview).
- Click the toolbox icon (Show Markup Toolbar) at the top right of the Preview window — it looks like a pencil tip in a circle.
- Click and drag on the image to draw a selection box around the area you want to keep.
- Go to the top menu bar: Tools → Crop (or press Command + K).
- The image is now cropped. Press Command + S to save it — this overwrites the original file. To save as a new file, go to File → Export and choose a name and format.
💡 Tip: To keep the original screenshot untouched, use File → Duplicate before cropping. This creates a copy so you can crop the duplicate without affecting the original.

Step 4: Save the Screenshot Directly to Clipboard (No File Saved)
Sometimes you don’t want a file on your Desktop — you just want to paste the cropped screenshot somewhere right away, like into Slack, an email, or a Google Doc.
- Press Command (⌘) + Control + Shift + 4 all at once.
- Draw a selection around the area you want to capture.
- The screenshot is copied directly to your clipboard — no file is saved anywhere.
- Go to where you want to paste it and press Command + V.
💡 Tip: You can also change the default save behavior permanently using Command + Shift + 5 → Options → Save to Clipboard, so all your screenshots go to clipboard unless you say otherwise.

Which Method Should You Use?
Here’s a quick breakdown to help you pick:
| Situation | Best Method |
|---|---|
| Quick crop and save to Desktop | Command + Shift + 4 |
| Choose where to save, or use a timer | Command + Shift + 5 |
| Crop an image you already have | Preview App (⌘K) |
| Paste directly without saving a file | Command + Control + Shift + 4 |
All four methods are built right into macOS — no downloads, no extra apps. The one you’ll probably end up using 90% of the time is Command + Shift + 4. It’s instant, precise, and saves the file automatically. Once you use it a couple of times, it becomes second nature.