 Vipin PG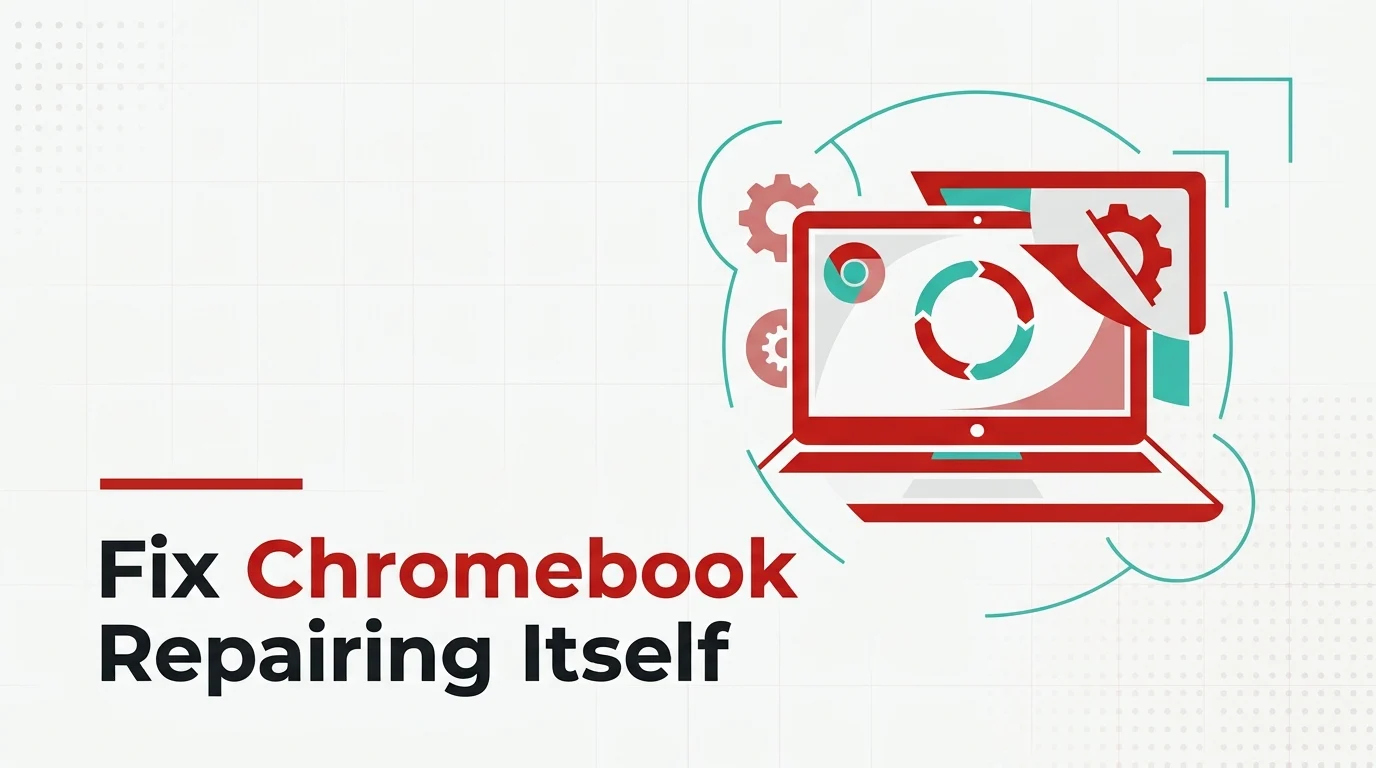
This message shows up on the ChromeOS boot screen, not inside a browser tab. It appears when Verified Boot, the built-in security check that runs every time a Chromebook starts, notices that a system file doesn't match what it expects. Instead of letting the device boot into a possibly broken state, ChromeOS pauses and tries to repair itself. This usually happens after a power cut during an update, an interrupted shutdown, or a storage error. Here's how to get past it, in order from the least to most drastic fix.
Step 1: Let It Actually Finish
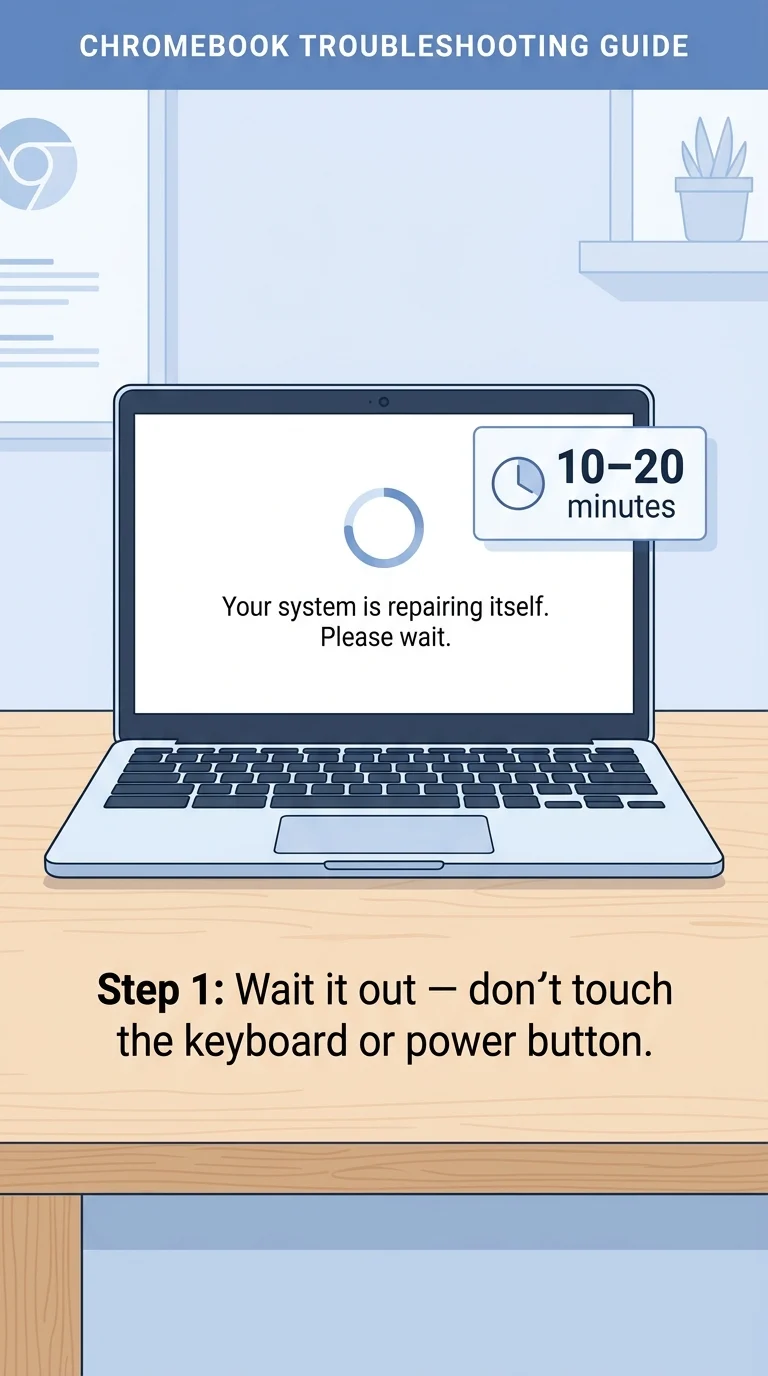
The repair process is a real background task, not a frozen screen. It reads through system files and rewrites the damaged ones, and that can genuinely take 10 to 20 minutes depending on how much needs fixing. Leave the Chromebook plugged in and don't touch the keyboard or power button during this window. Only move to the next step if the screen hasn't changed at all after 20 minutes.
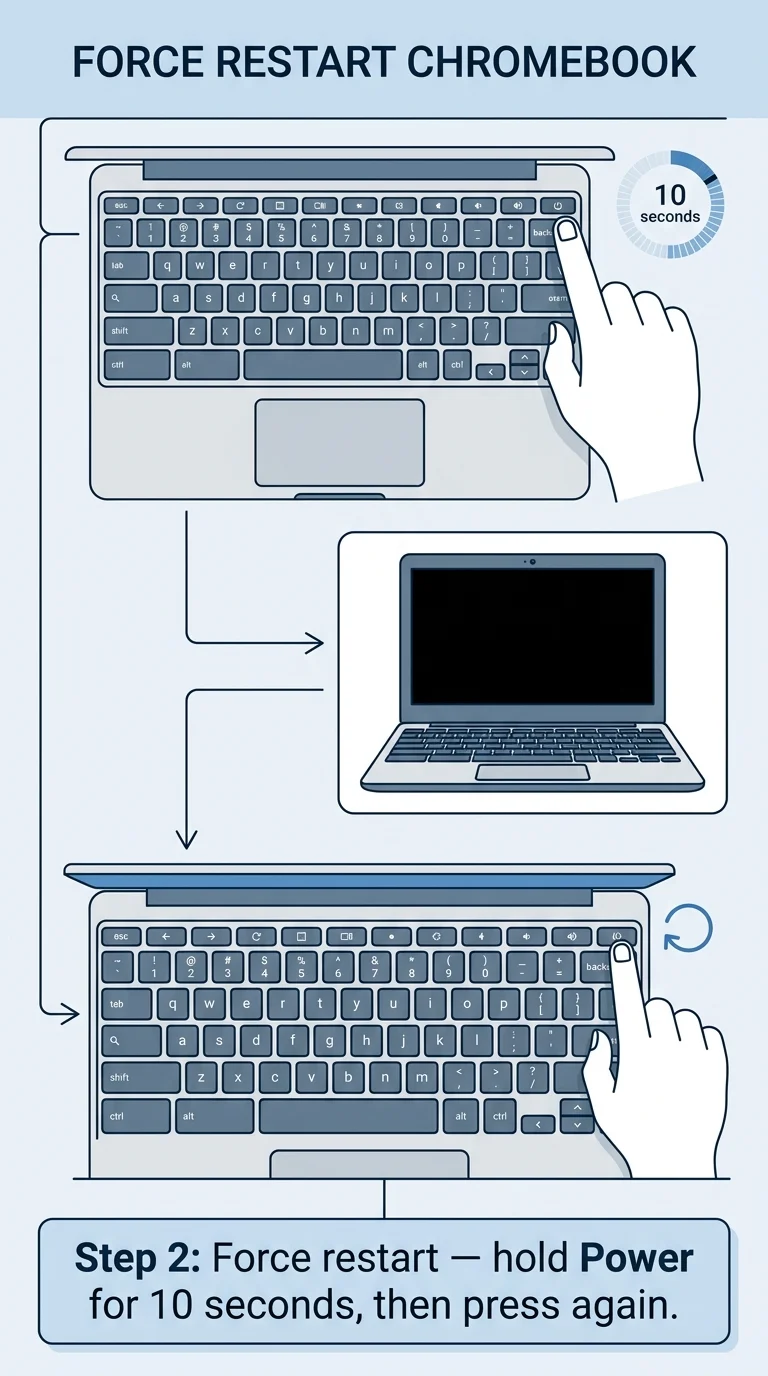
Step 2: Force Restart the Chromebook
If nothing changes after 20 minutes, do a hard shutdown. Press and hold the Power button for about 10 seconds until the screen goes completely black, even if the repair message is still on it. Wait a few seconds, then press the Power button once to turn it back on. This clears a stuck boot process without touching any of your files.
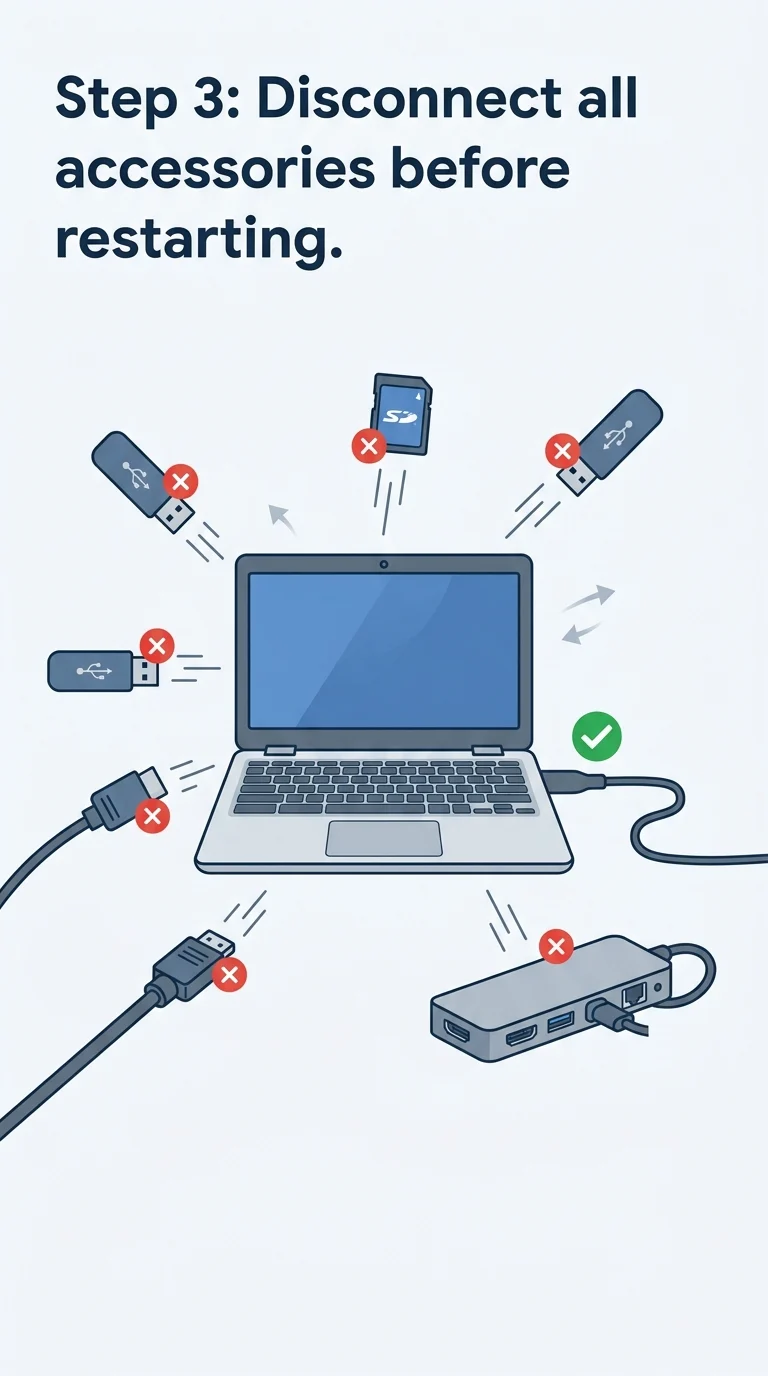
Step 3: Unplug Everything Connected
USB drives, SD cards, external monitors, docks, and even some USB-C chargers from third-party brands can interfere with the boot sequence and get mistaken for a system fault. Disconnect every accessory, leave only the official charger plugged in, and restart the Chromebook again.
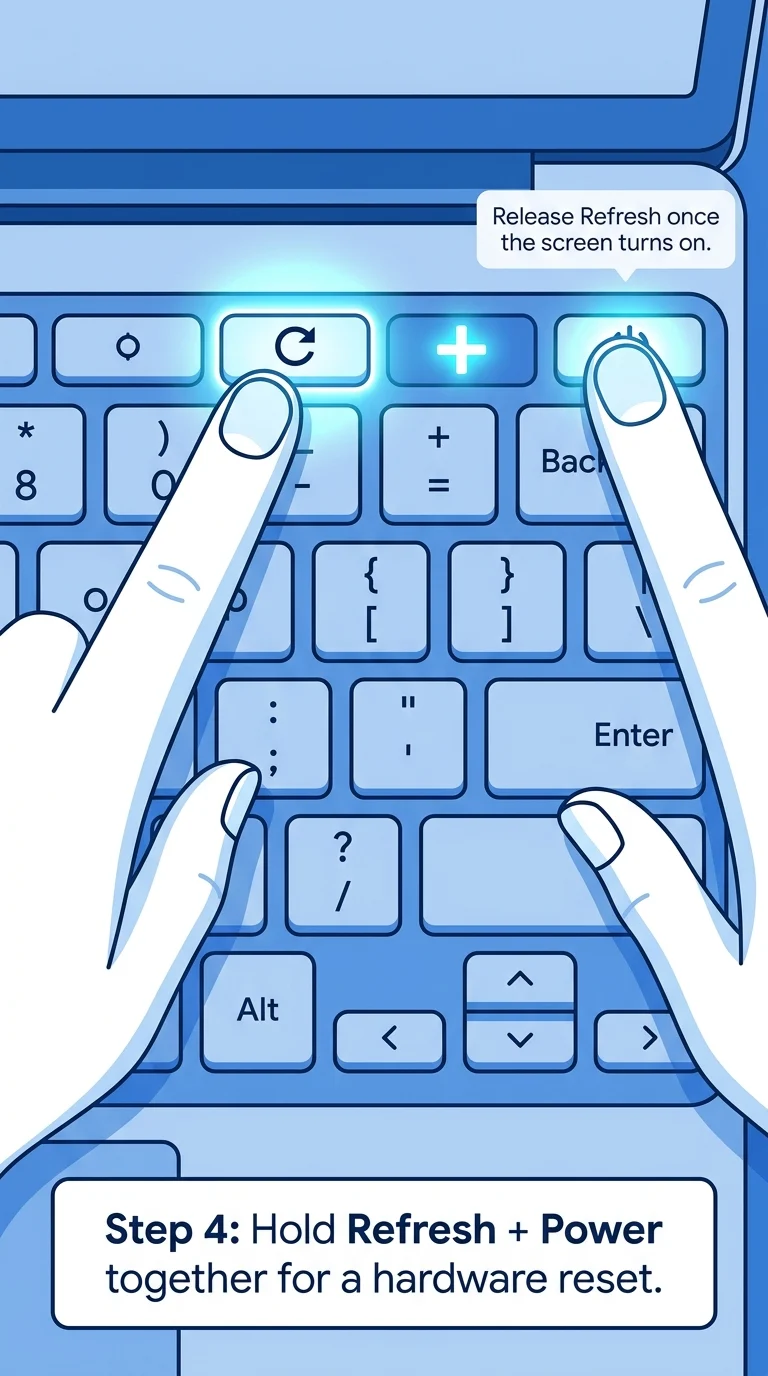
Step 4: Try a Hardware Reset
This is different from a normal restart because it resets hardware-level settings, not just software. Turn the Chromebook off completely. Then press and hold the Refresh key (the circular arrow icon, usually above the 3 or 4 key) and, while still holding it, press the Power button. Keep holding Refresh until the screen turns on, then let go. This clears glitches that a simple restart sometimes can't.
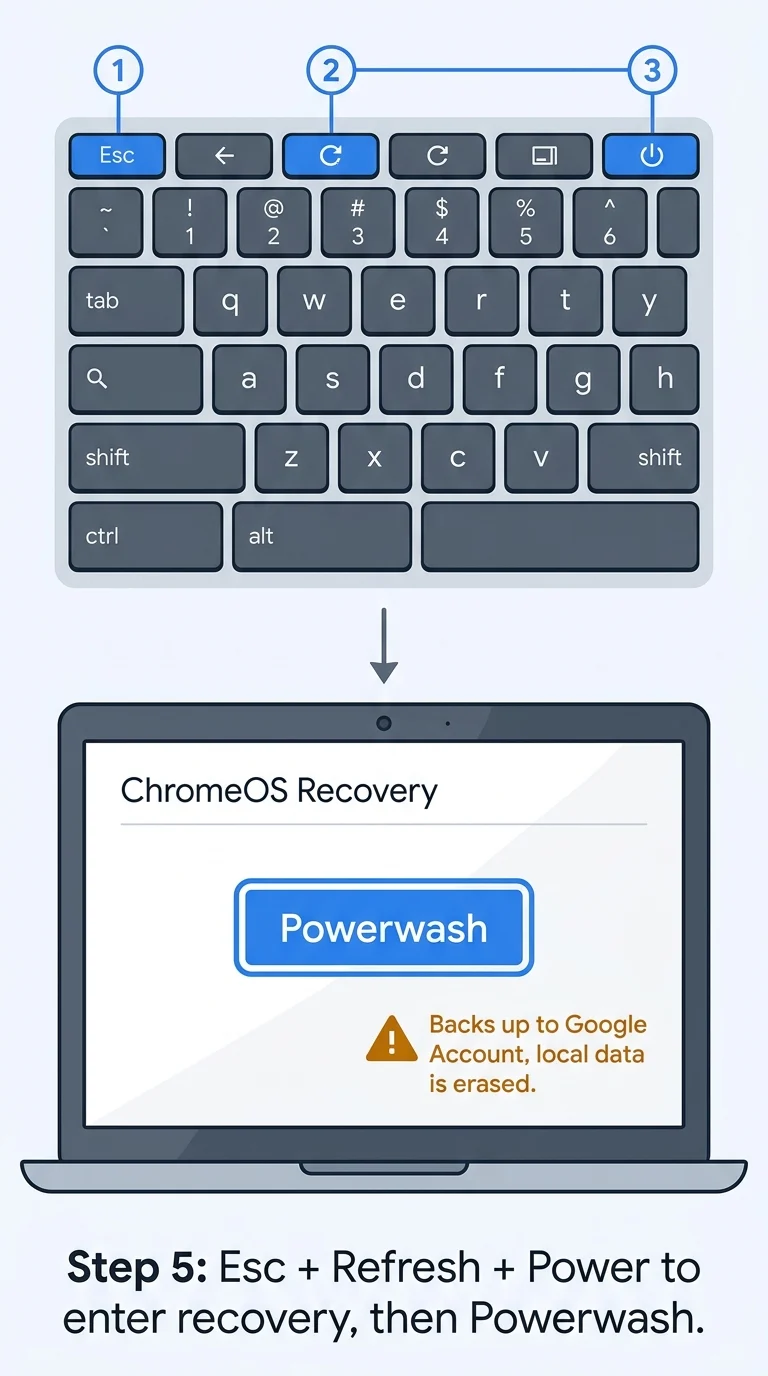
Step 5: Enter Recovery Mode and Run Powerwash
If the repair screen keeps coming back, the system files likely need a clean rewrite rather than another patch. Turn the Chromebook off, then press and hold Esc and Refresh together, and while holding both, press the Power button. Release Power first, but keep holding Esc and Refresh until the recovery screen appears. From there, follow the on-screen option to continue and choose Powerwash. This erases local data and settings, so anything not already synced to your Google account will be lost, which is worth knowing before you start.
Step 6: Reinstall ChromeOS With a Recovery USB
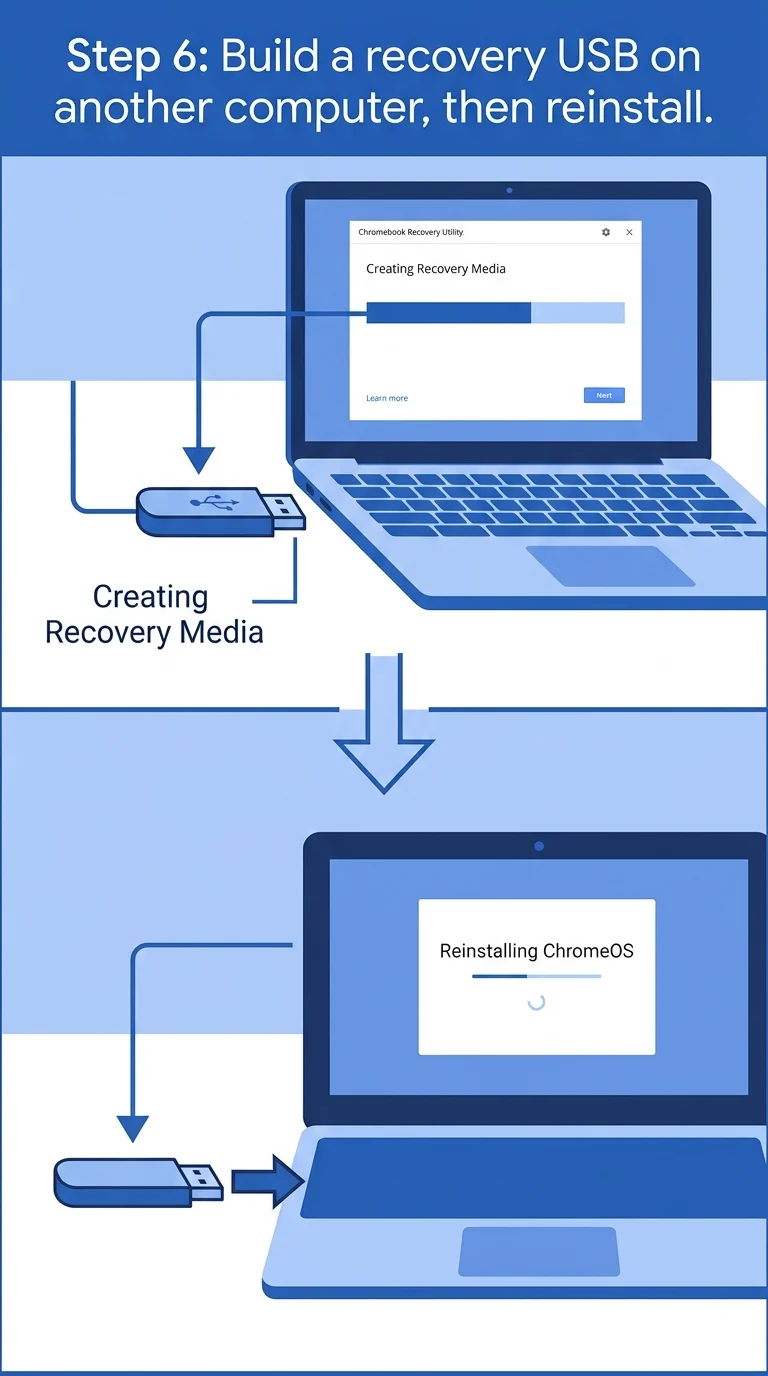
If Powerwash isn't available from the recovery screen or the loop continues right after, a full reinstall usually finishes the job. On a separate working computer, install the Chromebook Recovery Utility from the Chrome Web Store, plug in a USB drive or SD card of at least 8GB, and use the utility to build a recovery image for your exact Chromebook model. Insert that drive into the affected Chromebook, boot into recovery mode as in Step 5, and follow the prompts to reinstall ChromeOS from the USB.
Step 7: Consider a Hardware Fault
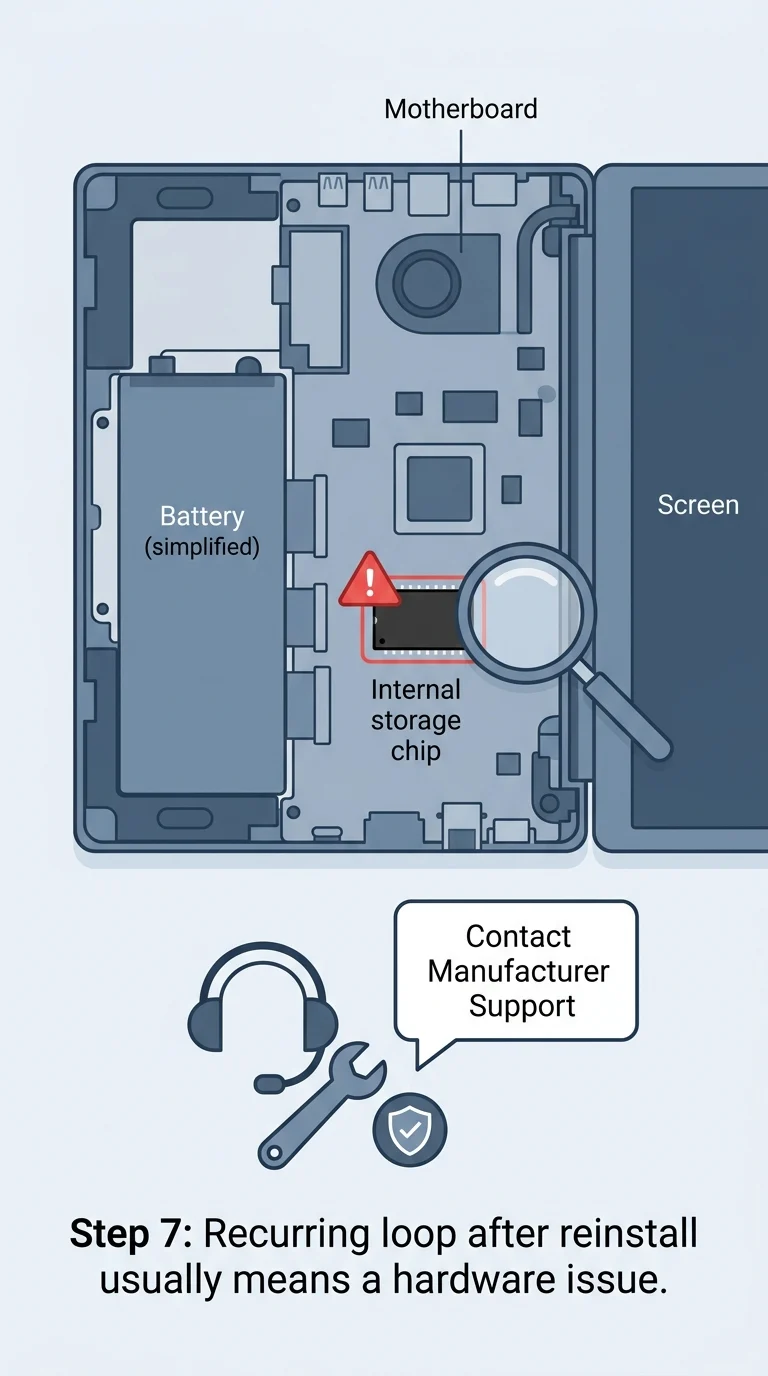
If the repair message returns even after a clean reinstall, the cause is very likely the onboard storage chip (eMMC or SSD) failing rather than anything ChromeOS can fix in software. Check whether the Chromebook is still under warranty, then contact the manufacturer's support (Acer, HP, Lenovo, Asus, Samsung, or Google for Pixelbooks) for a diagnostic and repair.
Wrapping Up
"Your system is repairing itself, please wait" looks alarming the first time you see it, but it's rarely the end of the road for a Chromebook. Waiting it out, restarting, and disconnecting accessories clear the message in most cases. When it doesn't, recovery mode, Powerwash, and a fresh ChromeOS reinstall solve nearly everything else. A loop that survives all of that is the one real sign to stop troubleshooting and get the hardware checked.