 Vipin PG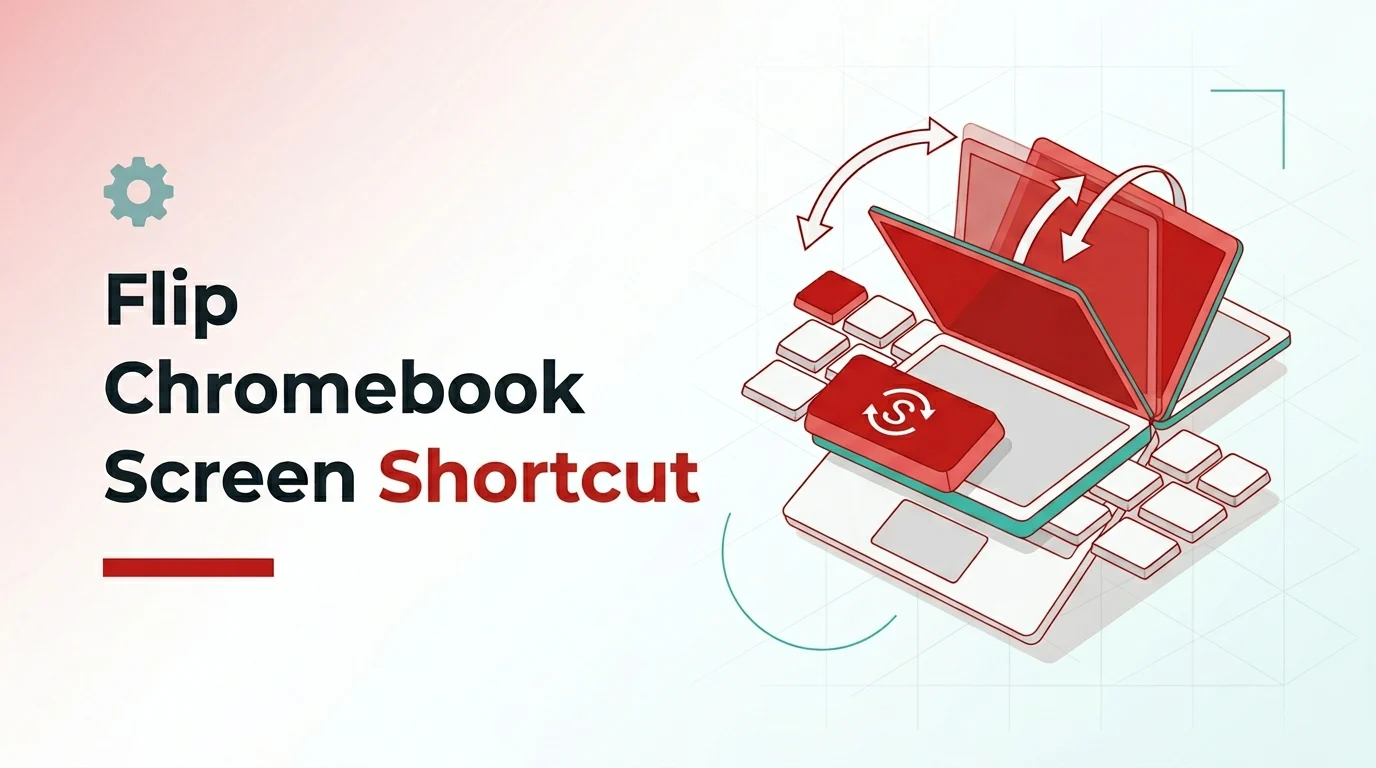
On a Chromebook, a sideways or upside-down screen is usually not a display failure. It is almost always a shortcut trigger, a display orientation change, or a tablet-mode rotation lock. The good part is that ChromeOS still gives you a fast keyboard fix, and it works in a few seconds on current builds.
The problem with most quick answers is that they stop at one shortcut. That helps when the screen flipped by accident, but it does not help when you are on a 2-in-1 Chromebook, using an external monitor, or dealing with a rotation lock that keeps forcing the display back into the wrong position.
If you are on a recent Chromebook and want the fastest fix first, press Ctrl + Shift + Refresh. If that does not restore the display the way you want, use the built-in orientation controls in ChromeOS and check whether tablet auto-rotate is taking over.
What You Will Build / Achieve
By the end of this guide, you will be able to rotate your Chromebook display with the keyboard shortcut, change orientation manually from ChromeOS display settings, and fix the most common cases where the screen stays sideways or refuses to auto-rotate. The result is a Chromebook display set back to the orientation you want, with a quick verification method you can repeat any time.
Prerequisites
- A Chromebook running a current version of ChromeOS. On the Stable channel at the time of writing, most devices are on
ChromeOS 16610.44.0with browser version147.0.7727.115. - A built-in Chromebook keyboard, or a compatible external keyboard if you are working on a docked setup.
- Access to
Settings > Device > Displayson the Chromebook. - If you want to document what changed before you fix it, keep this related guide on Chromebook screenshot shortcuts handy.
- If you are using a convertible model, make sure you know whether the device is in laptop mode or tablet mode before you test rotation.
This guide covers screen rotation on ChromeOS and common fixes around it. It does not cover hardware sensor repair for a damaged hinge, accelerometer, or display assembly.
Use the Keyboard Shortcut
Step 1: Press the rotation shortcut
Press Ctrl + Shift + Refresh at the same time.
Ctrl + Shift + RefreshOn most Chromebook keyboards, the Refresh key is the top-row key with a circular arrow. On some current Google help pages, the same key is labeled as Rotate.
Step 2: Repeat the shortcut until the screen reaches the right angle
Each time you press the shortcut, ChromeOS rotates the display by 90 degrees.
0° → 90° → 180° → 270° → back to 0°If the screen is upside down, keep pressing the same key combination until it returns to normal landscape.
Step 3: Confirm the orientation change
Look at the shelf, mouse movement, and app windows after each rotation.
Expected result:
- Shelf appears on the correct edge
- Pointer movement feels normal again
- Text is readable without tilting the device
If pointer movement still feels wrong, the display is rotated but not yet back to your preferred orientation. Run the shortcut again.
Change the Orientation from Settings
Step 1: Open Display settings
Open the system menu, then go to the display controls in ChromeOS. This path is useful when the shortcut is unavailable or easier to avoid than guessing which way the screen is currently rotated.
Time in bottom-right corner → Settings → Device → DisplaysYou should land on the display settings page where ChromeOS shows the built-in screen and any connected monitors.
Step 2: Select the display you want to fix
If you have more than one screen connected, click the display that needs rotation before changing orientation.
Built-in Display
or
External monitor name
This matters because ChromeOS stores orientation per display, not one global setting for every screen.
Step 3: Set the correct orientation
Under Orientation, choose the layout you want.
Landscape
Portrait
Landscape (flipped)
Portrait (flipped)
The display should switch immediately after you select the new orientation.
Google documents both the shortcut method and the manual display path in its Chromebook shortcut guide and display settings help.
Handle Rotation on a 2-in-1 Chromebook
Step 1: Check whether the Chromebook is in tablet mode
Fold the device fully back only if your model supports tablet mode. On convertibles, ChromeOS can manage rotation differently once the keyboard folds behind the screen.
Expected result:
- On-screen keyboard may appear
- Quick Settings may show rotation controls
- Screen may rotate automatically when you turn the device
If a mouse is connected, ChromeOS can switch behavior back toward laptop mode, which changes how auto-rotation works.
Step 2: Turn auto-rotate on if the screen is locked sideways
Open Quick Settings from the bottom-right corner and check the rotation control.
Time in bottom-right corner → Quick Settings → Auto-rotateIf auto-rotate is off, turn it back on and rotate the Chromebook physically to test it.
Step 3: Lock rotation intentionally if you want one fixed orientation
When you are reading, presenting, or using portrait mode for a long stretch, rotation lock keeps the screen from shifting every time you move the device.
Quick Settings → Auto-rotate OffThe display should stay in the current orientation until you unlock it again or change it manually in Display settings.
If touch input is getting in the way while you test orientation on a convertible, this TechRounder guide on disabling Chromebook touchscreen is a useful follow-up.
Rotate an External Monitor
Step 1: Connect the monitor and open the display layout
Attach the external display, then open the ChromeOS display page.
Time → Settings → Device → DisplaysYou should see the external monitor listed separately if ChromeOS detects it properly.
Step 2: Select the external display before changing orientation
Click the external display name first. This is the part many quick tutorials skip, and it is why people think the setting is not working.
Select:
- Built-in Display
or
- External monitor name
Once the correct screen is selected, change Orientation for that display only.
Step 3: Use the shortcut on the target display if needed
If you prefer the keyboard shortcut on a multi-display setup, move the pointer onto the monitor you want to rotate before pressing the shortcut.
Move pointer to target display → Press Ctrl + Shift + RefreshWhen this works, only the selected screen rotates instead of the entire setup.
Google's display documentation covers the per-screen orientation path in the Chromebook display settings help page.
Verify the Rotation Works Properly
Step 1: Test the shortcut once in each direction you need
Press Ctrl + Shift + Refresh until the screen reaches the orientation you want, then return it to normal landscape.
Expected result:
- Every key press rotates the display 90 degrees
- The display returns to normal after enough presses
- No black screen or frozen layout appears
If it rotates reliably each time, the shortcut path is working.
Step 2: Confirm the setting persists in Display settings
Open Settings > Device > Displays and verify that the selected orientation matches what you see on screen.
Expected result:
Orientation in settings matches the visible screen layout
This confirms ChromeOS is applying the change at the display level, not only visually for the current session.
Step 3: Test tablet behavior if your model supports it
Fold the device into tablet mode and rotate it physically. Then toggle auto-rotate off and on once from Quick Settings.
Expected result:
- With Auto-rotate on, the display follows the device position
- With Auto-rotate off, the display stays fixed
If you need to capture the state before a reset or support request, use these screen capture steps first.
Troubleshooting
Ctrl + Shift + Refresh does nothing
The most common cause is using the wrong key or trying the shortcut on a keyboard that does not expose the Chromebook top-row key layout the same way. On ChromeOS, the supported manual fallback is to open Settings > Device > Displays and change Orientation there. If you are docked, try the built-in keyboard first.
The screen is stuck sideways in tablet mode
This usually means auto-rotate is locked off. Open Quick Settings from the bottom-right corner and turn Auto-rotate back on. Then rotate the device physically to confirm the sensor is responding. If it still stays sideways, restart the Chromebook and test again before assuming a hardware fault.
Only the Chromebook screen rotates, not the external monitor
This happens when the wrong display is selected. Go to Settings > Device > Displays, click the external monitor name, then change Orientation there. If you are using the shortcut on a multi-monitor setup, move the pointer onto the target monitor first, then press Ctrl + Shift + Refresh.
Auto-rotate stopped working after I folded the Chromebook back
ChromeOS can get stuck between laptop mode and tablet mode after hinge movement, accessory changes, or a temporary sensor glitch. Fully shut down the Chromebook and start it again. If the issue continues, remove any connected mouse, reconnect power if needed, and perform a hardware reset before moving on to deeper recovery steps.
My screen keeps flipping when I do not want it to
That is usually rotation lock being left off on a convertible. Put the Chromebook in the orientation you want, open Quick Settings, and turn Auto-rotate off. That keeps the current layout fixed until you unlock it again.
What to Do Next
Once rotation is under control, the next useful ChromeOS tweaks are usually screenshot shortcuts, touchscreen behavior, and recovery basics. If the display issue comes back together with wider ChromeOS problems, follow a restart or reset path early instead of fighting the orientation setting over and over.