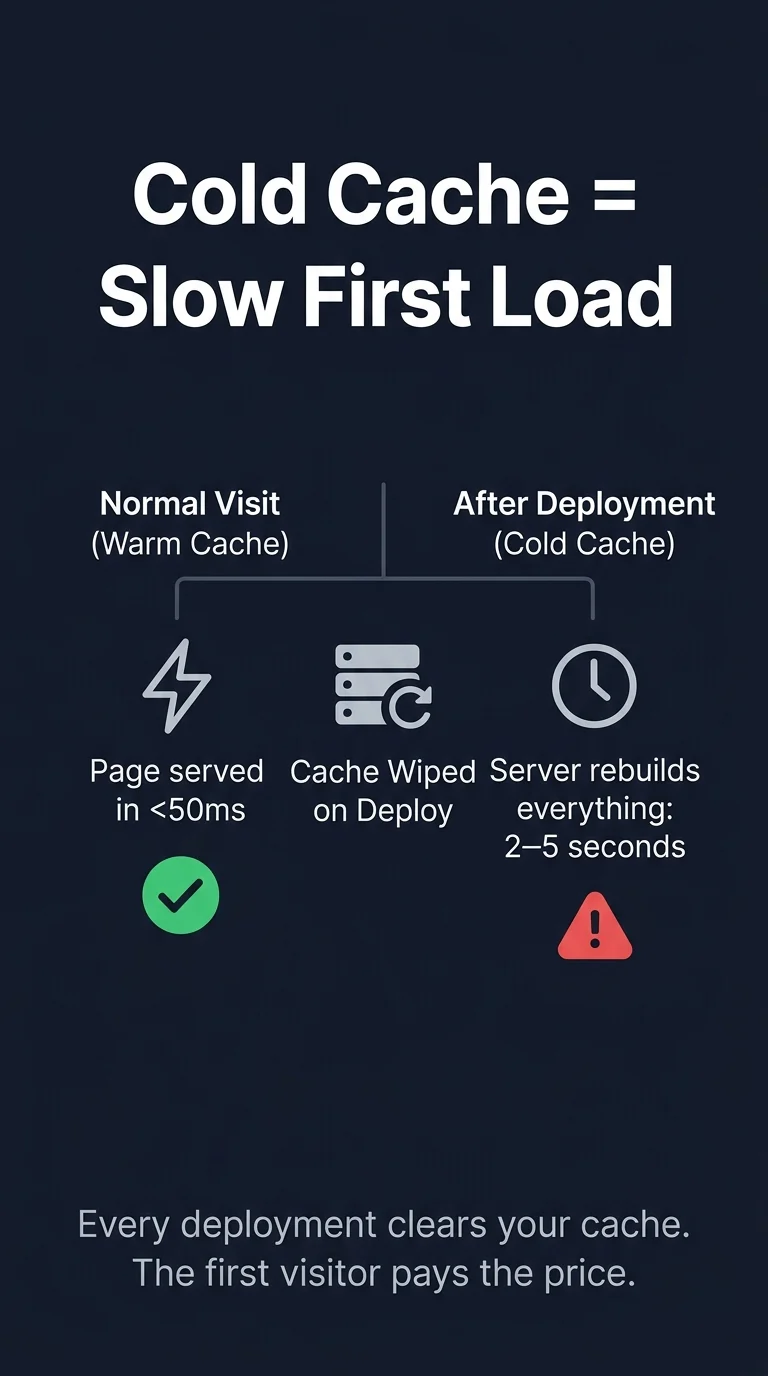
You just pushed an update to your website. Everything looks good on your end. But somewhere out there, the very first person to visit your site after that deployment is staring at a spinning loader — waiting three, four, maybe five seconds for a page to appear. That’s the cold cache problem, and it happens every single time your cache is cleared. A warmup cache request is the background process that solves it quietly, before anyone notices.
Step 1: Understand Why Your Site Slows Down After Deployment
When you deploy an update or restart your server, the cache gets wiped. This puts your site in a “cold cache” state — every incoming request has to go all the way to the origin server, run database queries, compile the page, and send it back. That full round-trip is what causes the slow first load. It doesn’t last long, but it hits exactly when traffic is highest — right after you publish something new.
Step 2: Know What a Warmup Cache Request Actually Does
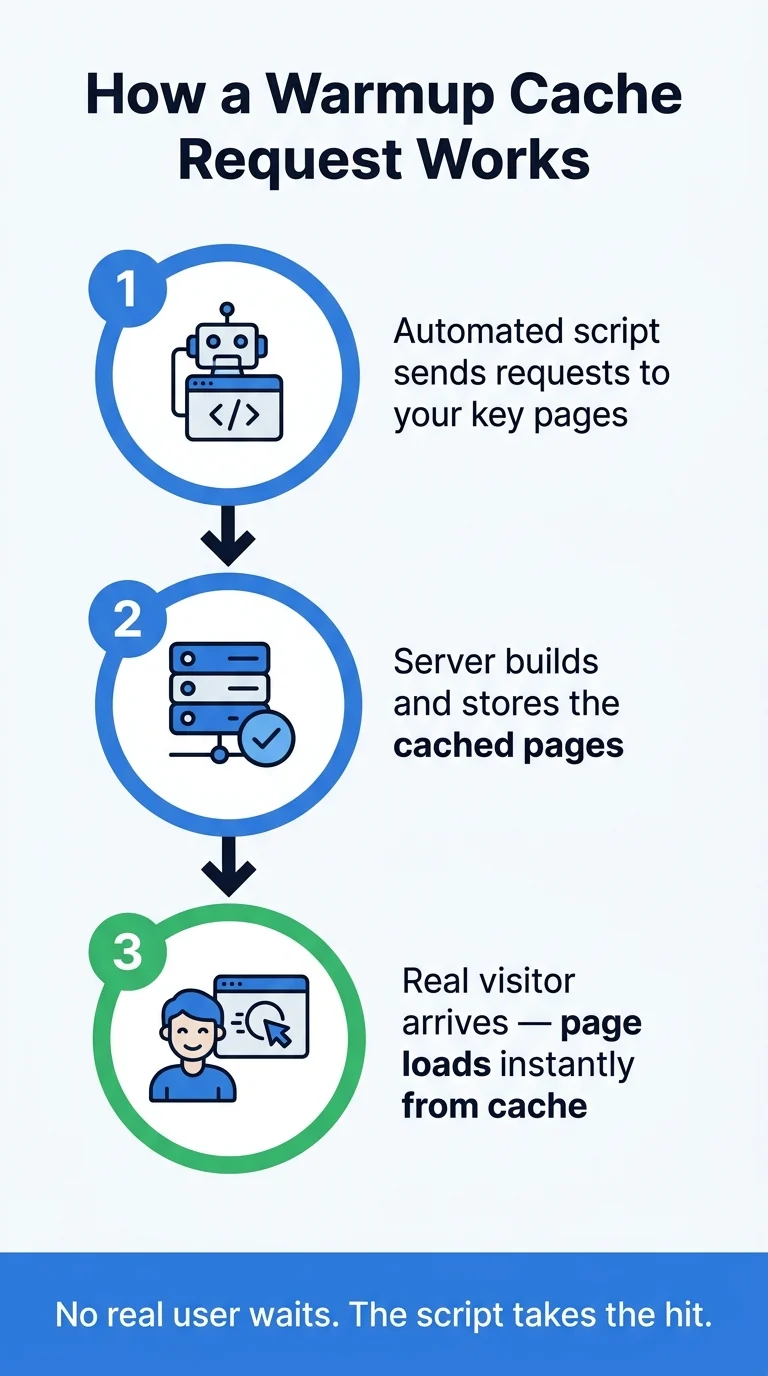
A warmup cache request is simply an automated visit to your website’s important pages — but it happens before real users arrive. A script, plugin, or CDN tool sends HTTP requests to your homepage, category pages, popular posts, and key landing pages right after deployment. This forces the server to build and store the cached version of each page. By the time your first real visitor clicks through, the cache is already full and the page loads instantly.
Step 3: Identify the Pages That Need Warming
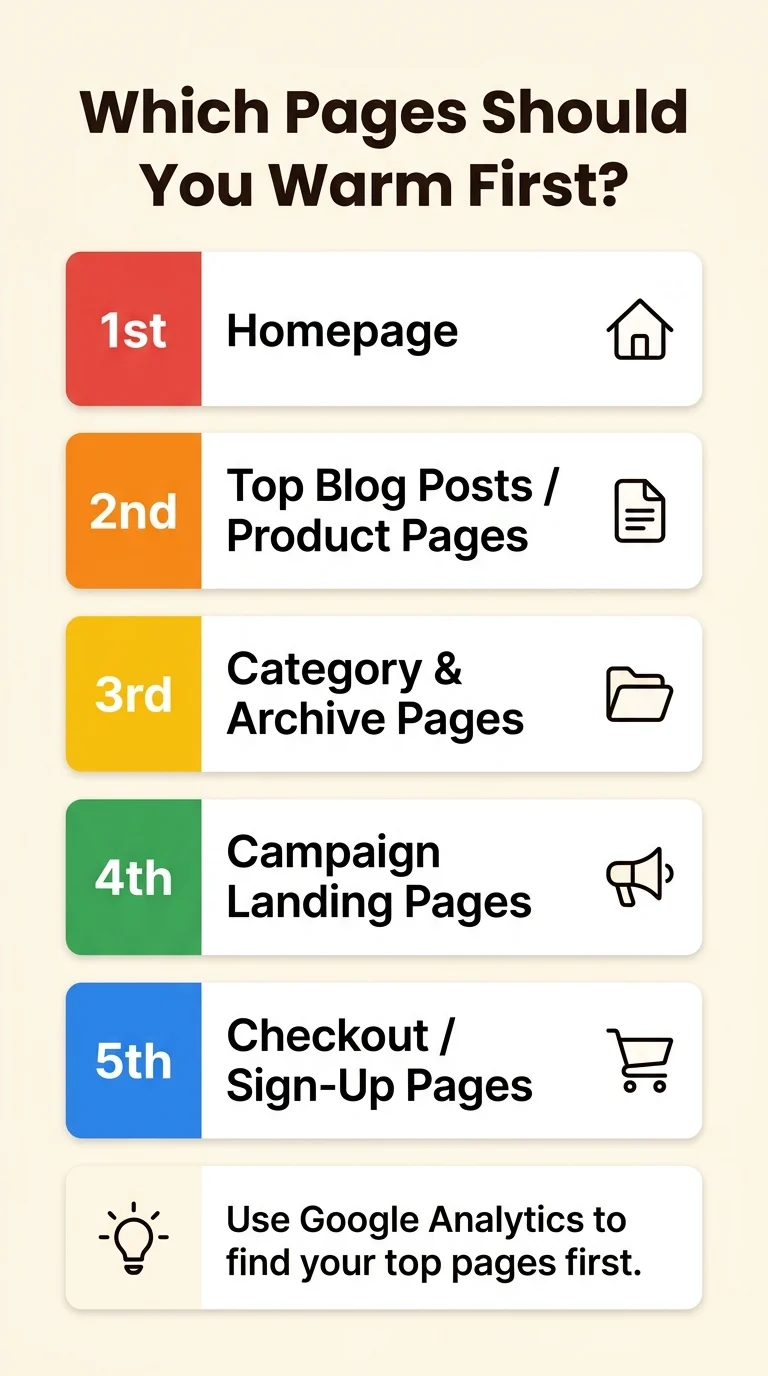
You don’t need to warm every URL on your site — just the ones that matter most. Focus on pages that get hit first or get the most traffic. Here’s a practical starting list:
- Your homepage
- Top 5–10 blog posts or product pages
- Category or archive pages
- Any landing page tied to a campaign or ad
- Checkout or sign-up pages (if applicable)
If you’re on WordPress, check your Google Analytics or Search Console to find your top-visited pages. That list becomes your warmup priority queue.
Step 4: Set Up Cache Warming on WordPress (Using a Plugin)
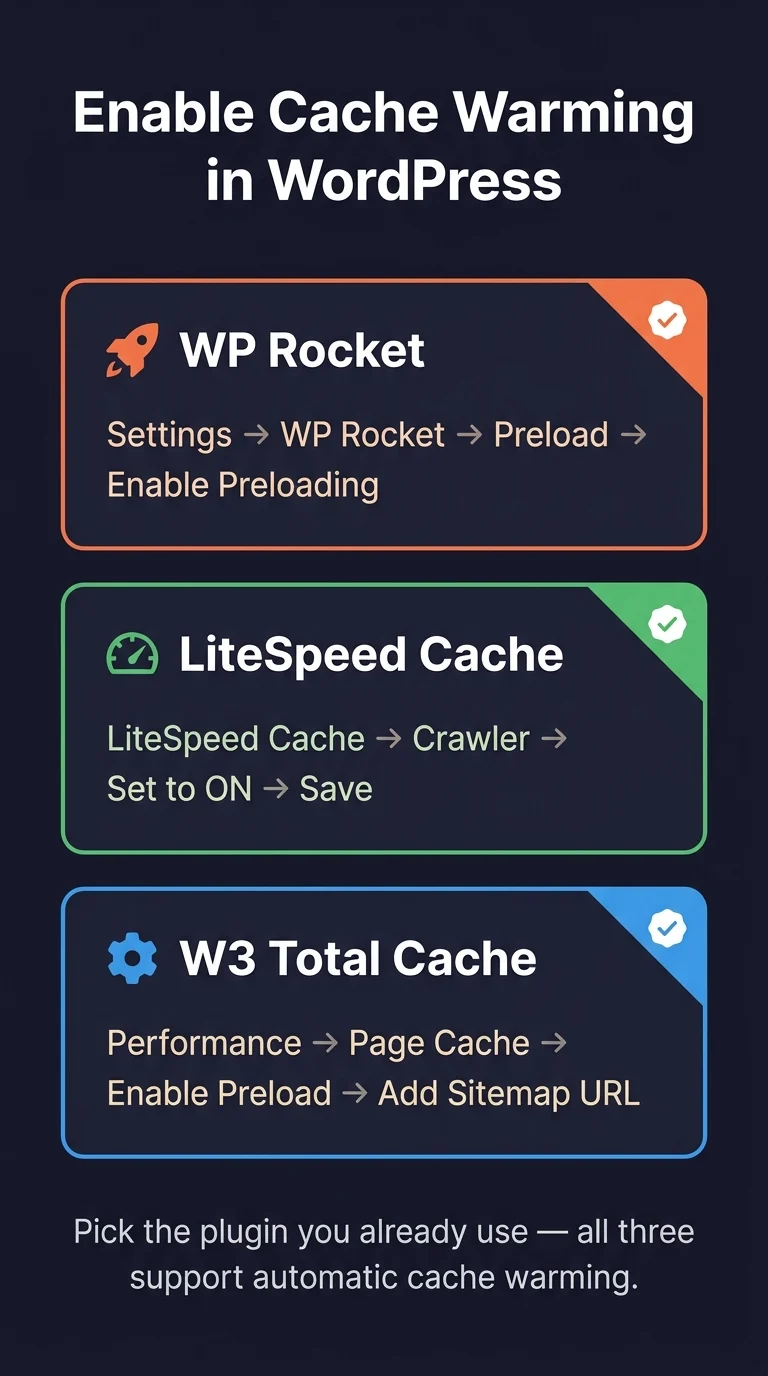
If your site runs on WordPress, the easiest way to enable warmup cache requests is through a caching plugin that has built-in cache preloading. Here’s how to do it with the most common options:
Using WP Rocket
- Go to Settings → WP Rocket in your WordPress dashboard.
- Click the Preload tab.
- Enable Activate Preloading.
- Turn on Preload Links to warm linked pages automatically.
- Save changes. WP Rocket will now crawl and preload your cache after every purge.
Using LiteSpeed Cache
- Go to LiteSpeed Cache → Crawler in your dashboard.
- Set Crawler to ON.
- Set a crawl interval (every 24 hours works for most sites).
- Under General Settings, enable Run With Curl.
- Save and let the crawler handle warmup automatically after cache clears.
Using W3 Total Cache
- Go to Performance → General Settings.
- Enable Page Cache if not already on.
- Navigate to Performance → Page Cache settings.
- Enable Preload the page cache.
- Set your sitemap URL so W3TC knows which pages to warm.
- Save all settings.
Step 5: Trigger a Manual Warmup Right After Deployment
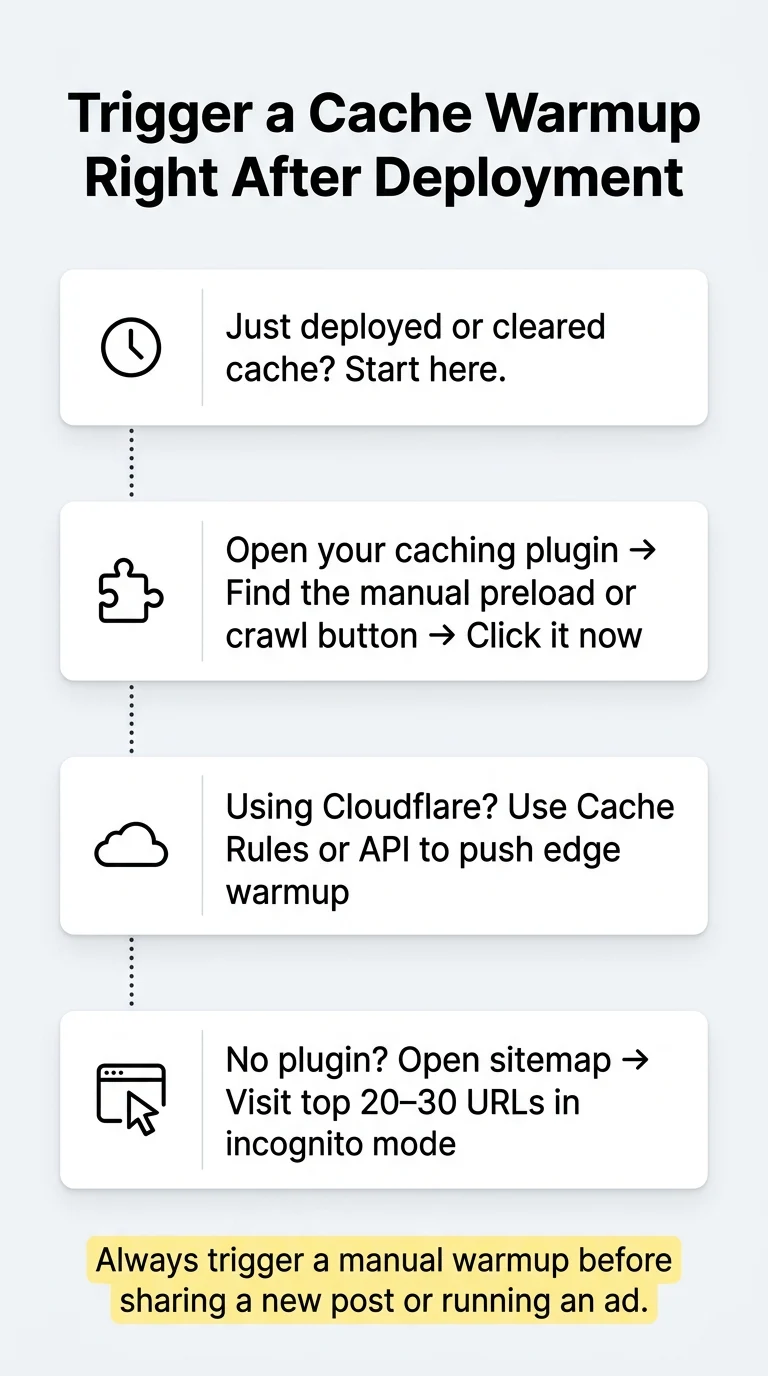
Plugin-based preloading runs on a schedule, but if you’ve just pushed a deployment and cleared your cache manually, you need an instant warmup. Here’s how to trigger one right away:
- WP Rocket: Go to the WP Rocket dashboard and click Preload Cache manually from the top bar.
- LiteSpeed Cache: Go to LiteSpeed Cache → Manage → Crawl and hit Start Crawling Now.
- Cloudflare (if using): Use the Cloudflare Cache Rules or a warmup script via their API to hit edge nodes after any purge.
- Manual method: Open your sitemap (yoursite.com/sitemap.xml), copy your top 20–30 URLs, and visit each one from an incognito window right after deployment. Basic, but it works.
Step 6: Confirm Your Cache Is Actually Warm
Once you’ve set up warmup, you should verify it’s working. Here’s how to check without any paid tools:
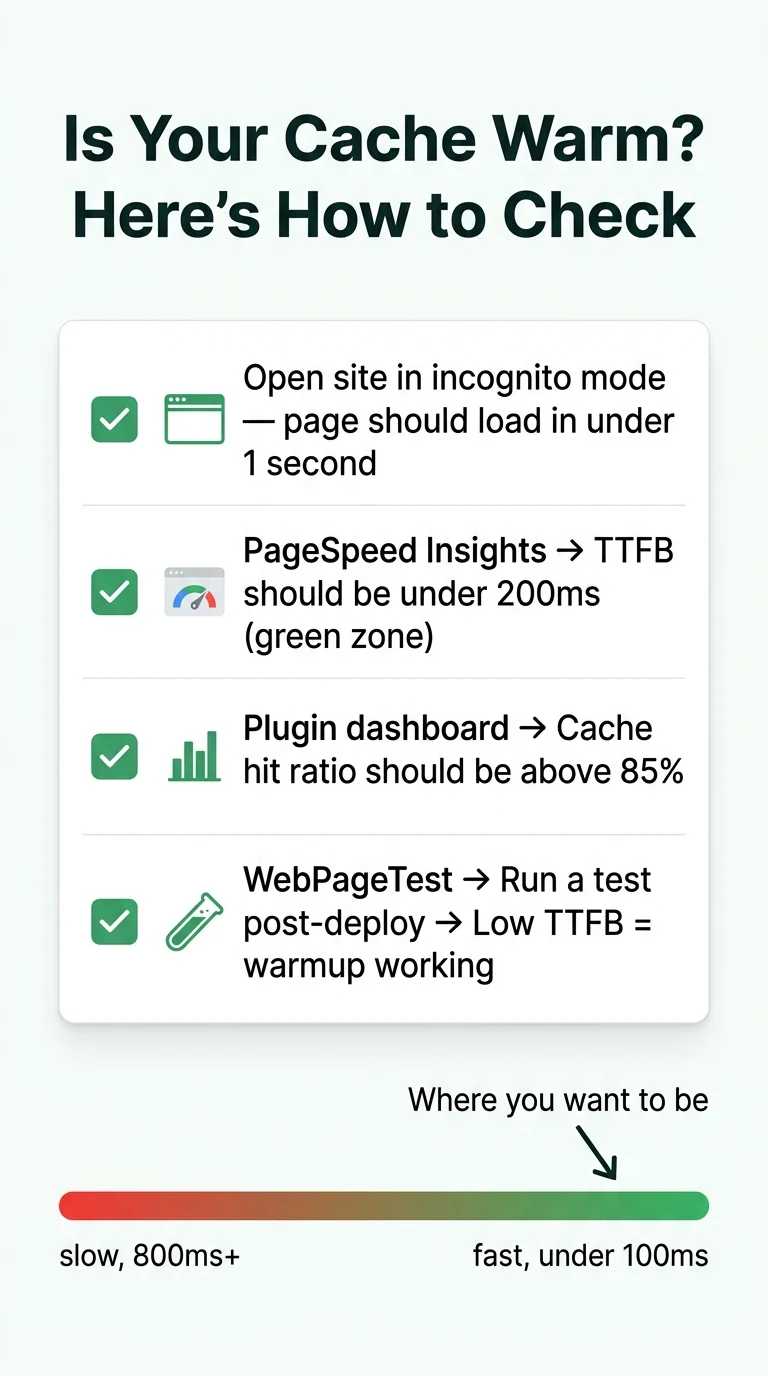
- Open your homepage in a new incognito window and check how fast it loads — it should feel instant.
- Use PageSpeed Insights and look at your Time to First Byte (TTFB). A warm cache should give you under 200ms, ideally under 100ms.
- Check your caching plugin’s log or dashboard — most show a cache hit/miss ratio. Aim for above 85%.
- Use WebPageTest and run a test right after deployment. If TTFB is low, your warmup is working.
The First Visitor Shouldn’t Be the One Who Tests Your Cache
A warmup cache request isn’t a complex infrastructure project — it’s a simple, one-time setup that runs quietly in the background every time your cache clears. Whether you use WP Rocket, LiteSpeed Cache, or even a manual incognito crawl, the goal is the same: make sure no real visitor ever lands on a cold server. Set it up once, trigger it after every deployment, and your site stays fast for everyone — including the very first person who clicks through.