
Artificial Intelligence (AI) is no longer limited to powerful servers and cloud platforms. With the rise of TinyML (Tiny Machine Learning), we can now run machine learning models directly on small devices like microcontrollers. Imagine your motion sensor recognizing gestures, your smart gadget detecting voice commands, or a tiny board analyzing patterns—all without needing internet or cloud support. That’s the magic of TinyML.
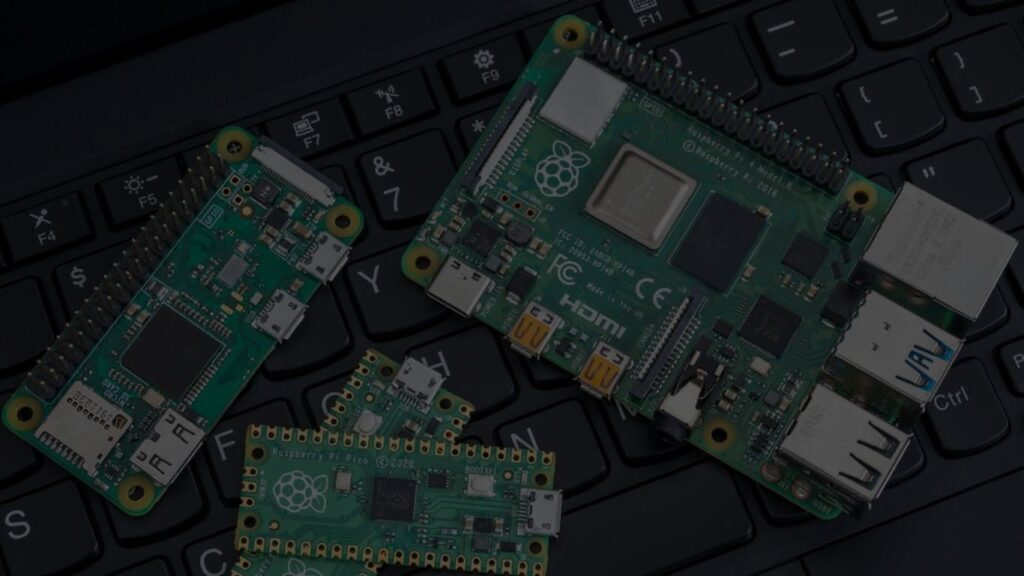
One of the best boards to start this journey is the Raspberry Pi Pico, a low-cost, low-power microcontroller that’s easy to use and ideal for beginners. In this article, we’ll help you to understand everything you need to set up TinyML on Raspberry Pi Pico step by step—even if you’re completely new to the subject.
By the end, you’ll know how to prepare your Pico, install the right libraries, run sample models, and even explore simple projects.
What You Need Before Starting
Before diving in, make sure you have the following:
- Raspberry Pi Pico or Pico W (wireless version works too)
- Micro-USB cable to connect Pico to your computer
- Computer with internet access (Windows, macOS, or Linux)
- Arduino IDE (or Thonny if you prefer MicroPython)
- TinyML libraries (TensorFlow Lite for Microcontrollers)
- Optional sensors: microphone, accelerometer, or temperature sensor (for advanced projects)
Tip: Stick to the basics first. Start with the “Hello World” TinyML model before experimenting with sensors.
Step 1: Setting Up the Raspberry Pi Pico
- Download and install Arduino IDE
- Visit the Arduino website.
- Download the latest version for your operating system.
- Install it like any other application.
- Add Raspberry Pi Pico support
- Open Arduino IDE → go to File → Preferences.
- In “Additional Board Manager URLs,” add:
https://github.com/earlephilhower/arduino-pico/releases/download/global/package_rp2040_index.json - Go to Tools → Board → Board Manager, search for “Raspberry Pi RP2040,” and install it.
- Connect Pico to your computer
- Hold the BOOTSEL button on the Pico while plugging it into your PC.
- It will appear as a USB drive.
- Once installed, select the correct port in Arduino IDE under Tools → Port.
Your Raspberry Pi Pico is now ready to be programmed with Arduino IDE.
Step 2: Installing TinyML Libraries
Now let’s bring machine learning into the picture.
- In Arduino IDE, go to Sketch → Include Library → Manage Libraries.
- Search for TensorFlow Lite for Microcontrollers.
- Install the library.
This library allows the Pico to run pre-trained ML models in a very lightweight way.
Step 3: Running a Sample TinyML Model
To make sure everything works, let’s start with the Hello World example provided by TensorFlow Lite.
- Go to File → Examples → Arduino_TensorFlowLite → hello_world.
- Upload the sketch to your Pico.
- Open Serial Monitor in Arduino IDE.
You should see a sine wave pattern being generated. This might look simple, but it proves your Pico can now run a neural network model.
Why sine waves?
It’s a lightweight test model that checks if your board and libraries are working correctly before moving on to more complex models.
Step 4: Running an Interactive Example (Optional)
Once you’re comfortable, try running a gesture recognition or keyword spotting model.
- Gesture Recognition:
- Use an accelerometer with your Pico.
- Load the example
magic_wandproject from TensorFlow Lite. - Move your board in shapes (like “O” or “Z”) and watch the model recognize gestures.
- Keyword Spotting:
- With a microphone attached, train the board to detect simple words like “yes” or “no.”
- Useful for building voice-activated IoT projects.
Step 5: Training Your Own Model (Optional Advanced Step)
If you’re curious, you can also train your own machine learning model:
- Use TensorFlow on your PC to train a model (for example, detecting different sensor patterns).
- Convert the model to TensorFlow Lite format.
- Upload it to your Pico with Arduino IDE.
This way, you’re not limited to pre-built examples—you can design custom AI projects.
Troubleshooting Tips
- Library not found?
Double-check that “TensorFlow Lite for Microcontrollers” is installed via Library Manager. - Upload fails?
Reconnect Pico in BOOTSEL mode and reselect the port in Arduino IDE. - Out of memory error?
Start with smaller models. The Pico has limited RAM, so avoid large neural networks.
Practical Use Cases of TinyML on Pico
Here are some exciting things you can build once TinyML is up and running:
- Smart Sensors → Detect unusual motion, vibrations, or temperature patterns.
- Voice Commands → Control appliances with basic keyword recognition.
- Gesture Control → Use hand movements to control lights or gadgets.
- Wearables → Low-power activity tracking without cloud dependence.
Conclusion
You’ve just learned how to set up TinyML on Raspberry Pi Pico from scratch. From installing the Arduino IDE to running your first TinyML model, the process is surprisingly simple once broken into steps. With a bit of practice, you can train your own models and build creative AI-powered projects right on a tiny board.
TinyML is opening doors for AI at the edge, making it possible to bring intelligence into everyday devices without heavy hardware or constant internet access. Whether you’re a student, hobbyist, or developer, the Raspberry Pi Pico is a perfect playground to explore this new frontier.


![How To Log Out From TrueCaller App [iPhone & Android]](https://www.techrounder.com/wp-content/uploads/2022/05/Log-Out-From-TrueCaller-App-450x253.jpeg)