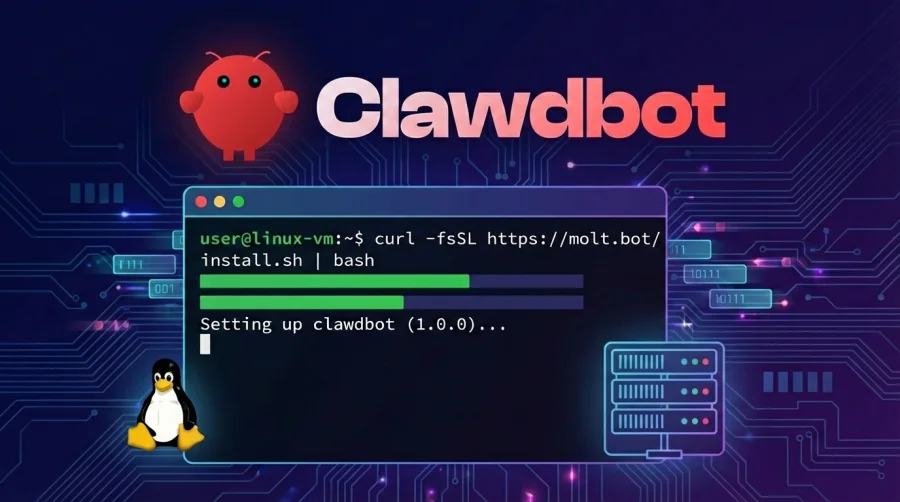
This step-by-step guide shows you how to install Clawdbot (Moltbot) on a Linux virtual machine and configure it for stable, “always-on” operation. It also includes practical troubleshooting tips—especially for IPv6 issues that can occur in VMs. Recommended approach: Use th...
This step-by-step guide shows you how to install Clawdbot (Moltbot) on a Linux virtual machine and configure it for stable, “always-on” operation. It also includes practical troubleshooting tips—especially for IPv6 issues that can occur in VMs.
Recommended approach: Use the official installer and then run the onboarding wizard to configure the Gateway, workspace, and channels.
Prerequisites
- Linux VM (Ubuntu/Debian are common choices). You need shell access (SSH or console).
- Outbound internet access from the VM (DNS + HTTPS). Telegram/Discord need access to their APIs.
- Node.js 22+ (the installer can set this up for you).
- Optional but recommended: enough RAM/CPU for your model/tooling workload.
Tip for VMs: If your VM provider has restrictive networking (corporate proxy, blocked DNS, broken IPv6), address that first—Clawdbot depends on stable outbound HTTPS.
Step 1: Install Clawdbot (Recommended Installer)
The official installer is the easiest path. It installs the CLI (and ensures Node 22+), and can run onboarding.
1.1 Run the installer
curl -fsSL https://clawd.bot/install.sh | bash1.2 (Optional) View installer help / flags
curl -fsSL https://clawd.bot/install.sh | bash -s -- --help1.3 If you prefer a manual install (when Node is already installed)
npm install -g clawdbot@latest1.4 If “clawdbot: command not found” happens
This is typically a PATH issue. Check:
node -v
npm -v
npm prefix -g
echo "$PATH"
Ensure your global npm bin directory is on PATH. Example:
export PATH="$(npm prefix -g)/bin:$PATH"Add that export line to your shell startup file (e.g., ~/.bashrc or ~/.zshrc).
1.5 If “npm install -g …” fails with permissions (EACCES) on Linux
Avoid using sudo npm install -g. Instead switch npm’s prefix to a user-writable directory:
mkdir -p "$HOME/.npm-global"
npm config set prefix "$HOME/.npm-global"
export PATH="$HOME/.npm-global/bin:$PATH"
Persist the PATH change in your shell profile, then open a new terminal.
Step 2: Run Onboarding (Configure Gateway + Workspace)
The onboarding wizard is the recommended way to configure the Clawdbot Gateway, workspace, model/auth, and channels in one guided flow.
2.1 Run onboarding and install the daemon
clawdbot onboard --install-daemonDuring onboarding you typically choose:
- Gateway mode: Local (on the VM) vs Remote (client attaches to another Gateway).
- Auth: API key or OAuth (depending on provider/model choice).
- Workspace: commonly
~/clawd(recommended; keep it backed up). - Channels: Telegram bot token, Discord token, WhatsApp QR, etc.
- Daemon runtime: Node is recommended (and required for stable WhatsApp/Telegram usage).
2.2 If you skipped onboarding earlier
clawdbot onboard --install-daemon2.3 Where your configuration typically lives
- Config:
~/.clawdbot/clawdbot.json - Workspace:
~/clawd - Sessions:
~/.clawdbot/agents/<agentId>/sessions/
Step 3: Run Clawdbot as an Always-On Service (systemd + lingering)
On Linux, Clawdbot commonly runs as a systemd user service. In many VM setups, user services stop when you log out unless “lingering” is enabled.
3.1 Enable lingering (recommended for VMs)
sudo loginctl enable-linger $USERThis keeps your user’s systemd services running even when you disconnect your SSH session. Onboarding often attempts this automatically, but on locked-down systems you may need to run it manually.
3.2 Check service status
clawdbot gateway status3.3 Restart the gateway if needed
clawdbot gateway restart3.4 Manual foreground run (for debugging)
clawdbot gateway --port 18789 --verbose
Default dashboard URL (on the VM): http://127.0.0.1:18789/
(If you’re accessing remotely, you’ll typically SSH port-forward.)
Step 4: Verify the Installation
Run these checks after installation:
clawdbot status
clawdbot health
If health indicates missing auth (model credentials), re-run configuration (or onboarding) to set your provider keys.
Linux VM Best Practices (Stability + Security)
Use a dedicated user and lock down access
- Use SSH keys (disable password logins if possible).
- Keep your bot tokens/API keys in config or environment securely.
- Don’t expose the Gateway publicly without authentication.
Back up your workspace and config
~/clawd(workspace: prompts, skills, notes)~/.clawdbot/(config, credentials, sessions)
Prefer Node runtime for WhatsApp/Telegram
If you plan to use WhatsApp or Telegram channels, run the Gateway with Node for best compatibility.
IPv6 Troubleshooting (Common VM Problem)
VMs sometimes have “partial IPv6”: DNS returns IPv6 (AAAA) records, but outbound IPv6 routing is broken. This can cause Telegram (and other APIs) to fail or become flaky.
Symptoms
- Telegram bot starts, then stops responding.
- Gateway logs show network errors such as
HttpError: Network request ... failed. - Requests to
api.telegram.orgintermittently fail even though IPv4 works.
Quick checks
Check which DNS records you get:
dig +short api.telegram.org A
dig +short api.telegram.org AAAA
Check whether the VM can reach the internet over IPv6:
ping -6 -c 3 google.com || true
curl -6 https://api.telegram.org 2>/dev/null | head -n 1 || true
Fix options
Option A (Best): Enable working IPv6 egress in your VM network
If your VM provider supports IPv6, ensure the VM has a proper IPv6 address, gateway, and egress route. This is the cleanest fix if you need IPv6.
Option B: Prefer IPv4 for Telegram by adjusting the host networking/DNS behavior
If IPv6 is unreliable, force the system to prefer IPv4 for outbound connections (or specifically for Telegram). Exact steps vary by distro/provider, but the goal is: when both A and AAAA exist, use A first.
Option C: Pin an IPv4 address for api.telegram.org (last resort)
You can map api.telegram.org to an IPv4 address in /etc/hosts to bypass IPv6 resolution.
This is brittle (IP can change) but can be effective in emergencies.
# Example (replace with current A record from dig):
# 149.154.167.220 api.telegram.org
After making changes
Restart the gateway:
clawdbot gateway restartOptional: Configure Telegram on Clawdbot (Bot Token Setup)
If your goal is to run Clawdbot in a VM and interact via Telegram, here’s the quick, reliable path. Clawdbot supports Telegram via the Telegram Bot API (long-polling by default; webhook optional).
1) Create a bot and token (BotFather)
- Open Telegram and chat with @BotFather.
- Run
/newbotand follow prompts. - Copy the token.
2) Add token to Clawdbot config
{
  "channels": {
    "telegram": {
      "enabled": true,
      "botToken": "123:abc",
      "dmPolicy": "pairing"
    }
  }
}
Alternatively, use an environment variable:
export TELEGRAM_BOT_TOKEN="123:abc"3) Restart the gateway
clawdbot gateway restart4) Approve pairing (DM safety)
By default, Telegram DMs require pairing approval. When you DM your bot the first time, approve the code using:
clawdbot pairing list telegram
clawdbot pairing approve telegram <CODE>
Telegram + VM note
If Telegram behaves inconsistently on a VM, check IPv6 first (see the IPv6 troubleshooting section above). Telegram API access is sensitive to broken IPv6 egress when DNS returns AAAA records.
Common Problems & Fixes
Problem: “clawdbot” command not found
- Confirm Node/npm are installed and on PATH.
- Confirm the npm global bin dir is on PATH:
export PATH="$(npm prefix -g)/bin:$PATH"
Problem: Installer finishes, but services stop when you log out
- Enable lingering:
sudo loginctl enable-linger $USER - Then restart:
clawdbot gateway restart
Problem: Telegram bot doesn’t register commands or can’t send messages
- Confirm outbound HTTPS/DNS from the VM to
api.telegram.org. - Investigate IPv6 (AAAA records + broken egress) and apply fixes.
Problem: Global npm install fails with EACCES
- Set npm prefix to a user-writable directory (avoid sudo installs):
mkdir -p "$HOME/.npm-global"
npm config set prefix "$HOME/.npm-global"
export PATH="$HOME/.npm-global/bin:$PATH"
Summary: Install Clawdbot with the official installer, run onboarding, enable systemd lingering on Linux VMs,
verify with clawdbot status/clawdbot health, and treat IPv6 as a first-class troubleshooting target on VMs.