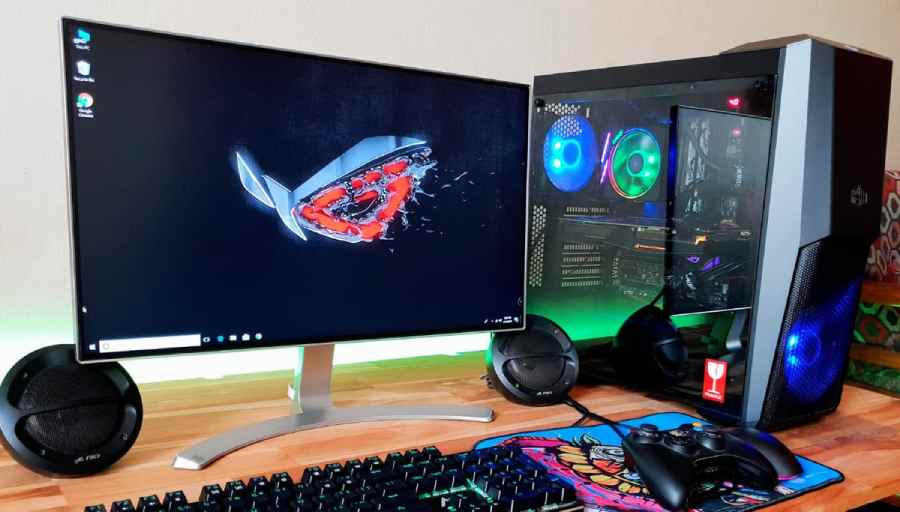
I know it is tough to properly check the compatibility of PC parts and build your custom gaming PC, and especially when you’re building your first gaming PC.
Sometimes building your PC by yourself is an exciting, rewarding, and money-saving experience – but when you decided to build the PC for you, you may experience a lot of difficulties and compatibility issues because of tons of components available in the market, and sometimes you may even end up with the bottleneck issue.
At this time, it is overwhelming and you may get confused. after all, no one wants to mess up with the computer parts knowing how much they cost!
So if you’re looking for the solution to all these problems, then here I’m with another exclusive article on checking the compatibility of PC parts and building the right PC as per your need.
PC Parts Compatibility – Where to Start?
When you decide to build your desktop PC by yourself, you have to choose the rights parts which are compatible with each other to work, else it may be harmful to your build, or sometimes it may not run smoothly and you may get encounter with a lot of issues.
So depending on all the factors you need to build, here we’ve listed all the core components which are needed and you should have to look carefully while you’re ready to build your PC.
These components are as follows;
- Processor (CPU)
- Motherboard
- GPU (Graphics or Video Card)
- RAM
- Hard Disk Drive
- Cooling (Fans)
- Power Supply
- Case (Chassis)
We will discuss about the compatibility of these products in this guide.
Keynote: If you’re not sure about the compatibility of the computer parts or if it is confusing you, then there are several websites which provide the compatibility of computer components through which you can effectively choose the PC parts for your build.
Some of these websites can include PC Builder, which is one of the best tools for checking the compatibility of the product. If you want, you can also check some other tools like PC Part Picker, Build My PC, and Newegg’s Custom PC Builder.
So let’s get started!
Processor
The first step while building your PC is selecting the processor or the CPU. As you know, the CPU is the brain of a computer, so it is a core component that you should have to select first.
While choosing the processor, you have to think about the purpose of building your custom PC.
For example;
I’m building a budget PC for my gaming needs, so I’ve to decide the processor accordingly, which has a superb performance and comes under my budget.
Generally, we have got options from two popular CPU brands and both of them are marvelous. So the two main lines of the processor you’ll be choosing between for a gaming PC are AMD and Intel.
As you all know, the Ryzen series from AMD is backward compatible and all the CPUs of AMD Ryzen are fully forward with backward compatibility. So you shouldn’t have to worry about that unexpectedly changing anytime soon.
But when we talk about the Intel, the 8th and 9th generation processor support the same LGA 1151 based motherboard but they require motherboards based on the Intel 300 series chipset. And the downside of Intel is, they’re not backward compatible and even they won’t support the Intel 200, and Intel 100 series chipsets.
So you’ll have to choose it accordingly because all core components will depend upon the processor and motherboard which is compatible with the processor.
Motherboard
Once you select the processor, now you’ve to select the motherboard accordingly.
You’ve to focus more on choosing the motherboard because it is another major core component while building your PC. Rest components will depend upon the compatibility of the motherboard.
The first step toward choosing the Motherboard is to match the socket type of processor and motherboard. A motherboard with LGA 1150 socket type isn’t compatible with a processor having LGA 1151 socket type and a motherboard with sTRX4 socket type isn’t compatible with a motherboard having AM4 socket type.
So you have to choose it wisely.
The next step in choosing the motherboard is the chipset, you should have to check it carefully – because not all LGA 1151 based motherboard support processor based on the same socket type.
For example;
As I told in the processor section, Intel processors are not backward compatible and they change the socket type of sometimes the chipset type with every generation.
Like the Intel 7th generation or 8th generation processor from the Intel, series has LGA 1151 socket type but both aren’t compatible with the same motherboard.
So you should have to choose the motherboard which is properly compatible with the processor. You can also use the online tools that I shared above for better compatibility.
GPU or Graphics Card
After the motherboard, another thing you should have to choose carefully is the graphics card.
Graphics card is another most important core component but is often the most forgiving part of your build. These are the most expensive core component in our build and if your processor doesn’t have the integrated graphics, then your build highly requires a discrete graphics card.
While choosing it, you don’t have to look at the chipset of your graphics card or the socket type like we chose above for better compatibility – but you should have to focus on the PCIe.
Motherboard compatibility isn’t an issue while considering a graphics card – you just have to focus on the PCIe interface.
PCIe has backward compatibility, so the GPU with PCIe 3.0 interface works well with PCIe 2.0 interface of your motherboard – but PCIe 3.0 has more bandwidth allowance, so it is optimal.
RAM
RAM or Random Access Memory is another crucial part of building your custom PC. Sometimes people will get confused between the speed of RAM, the capacity, and what it’s compatible with.
So the first thing you should have to look at in your RAM is capacity. The minimum RAM you should have to choose before building your custom PC is 8GB (which is ideal for daily use).
Although you can choose 4GB or 2 GB RAM options 8GB is ideally good for your build and if you want your custom PC for gaming purpose, I’ll recommend selecting 16GB of RAM.
And after deciding the capacity of RAM, your biggest concern is speed. DDR4 is the current generation of RAM, and the stock speed of the DDR4 is 2133 MHz.
And in case your RAM has more than 2133 MHz speed, it’s letting you know it’s rated to be overclocked to that specified speed. In this case, you have to ensure the maximum speed supported by your motherboard else it will not provide 100% performance.
Hard Disk or Storage
Another thing you should have to keep in mind while building your PC is Storage or Boor Drive. If you’re installing an operating system on your device, it gets stored on your hard disk.
So this is why we need a powerful storage device. Most of the storage devices support the SATA interface, which makes it work with all motherboards, but some of the storage devices also support the M.2 interface which isn’t compatible with every motherboard out there.
This is why you have to check the interface of your storage device and check if your motherboard supports the same interface. And in the case of the M.2 slot, most of the modern motherboard started to support it.
Keynote: You can have multiple storage devices in your custom PC builds. If you want, you can also add and mix the NVMe, SATA, and the mechanical drive – because all of them are compatible with each other.
Cooling (Fans)
Cooling is another crucial core component while building your PC.
Not all but some processors come with a heatsink and fan inside the box. It is crucial to keep processor from overheating, but the stock cooler which comes with processors aren’t much effective if you do overclocking with your PC.
So in case, if you do overclock with your custom PC, it requires a more powerful and bigger cooler. And for this, I highly suggest choosing a separate CPU cooler.
CPU coolers also come in two variants – liquid-cooled and air-cooled.
The main difference between them is;
Liquid cooling is one of the best ways to cool a CPU because water transfers heat much more efficiently than air. It also reduces the noise of fans and helps to perform heavier tasks quieter.
The main downside of using a liquid cooler is, it can cause dangerous damages to your PC if the water leaks into your hardware.
Power Supply
The components of your PC parts need specific power requirements, and you need to make sure if your power supply matches these. The standard size of the power supply is ATX, which can fit in every case, so you don’t need to worry about the compatibility of your power supply.
And when it comes to compatibility of other components with power supply, you always have to choose a power supply that is ideal for fulfilling power supply to your PC.
If you chose a underpower power supply, then the PC might not work correctly, or it might not start up at all.
Case (Chassis)
And finally, the compatibility of the last core component is choosing the case. But the question that arises here is, whether the motherboard and all other components will fit inside the case or not?
Mostly the motherboard comes in four different sizes. These are as follows;
- Mini ITX
- Micro ATX
- ATX and
- Extended ATX or E-ATX
So before choosing the case or chassis for your PC build, you should have to check the cabinet type in your motherboard and if your motherboard supports any of these sizes where components can easily fit.
Smaller motherboards have fewer connectors and cost less in price (but not in the case of Mini ITX, they’re slightly higher in price).
And for these four different sizes of the motherboard, the case or chassis also comes majorly in four different types;
- Mini ITX,
- Mini Tower (Micro ATX),
- Mid Tower (ATX), and
- Full Tower (EATX)
But the difference is, sometimes the mid-tower case also supports the E-ATX motherboard and the mini-tower case can support ATX. And it’s best to check the case manufacturer’s website to be sure.
So keeping all these factors, you should have to select the case carefully, which is ideal for storing all your PC components.
Wrapping Up!
So in this guide, I tried my best to explain the compatibility of PC Parts before you buy them. I also shared a few websites which help in building your PC without overwhelming and confusing you, and by following these methods, you can also become a pro in building custom PCs.
But I always recommend checking the compatibility of your pc parts using these websites – because if we messed up something while building the PC, it will cost us more.
I hope you guys like this article, and if you do, please let me know your computer building experience in the comment section below.

Which Motherboards best for Gaming?
MSI MPG B550 & Asus AMD X570 ATX are good choices.