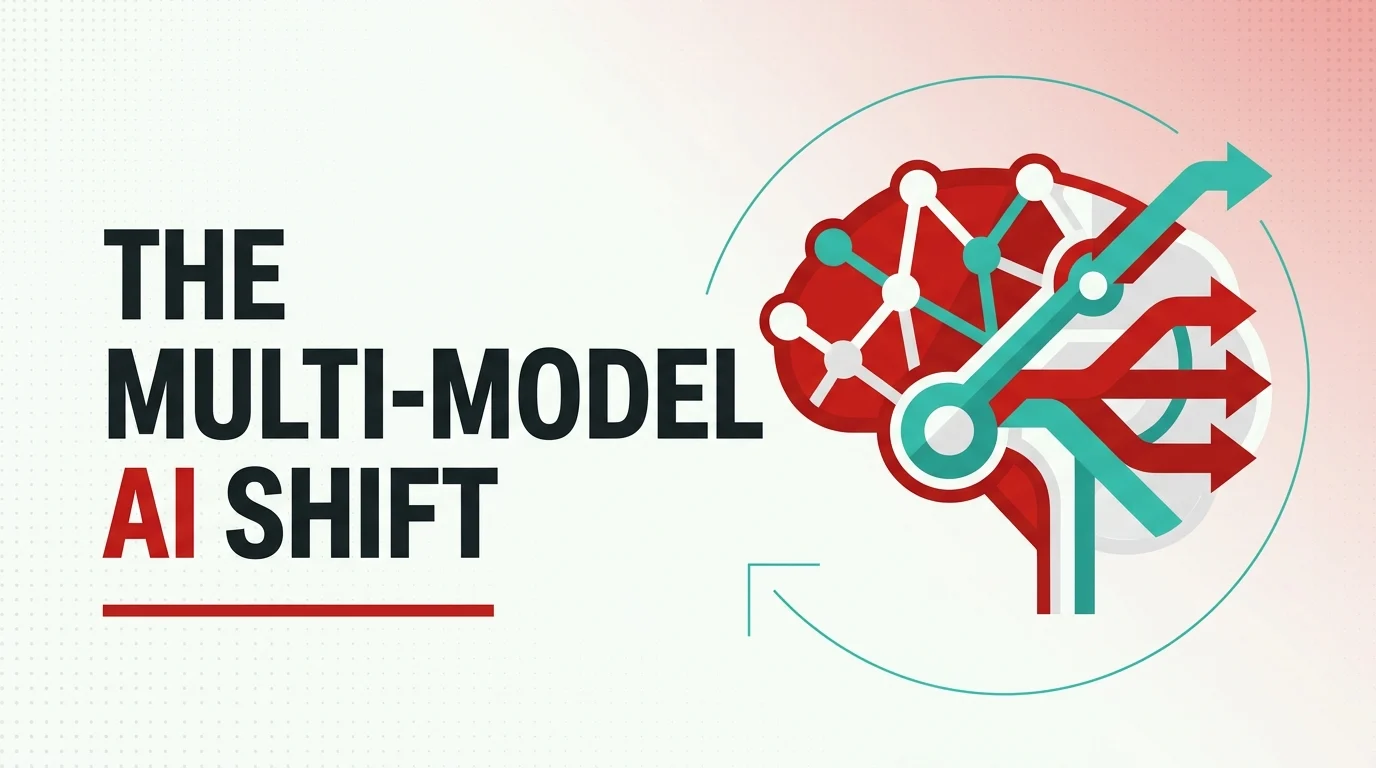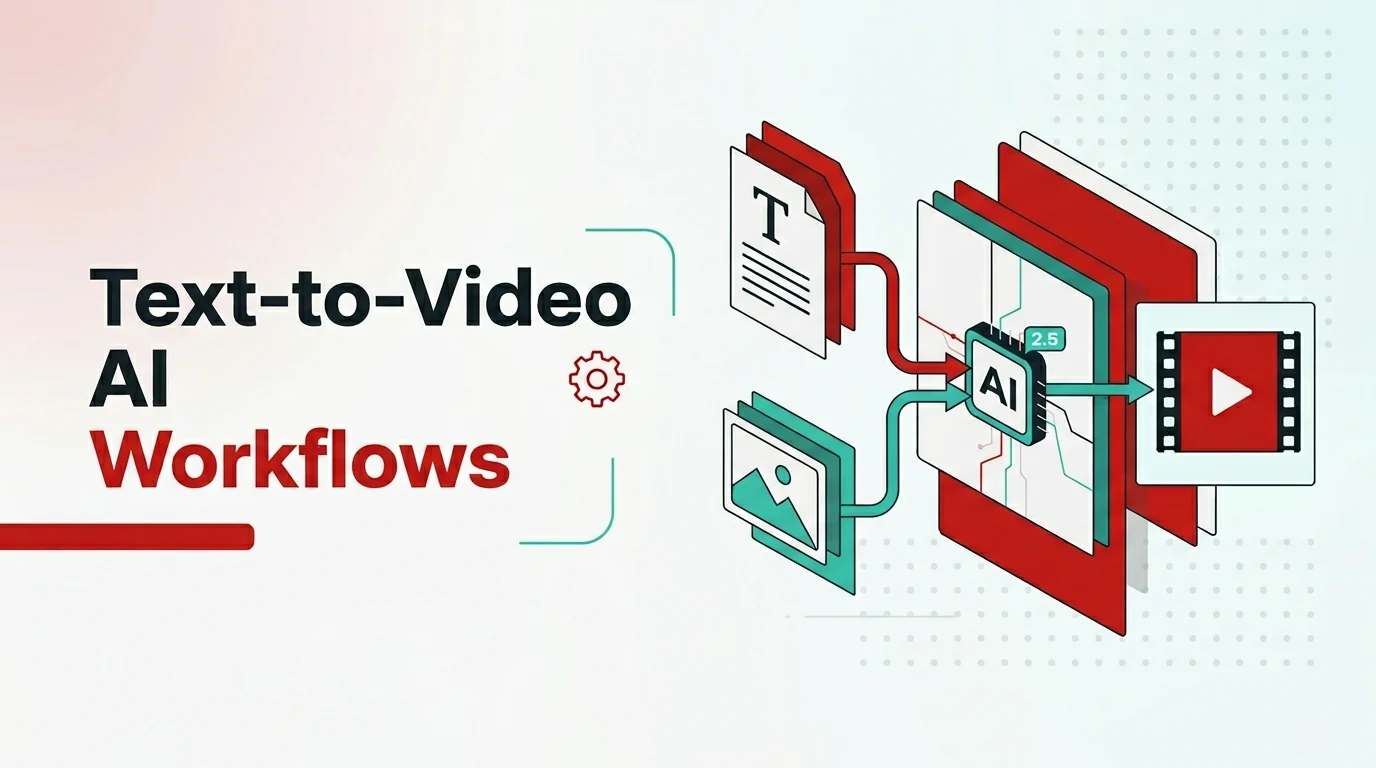
Seedance 2.5 supports two primary ways of creating video: starting from a written description, or starting from an image. Each path suits different needs, and knowing when to use which, and how to combine them with references, is the key to getting consistently good results. This guide walks through both text-to-video and image-to-video workflows with Seedance 2.5 in clear, practical steps.
Understanding the Two Core Workflows
Before diving into steps, it helps to understand what each approach is good at.
Text-to-video starts from words. You describe a scene, and the model generates it from scratch. This is the most flexible path because you are not constrained by any existing visual, so you can conjure anything you can describe. It is ideal when you have a concept but no footage.
Image-to-video starts from a picture. You provide a still image, and the model animates it or builds motion around it. This gives you more control over the exact look of the starting point, which is valuable when you need a specific product, character, or composition to appear precisely as it does in the image.
Both are forms of AI video generation, and Seedance 2.5 lets you blend them with up to 50 reference inputs for even tighter control.
The Text-to-Video Workflow
Text-to-video is where most people begin, because all you need is an idea.
Step 1: Write a clear, specific prompt
The quality of text-to-video AI output depends heavily on the prompt. Describe the subject, the setting, the lighting, the mood, and the camera movement. Instead of “a city street,” try “a rain-soaked city street at night, neon reflections on the pavement, slow camera push forward, cinematic mood.” Specificity gives the model something concrete to render.
Step 2: Define motion and pacing
Because Seedance 2.5 can generate up to 30 seconds, think about how the scene should evolve. Describe what changes over time, such as a camera that drifts, a character that turns, or light that shifts. Treating the clip as a small arc with a beginning, middle, and end produces far more engaging results than a static description.
Step 3: Add references if needed
If you want a particular style or rhythm, attach reference inputs such as a style image or an audio track. This nudges the model toward the exact look or beat you have in mind without changing your core prompt.
Step 4: Preview, then render
Use the 3D white-box preview to check composition and motion before committing. Once it looks right, generate the full native 4K clip.
The Image-to-Video Workflow
Image-to-video is the better choice when the exact starting visual matters.
Step 1: Choose a high-quality source image
The model has more to work with when your source is sharp and well-composed. A clean, high-resolution image of your product, character, or scene gives the best foundation. Blurry or cluttered images tend to produce weaker motion.
Step 2: Describe the motion you want
Even though you are starting from an image, you still guide the animation with text. Specify how the camera should move, what should come to life, and the overall feel, for example “slow orbit around the product, soft studio lighting, subtle reflections.”
Step 3: Maintain subject consistency
One of Seedance 2.5’s strengths is keeping a subject recognizable across the clip. This is especially valuable for image-to-video, where the whole point is that your product or character looks exactly as it does in the source. Lean on this when you need brand or character continuity.
Step 4: Layer additional references
You can combine the source image with style or audio references for richer results. For instance, animate a product photo while syncing motion to a music track for a polished promo.
Combining Both Approaches
The most advanced results often come from mixing the two. You might start with an image to fix the look of a character, then use text to direct an elaborate scene around them, and add audio references to sync the action to sound. With support for up to 50 multimodal inputs, Seedance 2.5 is built for this kind of layered control. The native audio processing means sound and visuals are generated together, so the final clip feels cohesive rather than assembled.
Prompting Tips That Improve Both Workflows
Across both paths, a few habits consistently improve output. Be specific rather than general, since detail gives the model direction. Describe camera movement explicitly, because motion is part of what makes a clip feel professional. Mention lighting and mood, as these shape the emotional tone. Use references to remove guesswork when you have a clear target look. And always preview before a full render to save time and resources. These small disciplines separate frustrating trial-and-error from a smooth, repeatable process.
Choosing the Right Workflow for Your Project
If you are starting from pure imagination with no existing assets, text-to-video gives you the most freedom. If you need a specific product, person, or design to appear exactly as it is, image-to-video gives you that precision. And if you want both freedom and control, combine them. The right choice is simply whichever path gets you closest to the result with the least friction, and Seedance 2.5 supports all three approaches within a single tool.
Frequently Asked Questions
What is the difference between text-to-video and image-to-video?
Text-to-video generates a clip from a written description, offering maximum flexibility. Image-to-video animates or builds motion around a still image, giving you precise control over the starting visual.
Which workflow should beginners start with?
Text-to-video is the easiest entry point because you only need a clear description. As you grow comfortable, you can add image-to-video and reference inputs for more control.
How many reference inputs can Seedance 2.5 use?
Seedance 2.5 accepts up to 50 multimodal inputs, including images, audio clips, 3D white models, and style references, which can be combined with either workflow.
Can I keep a product looking exactly the same across the clip?
Yes. Image-to-video combined with Seedance 2.5’s subject consistency keeps a product or character recognizable throughout the video, which is ideal for branded content.
Do I still need a prompt when using image-to-video?
Yes. Even when starting from an image, you describe the motion, camera movement, and mood with text to guide how the image is animated.
Conclusion
Text-to-video and image-to-video are two doors into the same powerful tool. Text-to-video AI gives you boundless creative freedom from a description, while image-to-video AI gives you precision over the exact visual you start from. With Seedance 2.5, you can use either on its own or blend them with references and synchronized audio for results that feel deliberate and professional. Master both workflows, follow good prompting habits, and you will get far more out of the Seedance video generator than prompting alone would ever allow.